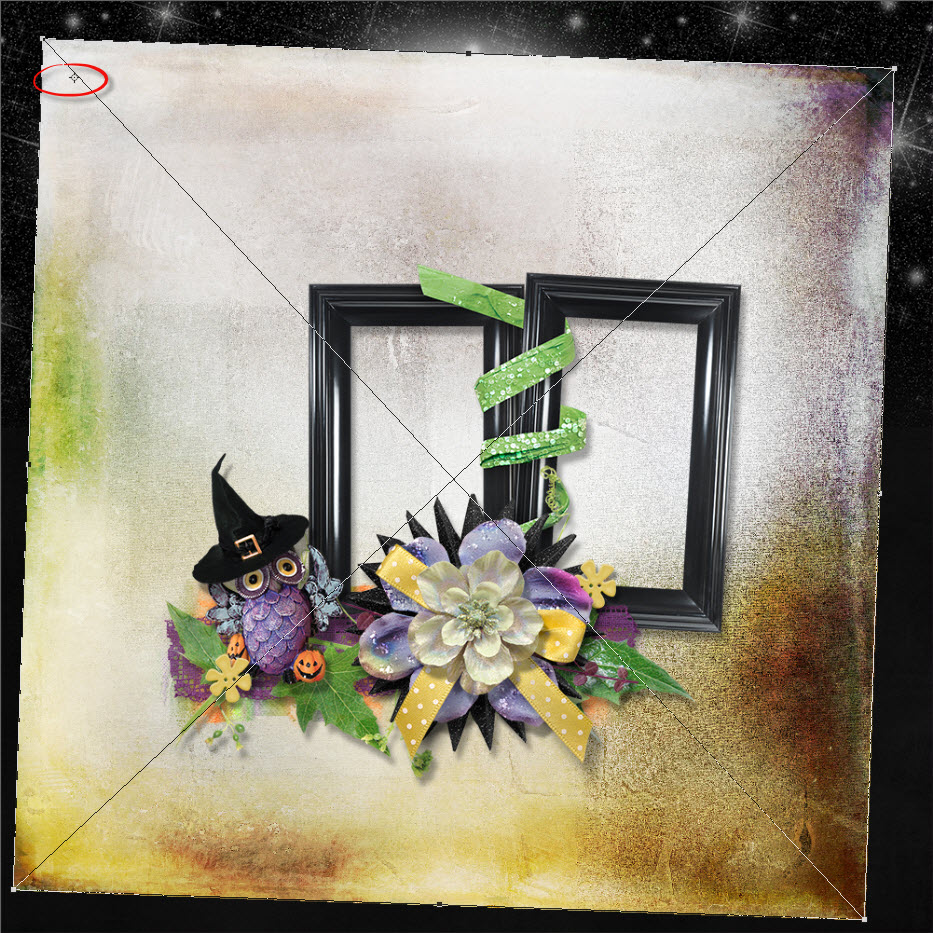
You’ve probably seen it… the little cross-hair in the center of your element (paper, text, photo), once you have selected the Transform Tool. Even viewing this image at 175%, it’s still a bit hard to see. I’ve circled it in red.
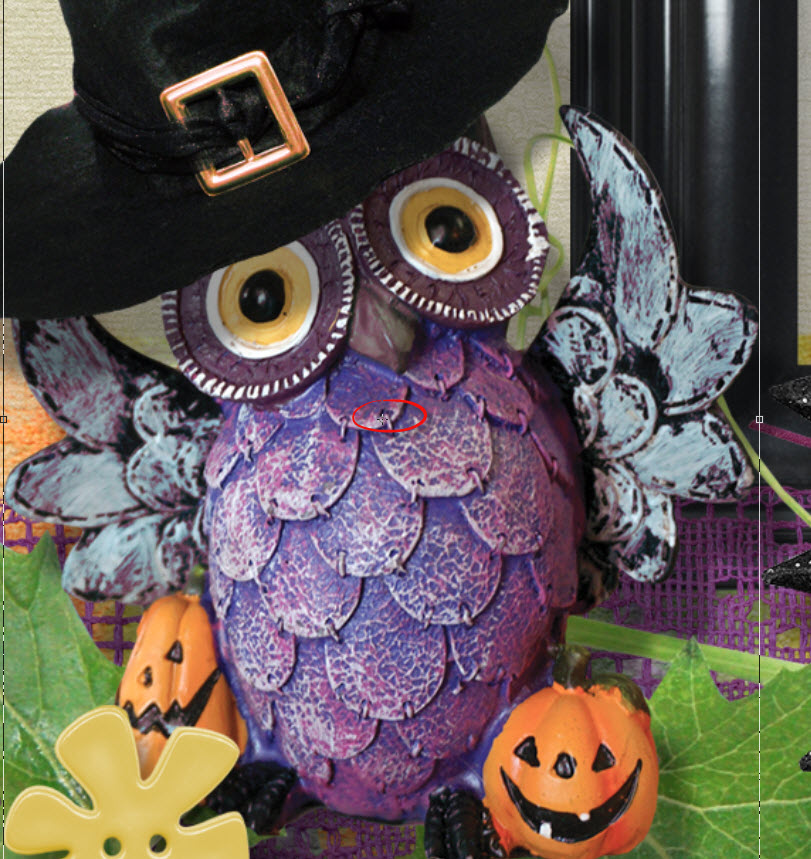
It’s possible that you’ve even moved the cross-hair accidentally, and then wondered why your element was not transforming or resizing as you expected.
I’ve never paid much attention to that cross-hair, with the exception of moving it back into the center of my layer when I accidentally moved it. I did know that the purpose of the cross-hair was to act as the point of rotation, when using the Transform Tool. But I hadn’t really thought about how it might be helpful.
Last week I read a quick tutorial that mentioned the cross-hair. I am so sorry that I can’t recall who wrote the article or where I saw it. However, the tutorial lingered in my mind and I experimented with it a little this week. Let’s take a look.
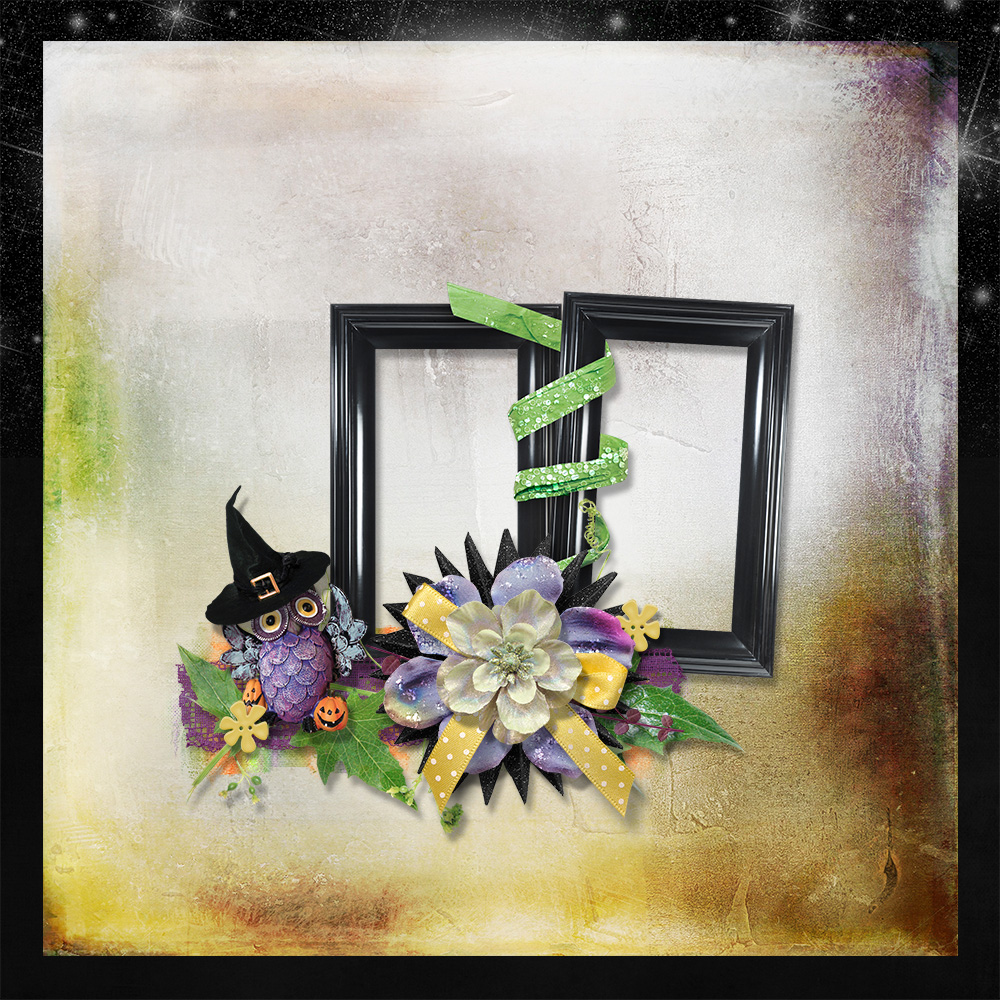
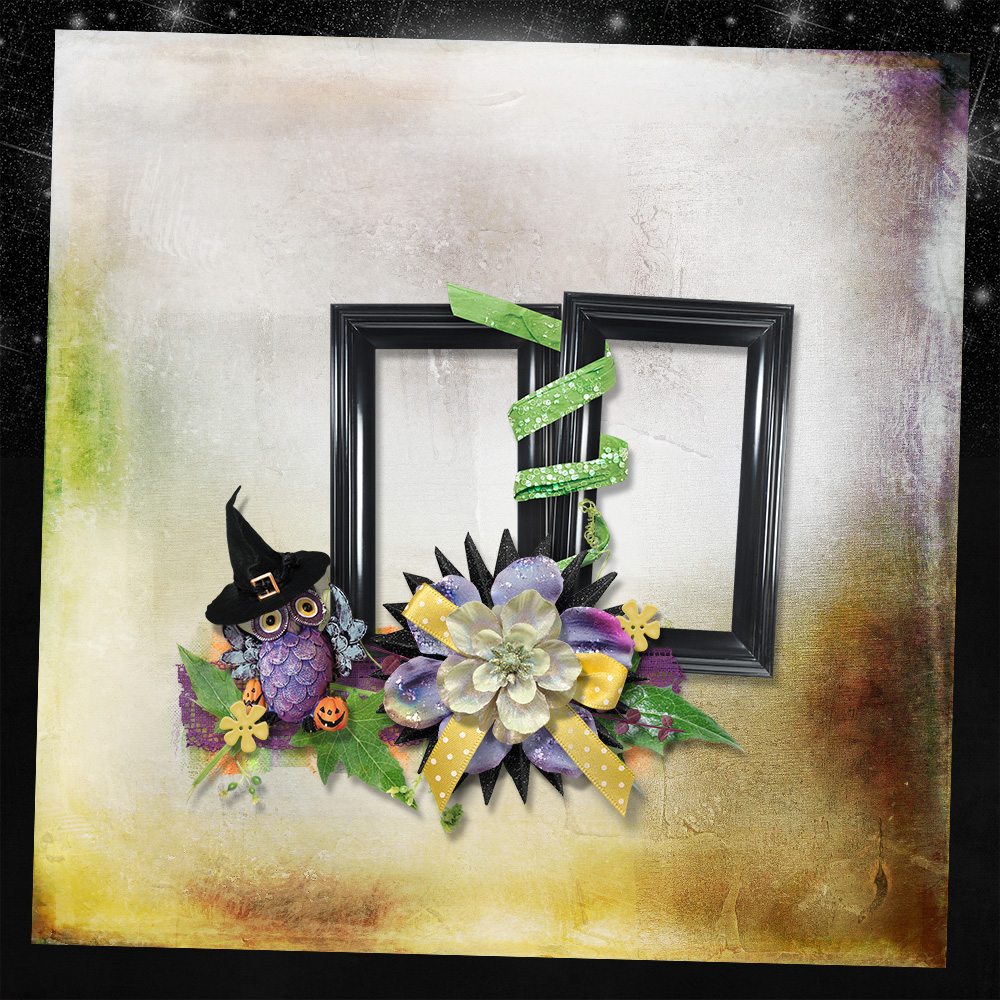
I’ve put a Trick or Treat cluster on 2 background papers.
Let’s rotate the owl a little.
Method 1:
With the Owl layer selected, hit Control+T to bring up the Transform Tool (alternatively: go to the top menu bar: Edit > Transform). Leave the cross-hair as it is, in the center of the layer (in this case the center of the owl). Rotate the owl to the right 12 degrees. (Watch the top menu bar to determine when you reach 12 degrees, or just type 12 in the degree slot).
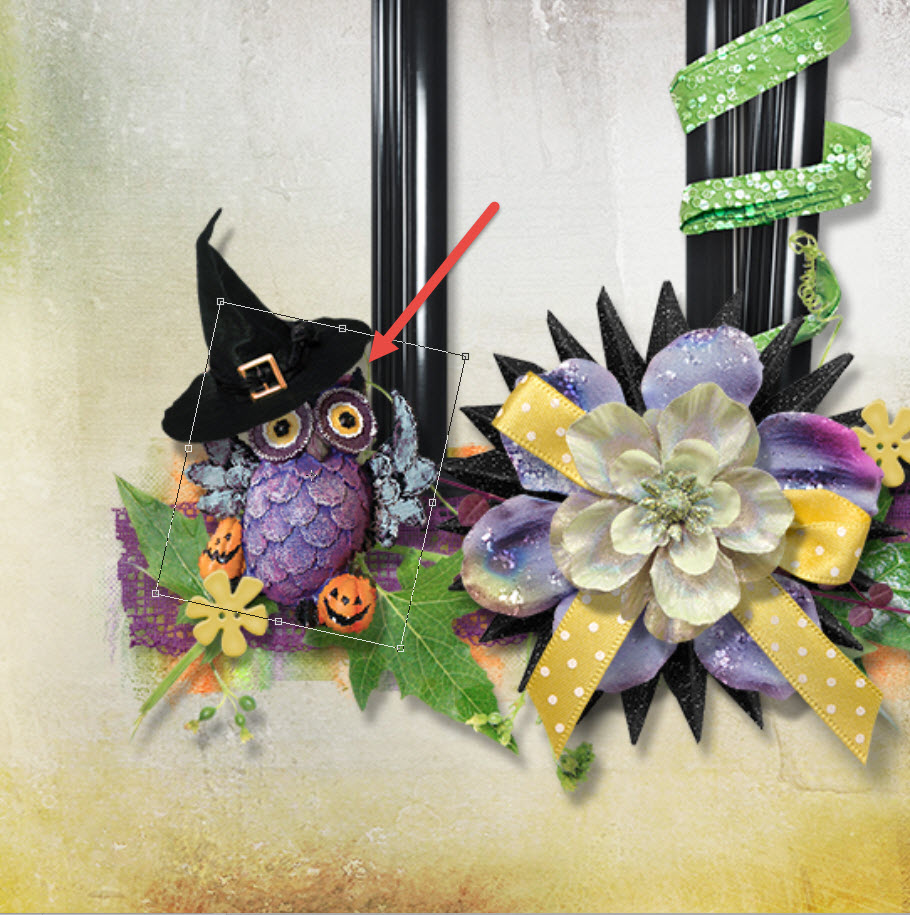

The owl has been rotated from the center (his tummy, where the cross-hair is located). His ear now sticks out of the hat, which is not what I wanted.
Method #2:
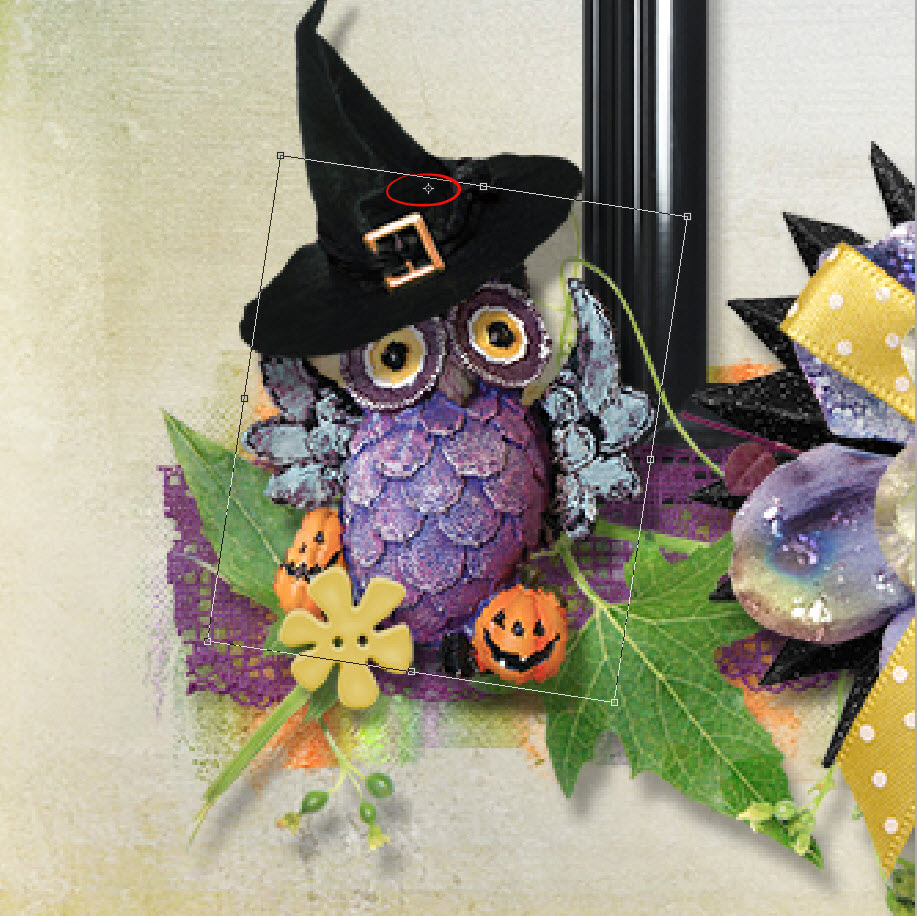
With the Owl layer selected, hit Control+T to bring up the Transform Tool. Left click on the cross-hair and move it to the top of the owls head. Now rotate 12 degrees to the right, as before. The owl’s head stays in position, because that is where the rotation point now is, as opposed to his center. Exactly what I wanted!
PHOTOSHOP ELEMENTS USERS: You will need to hold down the ALT key, then click on the rotation point in order to move it.
Now let’s rotate the Background Paper #1 just a bit.
Following Method #1 above, with the rotation point being the center of the document, rotate the first background paper to the right 1.5 degrees.
Now let’s use Method #2 and move the Rotation Point to the upper left corner, and rotate to the right 2 degrees.
It’s a matter of preference, but you can see how moving the Rotation Point will give you a different result, depending upon where it is placed.
Stacked papers add a nice look to scrapbook pages. This is another time when moving the Rotation Point can be helpful, especially if you want to papers to be rotated at exactly the same angle. Here are 3 papers stacked on top of one another.
You can quickly rotate Paper 1 and Paper 2 at the same time. Select both of the layers in the Layers Panel. (Click on Layer Paper 1, hold down the Shift key, and Click on Layer Paper 2 to select both). Control + T to bring up the Transform Tool. Move the cross-hair to the upper left corner, and rotate both papers at once, as much or as little as desired.
f you have experimented with the Transform Rotation Tool (the cross-hair), leave us a comment and let us know how you have found it helpful in your own work flow!
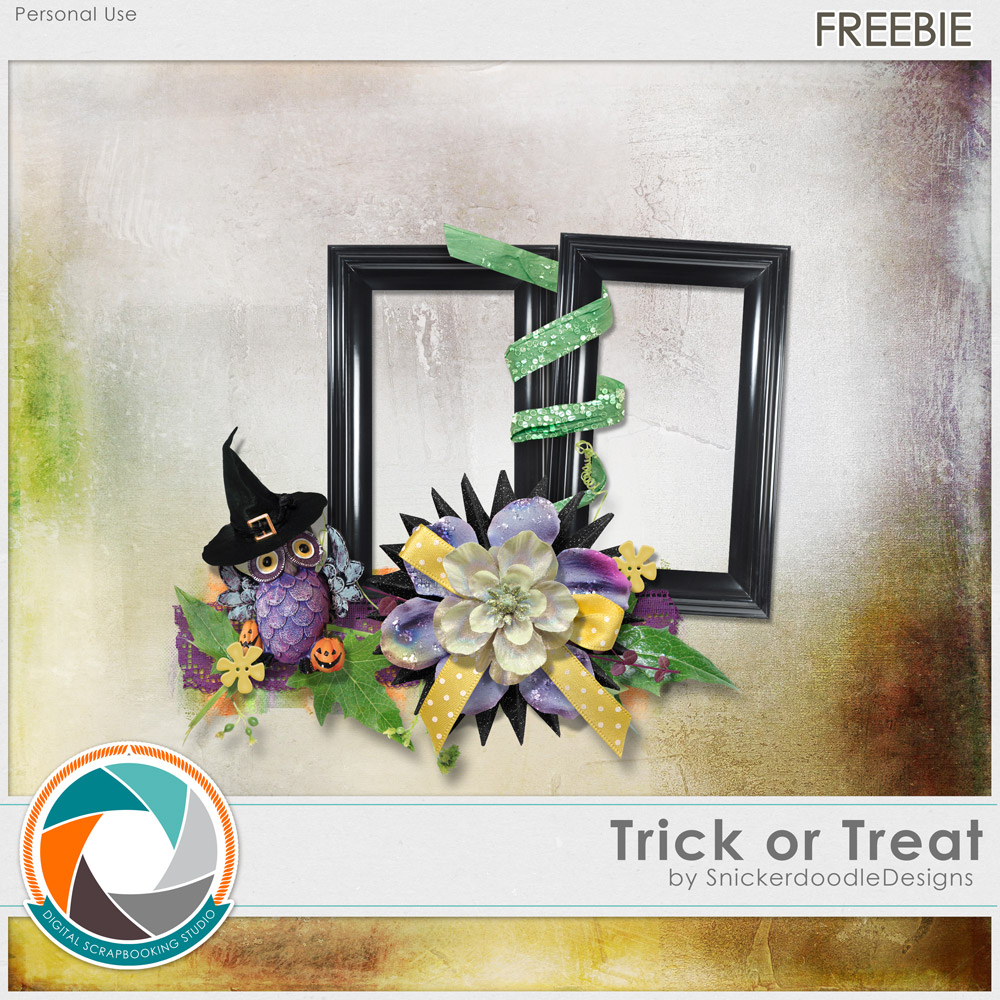
If you would like to download the Trick or Treat cluster used in this tutorial, just click on the image below. Thanks to Renee, for creating it for us!
If you would like to download a PDF of this tutorial, you may do so here: What is the Rotation Point in Transform?


This tutorial is so informative. I really appreciate your giving it to us. Really loved seeing how you moved two pages at the same time. Really appreciate your showing the images with the instructions too. Thanks so much for the cute cluster frame.
Never understood it and will have to re read this, but I know I’ll get it, with your help. Thank you
Faith
x
Thanks again for sharing your knowledge with us. Sorry to bug you again but would you please provide us with a PDF of this? I keep every one for future reference. Many thanks in advance!
Thanks, Carol, Faith, and Joleen! I’ve added the PDF link. Thank you for the reminder, Joleen!!! I was later in publishing the tutorial and in my haste to get it published, forgot the PDF file. I ALWAYS appreciate reminders! 😉
Karen thank you so much for another informative tutorial and your thoughtfulness in including PSE users…and of course for the PDF. It’s difficult to refer back and forth to a video. 🙂