We love it when our readers let us know what they want to learn! This week Pixel Palette requested a refresher on how to create patterns in Photoshop, and we are happy to accommodate her request.
For this tutorial I am using Photoshop CC 2017; however, the process is the same in other versions or Photoshop, as well as Photoshop Elements.
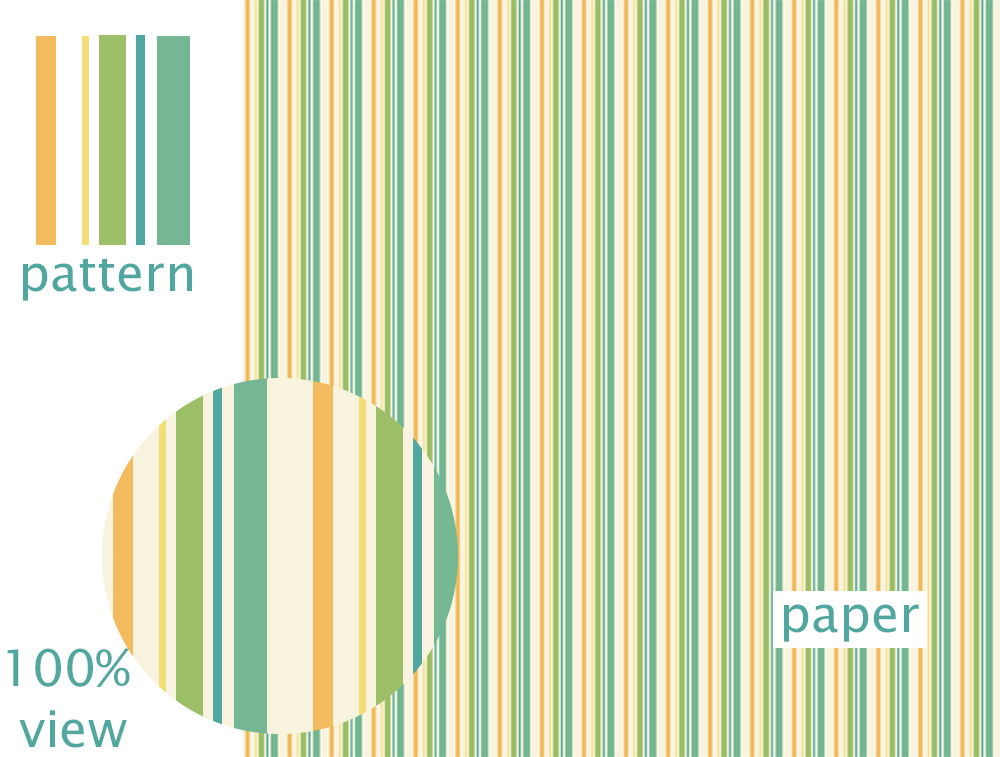
Let’s create a pattern to design the pictured paper.
Here’s how:
- You can start with any size document you like, depending upon what you wish your pattern to look like. After learning the basic concept of creating a pattern, experiment with size to determine how it affects your pattern result. I want to make a striped pattern and will start with a 200 x 200 pixel blank document at 300 dpi.
- Select the Rectangular Marquee tool and draw a rectangle any size you wish on the blank document.
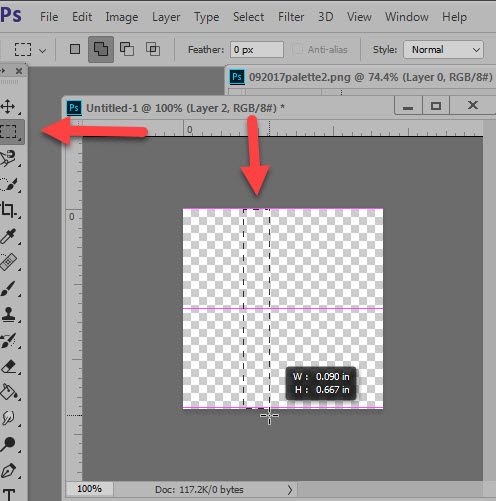
- We want to fill our selection with the color of our choice. You can either go to Edit > Fill and in the Contents box choose: Foreground, Background, or Color (which will open the Color Picker for you so you can choose a color), click OK – or if you have your desired color already selected as a Foreground color, you can use the Paint Bucket Tool to fill the selection.
- Continue this process, creating random stripes for a random-striped paper, or evenly spaced selections for a different look. Creating each rectangle on a new blank layer will allow you to move the rectangles around as you like, or easily replace colors if you change your mind.
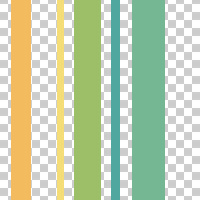
- You can keep your stripes on a transparent background, or add a background color on a separate layer. I am keeping mine on a transparent background so I can experiment with different background colors.
Here is my finished 200 x 200 pattern:
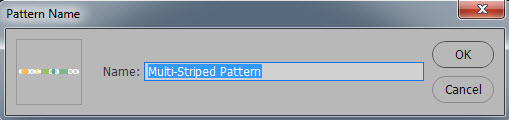
- Next, go to the top Menu bar: Edit > Define Pattern. A Pattern Name option box will open. Name your pattern as you like.
- Create a blank 3600 x 3600 pixel document (or whatever size you want).
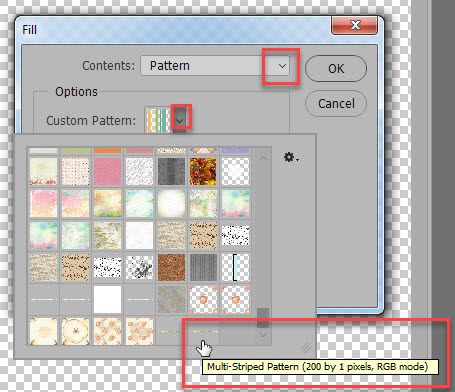
- Go to the top Menu bar: Edit > Fill. Select “Pattern” In the Contents drop-down menu.
- Click the down-pointing arrow in the Custom Pattern box and navigate to the very last pattern you see. (The pattern you created will always be the very last one in the box.) Don’t be surprised if your pattern doesn’t look like you expect it to. What you see will be dependent upon the type of pattern you have created. If you are in doubt, hover over the last pattern to confirm the pattern name. In the image below, you can see the name I gave to this pattern, so even though it looks odd, we know it’s the correct one to use.
- The pattern will fill your blank document. Because I kept my pattern with a transparent background, I can now add a blank document under the pattern layer and experiment with different background colors.
- I decided to choose a cream background, so filled the Background layer with my color choice.
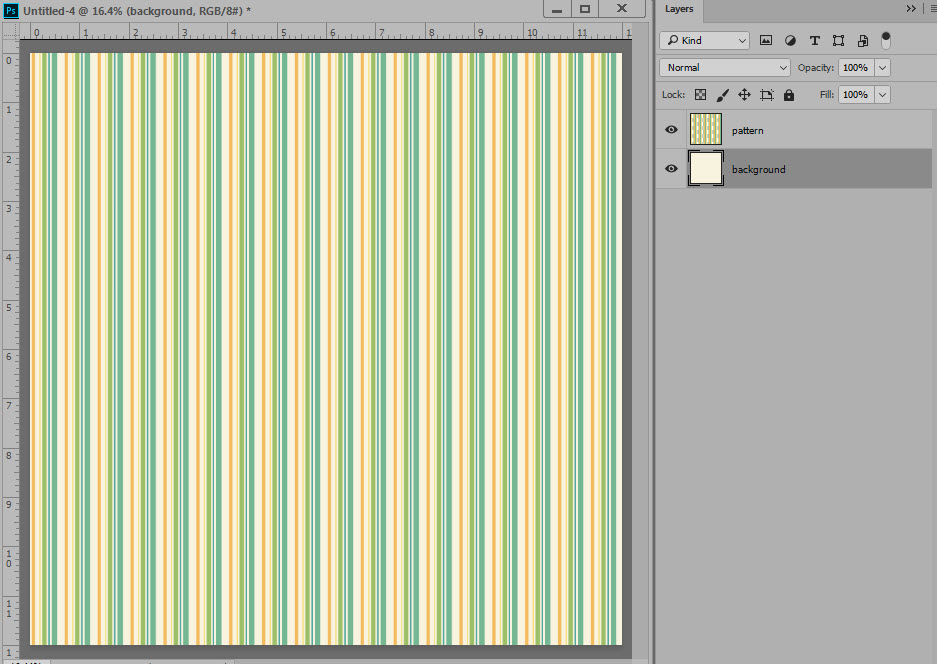
- Now I can merge the layers, save as a JPG and have a pretty striped paper.
- You may also add texture or other effects if you like.
Tip: Create your patterns with gray colors, save as a PSD, and you can easily use the same pattern over and over again without having to recreate from scratch. Just add color to each stripe as you wish.
You can create any pattern using this same technique. Try it with dots, or any other type of shape or element to create unique papers every time!
Thank you for submitting your request, Pixel Palette!
If you would like to download a PDF of this tutorial, you may do so here: How to Create a Pattern in Photoshop.


Thank you so much for this reminder, I had forgotten how easy it is to do, especially with your tutorial. 🙂
Fantastic Karen, thanks so much for the refresher! You make things so easy.. ?