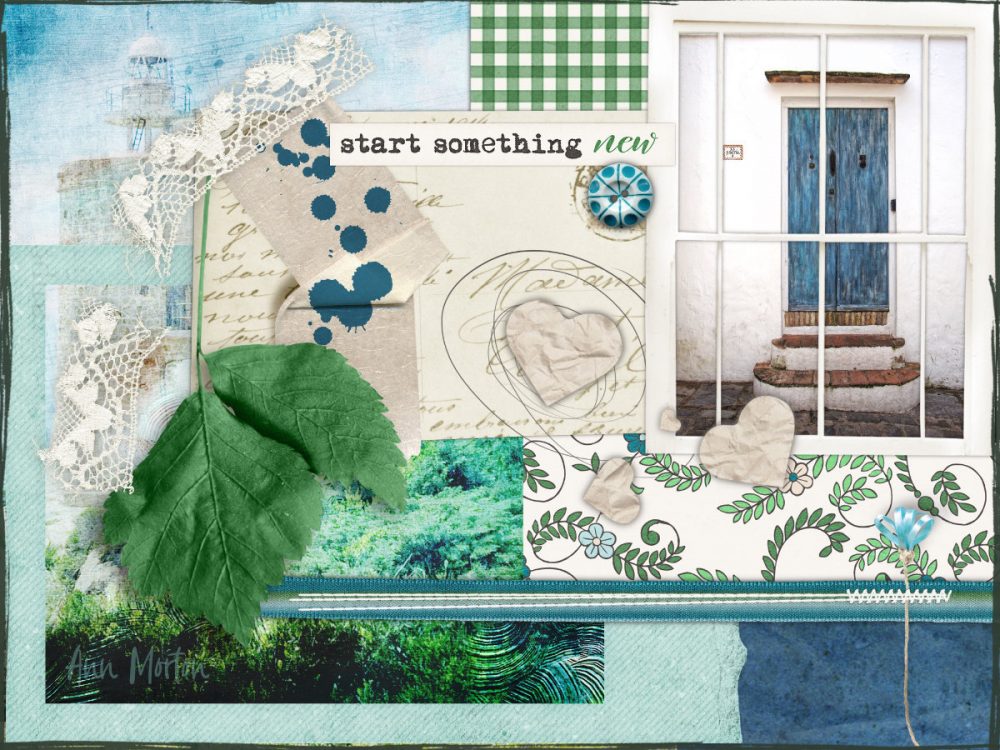
Hello there! Today I have a quick peek at how to add drop shadows to elements in Procreate. I’m using items from some Today mini kits by The Studio designers.
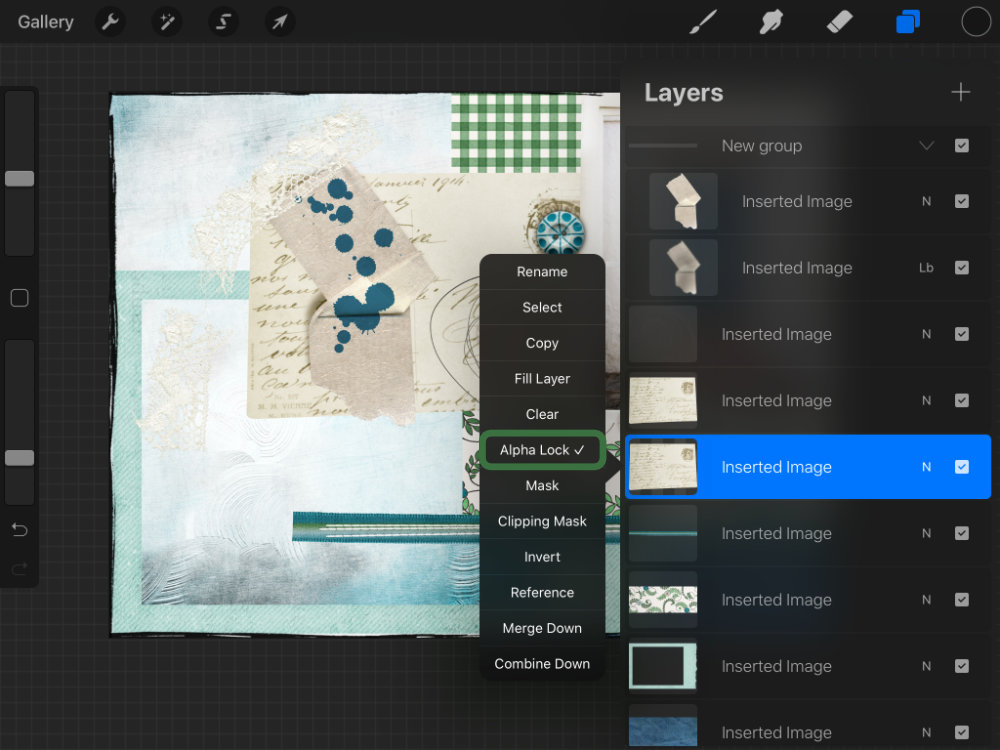
First, open the Layers panel, and tap once on the thumbnail of the layer you want to add a shadow to. From the flyout menu, select Alpha Lock. This locks the transparent or alpha channel so any changes you make are only applied to the non-transparent portion of the layer.
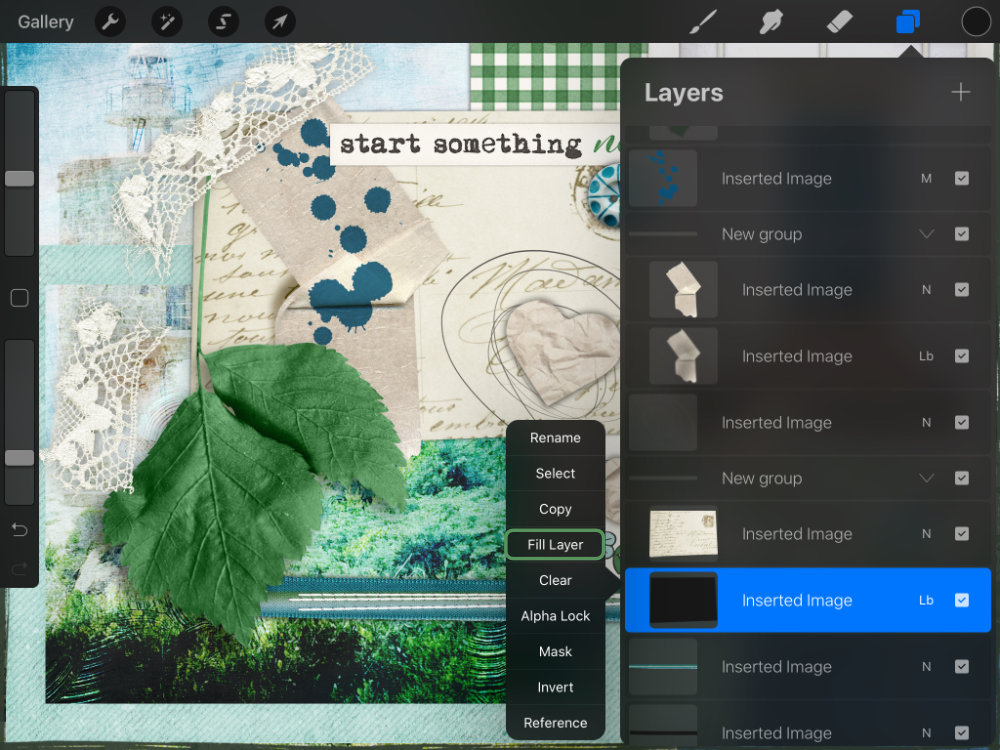
Next, tap on the thumbnail again, and select Fill Layer. You may have to adjust the color of your fill if you don’t have a dark color already selected. You can do this by tapping the Colors panel, then tapping and holding on the canvas to select a color.
Next, tap the thumbnail again and tap Alpha Lock to deselect it.
Finally, open the Adjustments tools, and tap Gaussian Blur. Drag right and left across the canvas to increase/decrease the size of the blur.

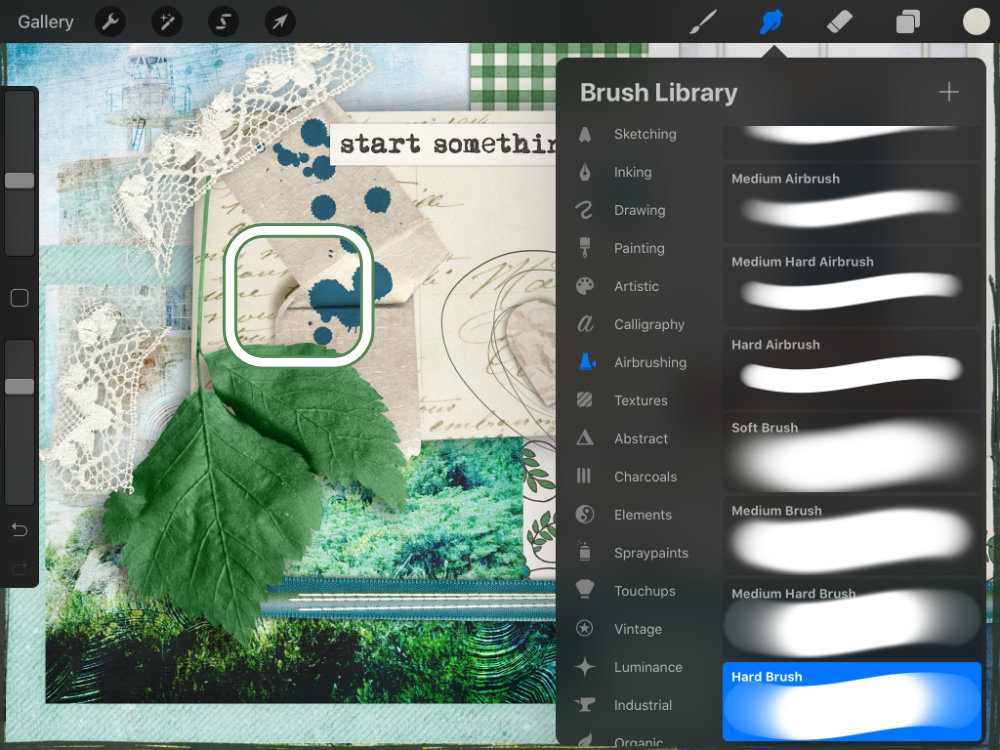
Tip: To give a little warp to your shadow, you can select the Smudge tool with a hard brush (under the Airbrushing brushes) and nudge the shadow over a bit.
That’s it! Hope this little tip will help next time you’re adding shadows in Procreate.


Leave A Comment