Have you ever stamped a Photoshop brush on your layout, only to find that the direction, or orientation, of the brush was not what you wanted?
Turning my head sideways doesn’t always give me a very good idea of what the brush would look like, if properly rotated. (And it always gives me a cramp in my neck!) I’m assuming this has happened to at least one of you! So today I am going to teach you how to rotate your brushes.
In Photoshop, go to the top menu bar, and click on “Windows.” In the drop-down box, click on “Brush.” This will open your Brush palette.
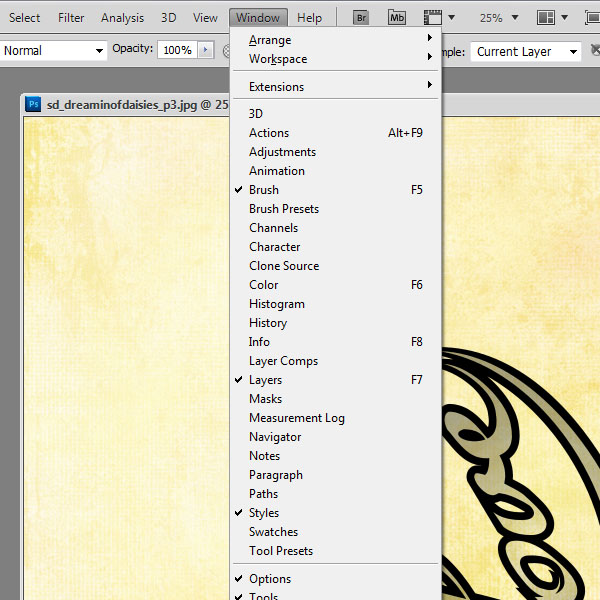
Your Brush Palette, when opened, will look like this:
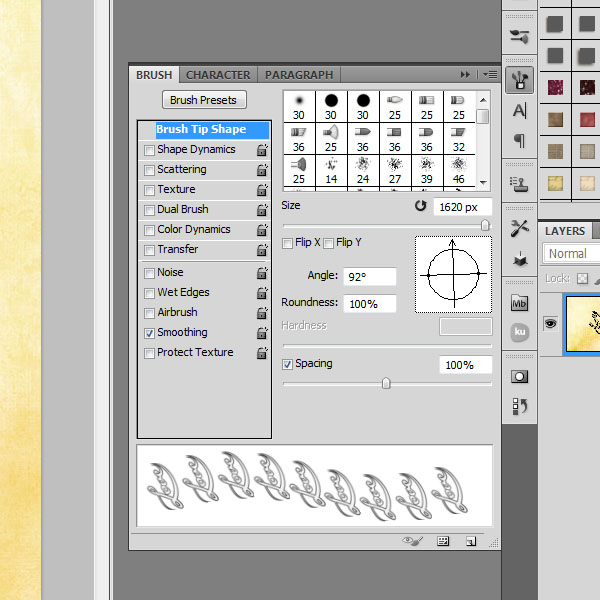
Look to the far right… do you see the circle with the 2 intersecting lines? The arrow tip that you see at the end of one of the lines indicates the orientation of the brush. If you would like to change the angle (direction) of your brush, simply click on the arrowhead and drag it around the circle. You can track the real-time positioning of the brush in preview pane below the “Spacing” slider.
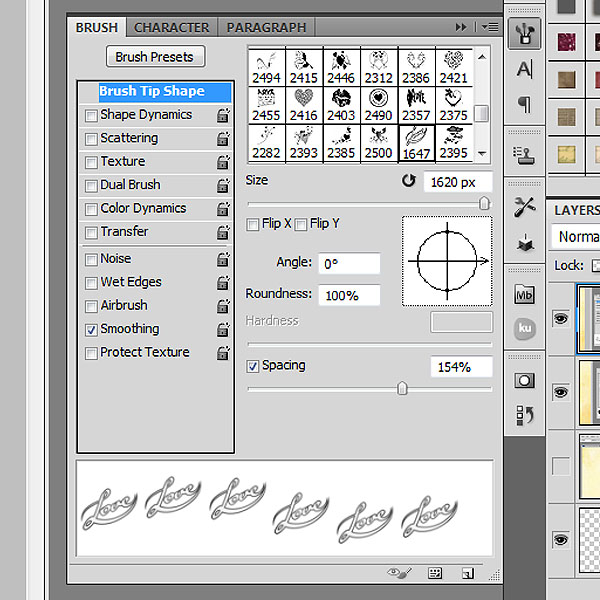
In this example, I changed the angle from 92 degrees to 0 degrees, and now it’s just perfect!
You can do this in Adobe Photoshop Elements too. Simply select your brush, then click on the blue-tipped brush icon in the top menu bar.
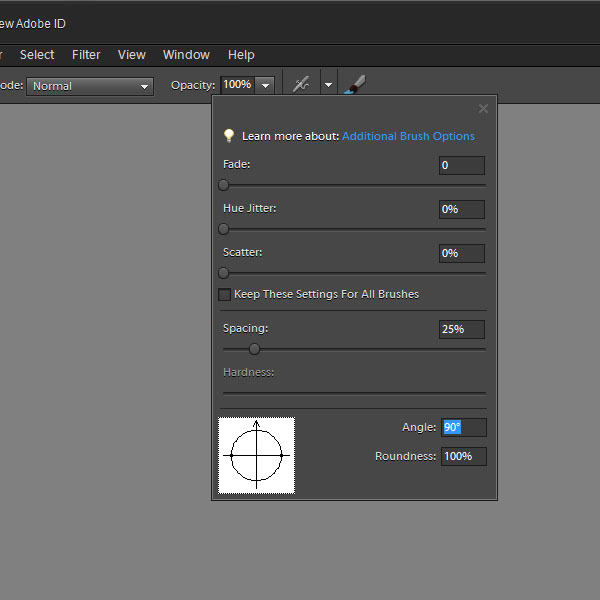
Just grab the arrow tip, and drag it to the position that gives you the brush angle that you want!
That’s it! So simple!


[…] Quick Tip #2 – Photoshop Brush Orientation – 1 freebie(s)? […]
Thanks for the great tip! I haven’t seen that one before.
Thanks for this great tutorial. I found it quite interesting and very beneficial.
Karen,
You now have three monitors – wow! You may have to add on to your office soon. 😉