Last weeks Photoshop Tutorial: Make a Snowflake turned out to be quite popular. I thought I’d continue the winter trend this week, so let’s make a snowman!
You will have the opportunity to download not just the snowman sample we make today, but also the layered snowman template and the photoshop snowman styles used in this tutorial. All Commercial Use (CU) okay!
Today again my only tools today are my trusty Photoshop (CS5), the line tool & the custom shape tool.
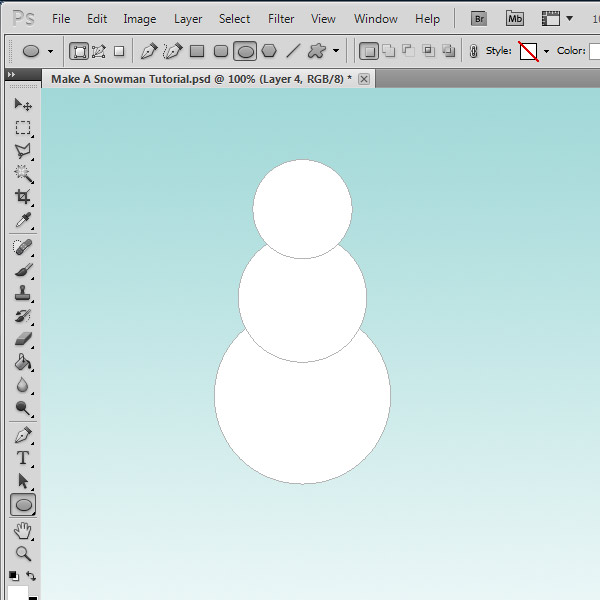
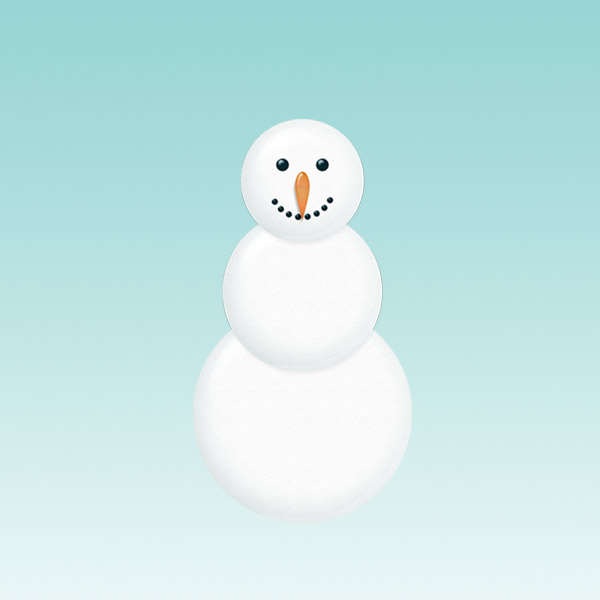
I started by drawing three circles using the Custom Shape Tool:
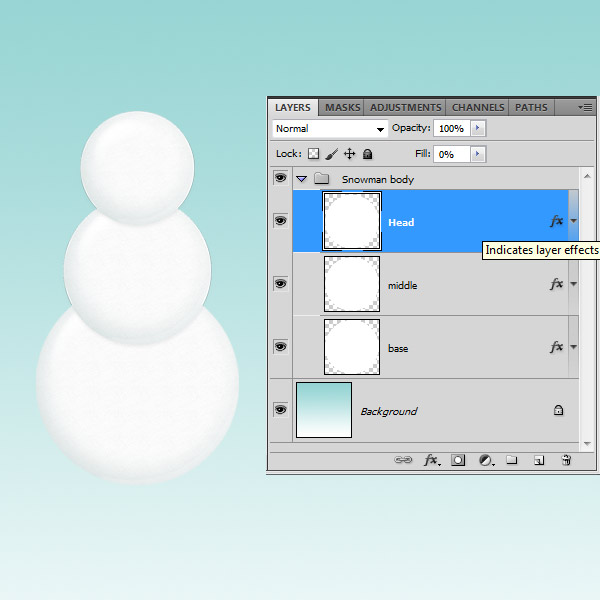
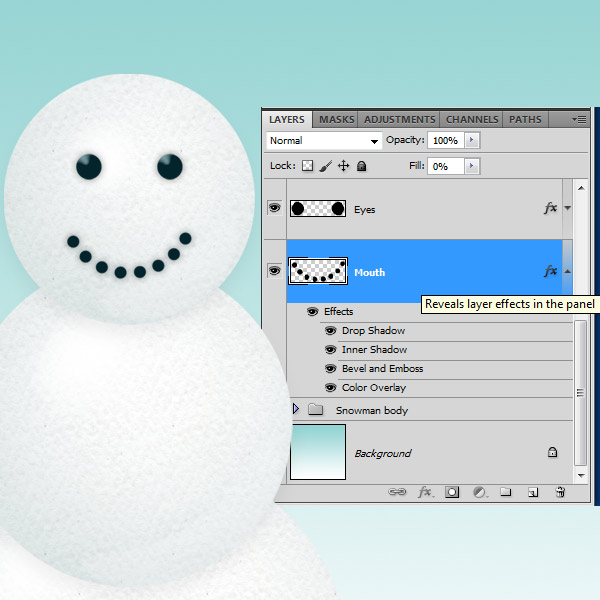
I then added Layer Effects (fx) in the Layer Panel (the styles are included in the free download):
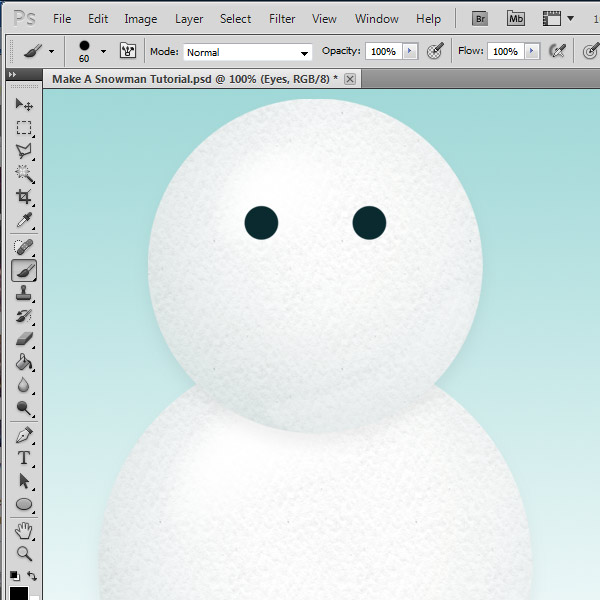
The eyes are added using a simple round brush, I set mine at 60px:
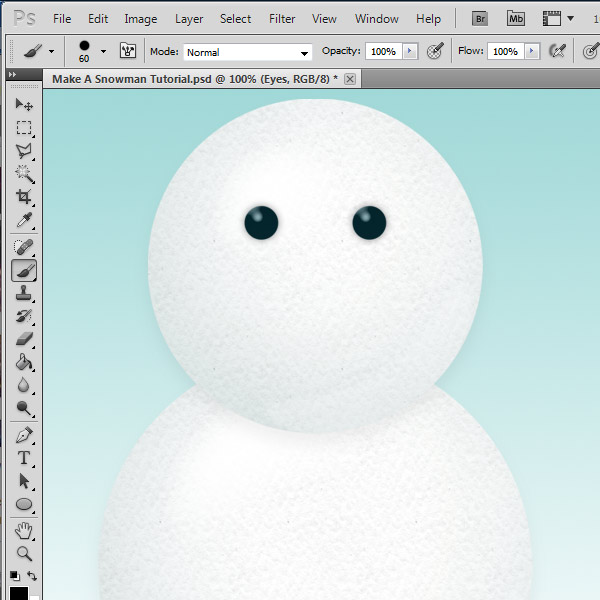
A quick Layer Style and our eyes look much better:
Using the same round brush, I added a happy smile on our snowman, and again applied the same Layer Effects as the eyes:
Next it’s time for the traditional carrot nose! I used the waterdrop custom shape to help me get it right:
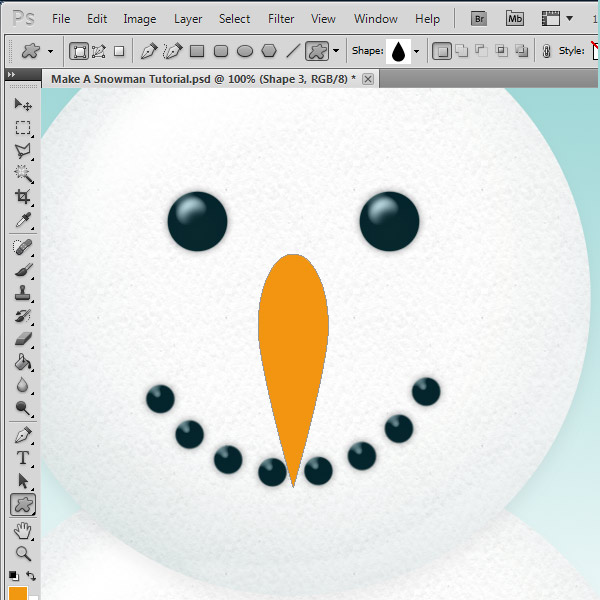
Again a quick style (included in the free download below), and our nose looks great! Our snowman is looking very snowman-y already:
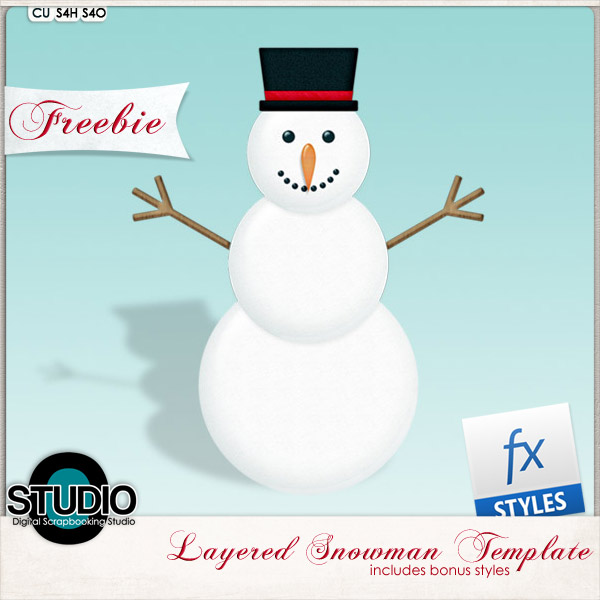
As finishing touches I added a hat, again using the Custom Shape Tool to help me get it right. I even added a little band for a touch of flair using a long rectangle shape. Finally, I used the Line Tool set at 30 px to draw the arms:
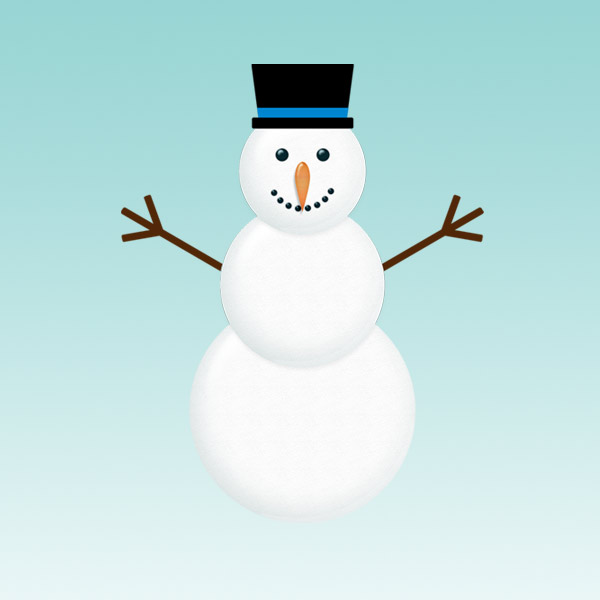
I again added simple styles to make the hat, hat band & arms look just a little prettier, and TaDA! We have a snowman. That quickly, that easily.
You can download the sample snowman created today & use it in your layouts or even your Christmas cards. If you want a different look for your snowman, I’ve included both a layered template (TIF files) and the photoshop styles used today. All files are CU okay.
***Download No Longer Available***


Wish I had seen this before trying to make my snowman … Great tut!!!
[…] Photoshop Tutorial: Make a Snowman – 1 freebie(s) […]
I love this! Thank you so much! 🙂
Very cute, thank you 🙂
Really cute. You make it look so easy to do this.
So cute! I love snowmen!! Thanks 🙂
Very Frosty! Thank you for the step by step as well as the styles!
Thank you so much for the tutorial on how to make a snowman and also for the styles! Those styles make all the difference in the world. I knew I was missing something-my creations look flat. Now I know what that missing ingredient is 🙂
Thank you so much for this wonderful tutorial and for the styles! I tried it, and I was able to do it! I love the styles, they made all the difference in the world!
Cool! Thanks
Super, thank you so much!
I’m not sure if this is a step you missed, but beginners may not know to create a new layer above the snowball to add the facial elements, if you try on the snowball layer itself it won’t show up if you have already applied the style to it and if it is on the snowball layer before the style is applied it will take on the same style as the snowball itself. Very cute little fellow and thanks for the styles. We who use elements can use all the extras we can get since they made it the dumb relative 🙂
Thanks so much for the snowman tutorial. I am going to try it right now!