When we need to snap a photo quickly, we often don’t have time to make the necessary adjustments in our camera in order to get the perfect shot. Adobe Photoshop has a multitude of ways for us to fix our images, when we need to. Today let’s take a look at Curves, and 2 of my favorite ways to use this tool.
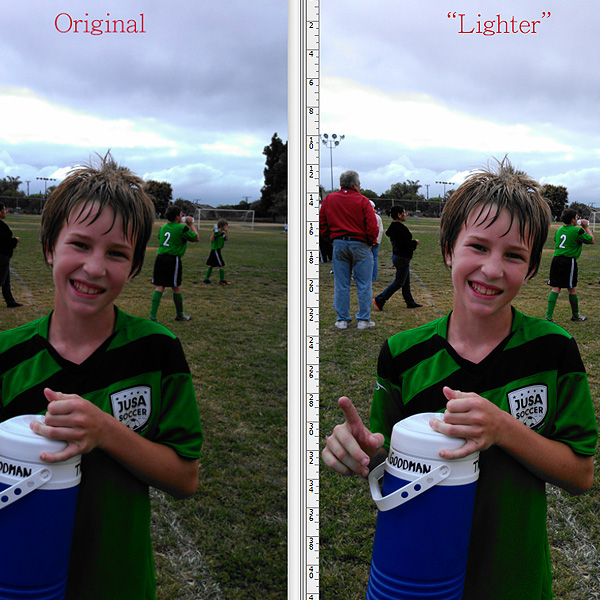
My grandson’s soccer team just won first place in the city JUSA soccer tournament. He was very excited, and I had just about one second to snap this picture with my phone before he ran off to join his team in celebration.
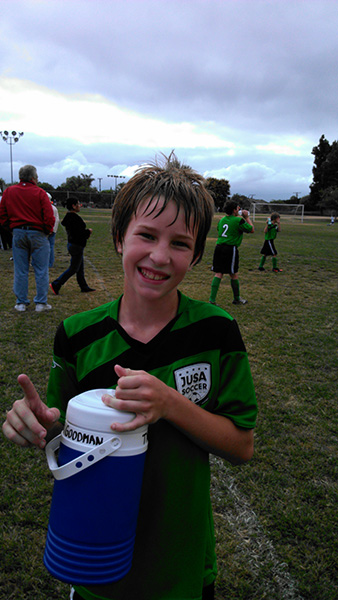
I did capture the moment, but the photo is underexposed. Let’s fix that.
For the purposes of this tutorial, I am using Photoshop CS6. (Curves is not available in Photoshop Elements, but PSE users can use Levels to help in photo editing. Many automatic adjustments are available.)
Method #1:
1. Open your image
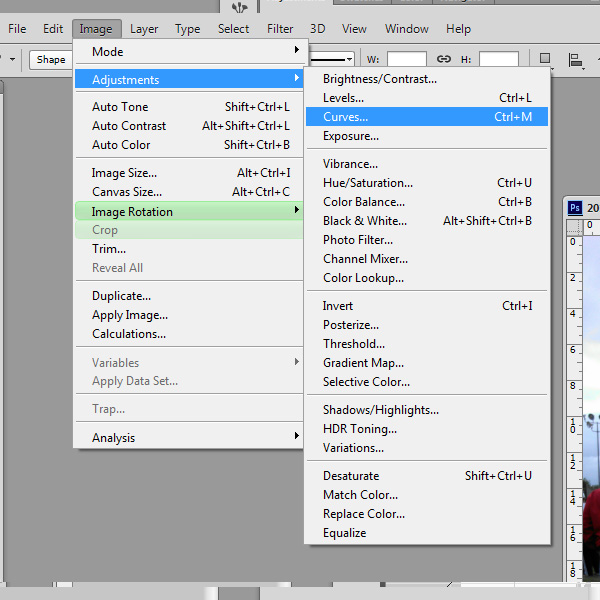
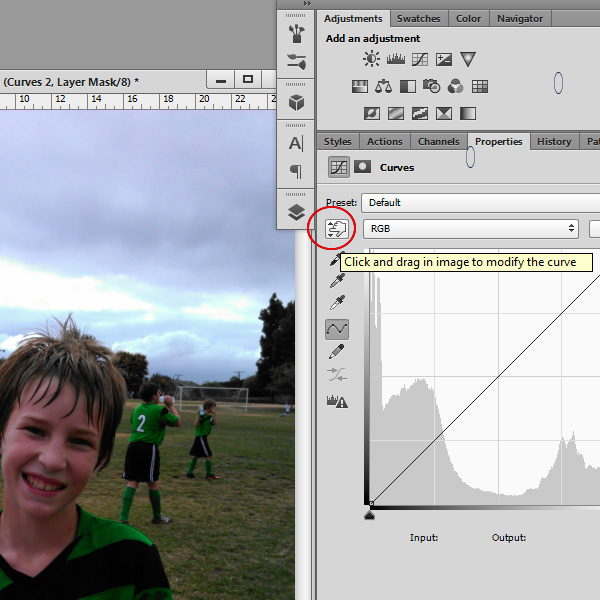
2. Click on Image > Adjustments > Curves and the Curves Adjustment Panel will open.
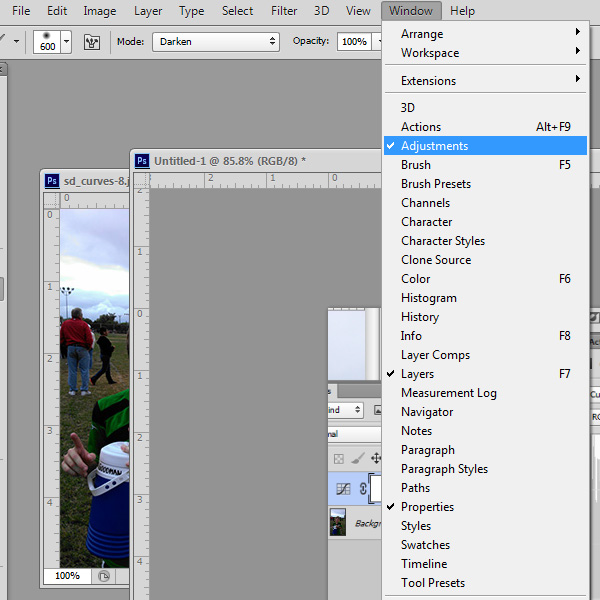
(Alternatively, you may go to Window > Adjustments, and click in front of “Adjustment” to keep this tool available in the Tools Panel all the time.)
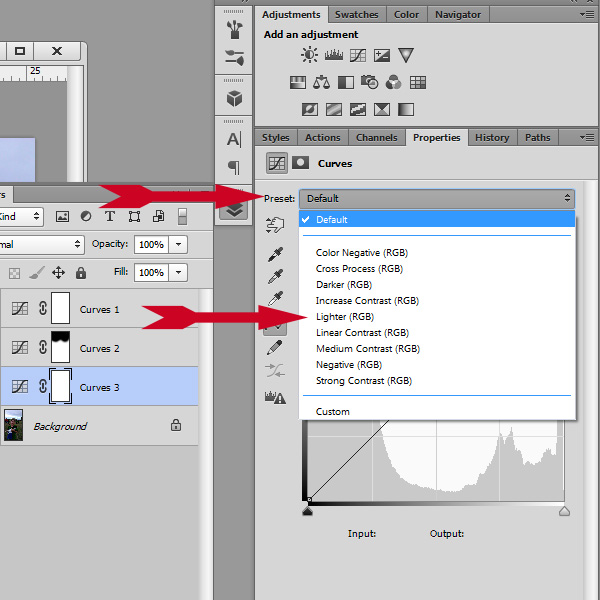
Once you’ve done this, click on the Curves Adjustment in the Adjustment panel.
3. Photoshop offers some presets in the Curves Adjustment panel to make it easy for us! Click on the down-pointing arrow to the far right of “Default” to access a drop-down box with Preset options. For this picture, I selected “Lighter.”
You can see the difference it made in the shadows, especially on Tyler’s face.
Method #2:
Open your image and navigate to the Curves Adjustment, as detailed above.
This time, notice the little hand icon, with the index finger pointing to the left. We can click on that icon, then place our cursor directly on our photo to make adjustments.
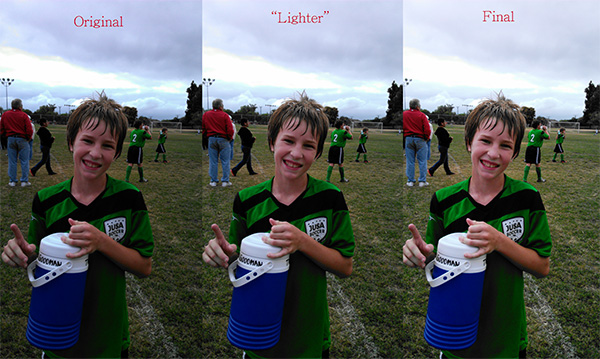
Because I wanted more light on Tyler’s face, I placed my cursor on his face, and dragged slightly to the left. Here is the end result, along with the other 2 images, for comparison.
A few tips:
1. Adjustments in Curves can get wonky really quickly, so experimentation, and very slight adjustments, is the key.
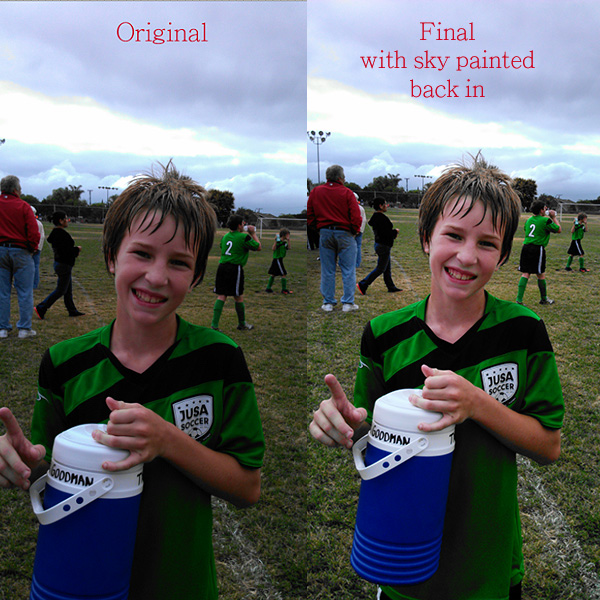
2. In my final image, I like the light on Tyler’s face, but sacrificed some of the sky color with this adjustment. A simple fix is to click on the Curves Mask, and with a soft brush and the color black selected, paint over the sky to remove the Curves adjustment from that area. I’ve done that in the image below.
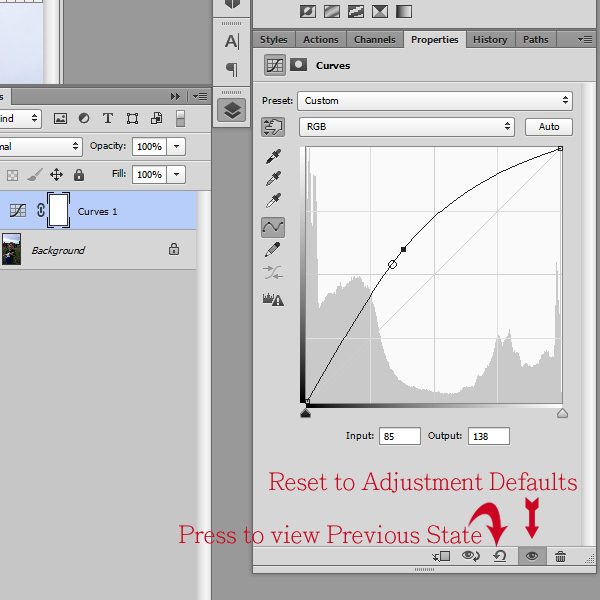
3. If you want to compare your “before” and “after” images, click on the curved arrow icon.
4. If you don’t like what you have done, and want to start all over, click on the eye icon, to reset your image.
There are many ways to use Curves adjustments, and these are just two very quick fixes for over-exposed photos. I hope you find them helpful!


Very interesting and helpful. Thanks so much.
Thanks for sharing such a useful tips.