 I have boxes, as well as albums, of old photographs that need to be digitized for safe keeping. It’s a big job that I have been putting off for a long time. Several months ago, I gathered up a few hundred photos to send to a professional scanning company that was offering a value-priced scanning package. I was happy to have some of my old photos digitized, but I knew it would be cost-prohibitive to have ALL of my photos professionally scanned. Individually scanning and straightening photos is just too time-consuming and tedious to hold my interest, so once again the project fell to the bottom of my To-Do list.
But I learned two new things this week that can help with a project of this type and size.
- Some scanners offer the option, when scanning multiple images at once, to output each image as individual documents.
- If you don’t have a scanner that offers this option, Photoshop’s Automated Crop and Straighten tool will drastically reduce the time required for a project such as this.
Let’s look at how Photoshop can help. I am using Photoshop CC2015 for this tutorial. The Automated Crop and Straighten tool is available in previous versions of Photoshop, but is not available in Photoshop Elements.
Here’s how it works:
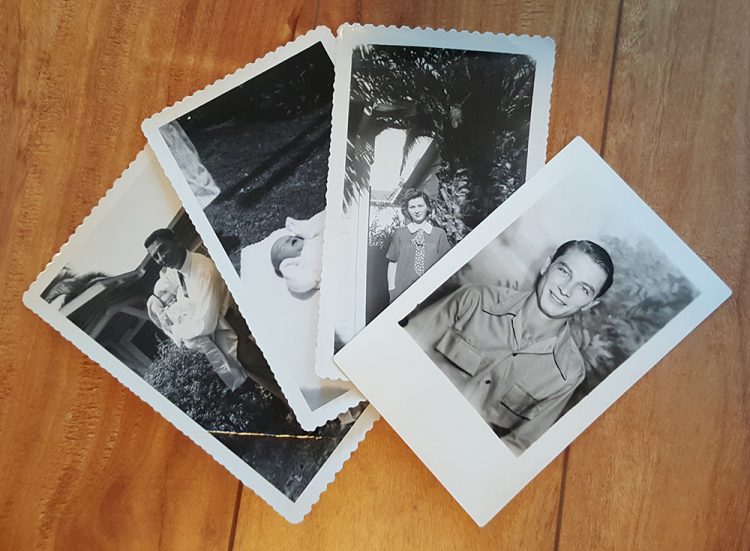
- Scan your photos. While it’s a good idea to try to keep the photos straight when you place them on the scanning bed, you don’t have to be exact. I purposely tilted the photos just a bit for demonstration purposes.

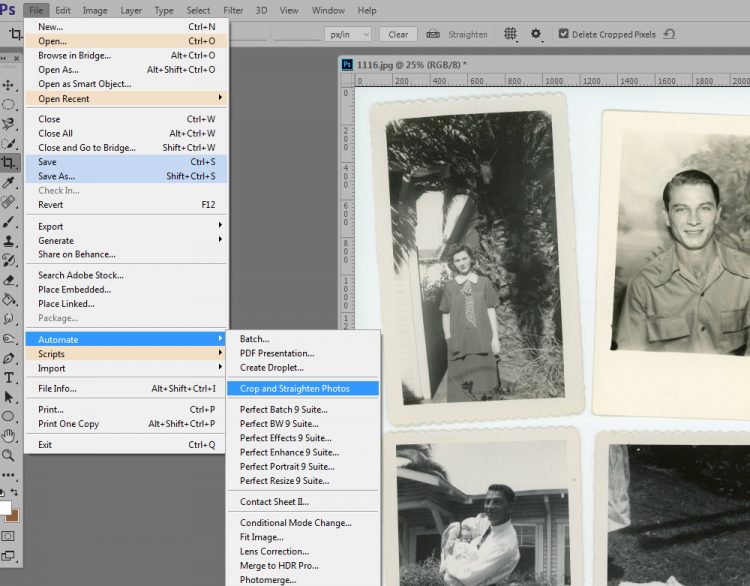
2. In Photoshop: File > Automate > Crop and Straighten. Then let Photoshop work its magic. It takes just a few seconds.
All 4 photos are on their own document.
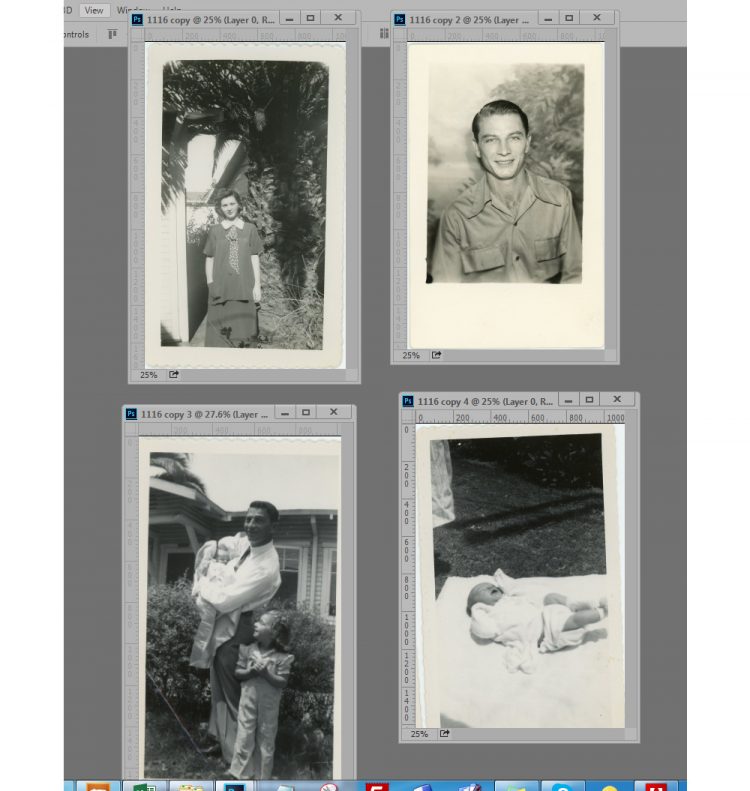
I think Photoshop did a great job of this. I think it did an especially good job with Photo #1 and 2.
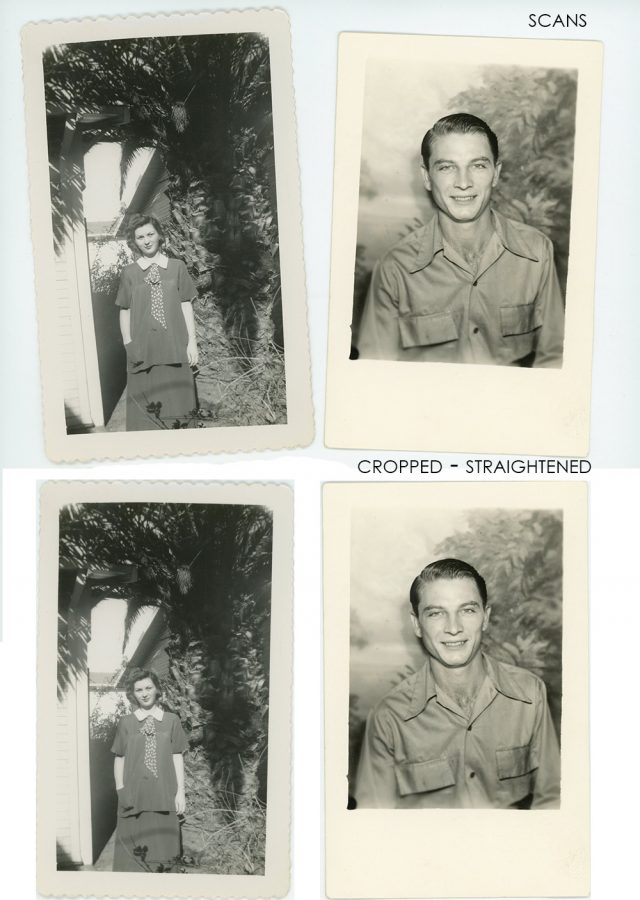
Notice the difference between the original scans and the final cropped-straightened photos #3 and #4. Photoshop looks for horizontal lines when straightening. In Photo #3, it focused on the roof line. In Photo #4, the top of the baby blanket. There is a slight rotation in photo #3 and the difference in photo #4 is negligible.
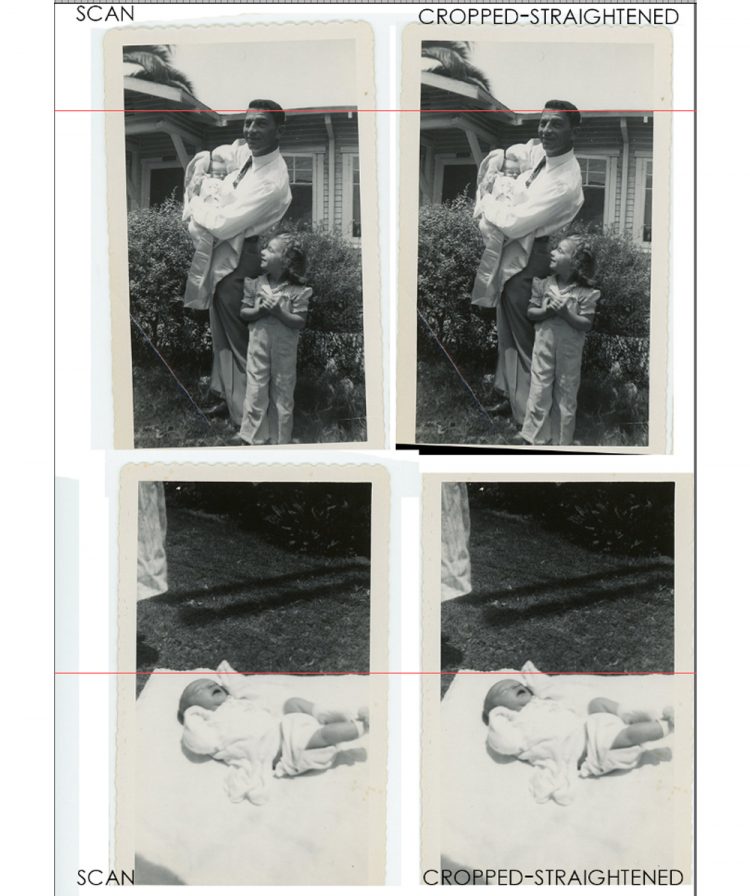
Overall, I am extremely happy with the results of all 4 cropped and straightened photographs.
There is something charming about old photograph borders and edges. You can take the time to extract the photo with the border, and just choose to save the photograph image itself.
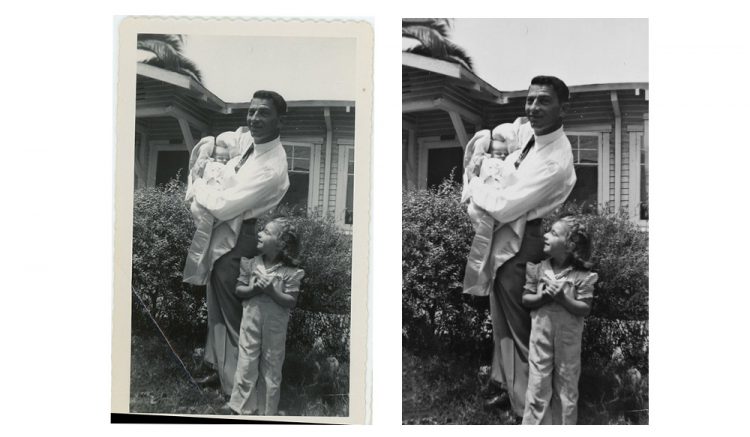
Complete any touch up as required. I used the Spot Healing Brush to remove the crease in the lower left corner of the photo. All that’s left to do is name and save your images.
Now the task of scanning years and years of photos isn’t quite as intimidating for me. I hope this tutorial is helpful for you as you consider how to digitize your precious family photographs or other documents.
If you would like to keep this tutorial on your computer for easy reference, you may download it here: Crop and Straighten Photos Automatically.


Wow! I didn’t even know I had this option in my PS… Can’t wait to try it… As always your tutorials are the best, I always learn something new and you make things so say to try! Keep them coming, I save them all. ?
That was supposed to say “so easy to try” … LOL
Thanks, Judy! I appreciate your feedback… and YES, this is an awesome tool!! I’ll look forward to hearing how it worked for you!
This is a great tool – the only thing I would add is make sure to leave some space between the photos. Wanna guess how I know this, lol? Thanks for the great tutorials, even though I use PSE, lots of the things you teach are available.
I didn’t know about this!!! I’m still not sure I want to scan all my old photos, but this is a great thing to know!!!
🙂 Connie. Thanks for the tip!
I hear you, Jill. Being selective is the key for me, I think.
I did this just last night, only on one photo. I was prepping a photo to make a brush from it and I wanted everything uniform. I just used the Crop tool with it’s ‘Straighten’ feature, but, oh, my! How easy!
My ex tore up all the children’s photos when they were small, but, I have the negatives. One day…..
I didn’t know about this ‘Automate’ thingy! LOL
Thank you!
Su
I’ve used this when scanning memorabilia also, like brochures and things. The only problem with scanning multiple photos is you can’t make any individual levels adjustments on them with your scanning software.
Yes, Su, the automated feature of this tool is really helpful – although I love the straighten tool with just one photo/document too.
Harriett, yes, that’s also a great idea. You would just need to make your adjustments after the documents are separated, which I’m sure you realized. Some scanners have “corrections” on them, but I wouldn’t think they would be as good as your own individualized adjustments.
Great tip! Thank you!!
Thank you for pulling this tip out of the archives and sharing it again. I have just started using PS CC and did not know about this feature. I have hundreds of scanned images that need to be separated and this tip is going to save me a lot of time. I was using PSE which does have a ‘separate scanned images’ feature but not combined with the straighten feature. Thank you Karen ???