Earlier this week, Manda (Nibbles Skribbles), posted the link to a fun tutorial on How to Place an Image in Text in Photoshop. Let’s round this week out with another title-technique tutorial: How to Create an Outlined Title.
Here’s how:
First choose your font, font size, and type out your title. (I am using Britannic Bold at 134 pt.) For this technique, the color font you choose is irrelevant.
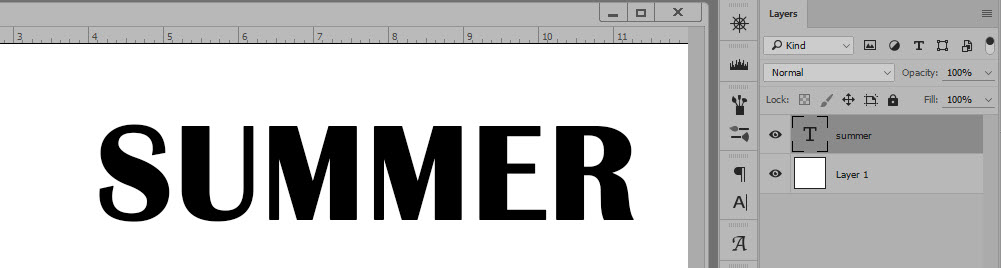
Choose your font and type your title.
Next, double-click on text layer itself (not the “T” icon), to bring up the Layer Styles Box. Check the box in front of “Stroke.” (Alternatively, you can click on the “fx” icon at the bottom of the Layers Panel, and select Stroke.)
You may see something like what is pictured below. Although you have “ticked” the Stroke option, another Layer Style Option might be “active”. Below the “Blending Options” are active. You can tell because “Blending Options” is highlighted in dark gray.
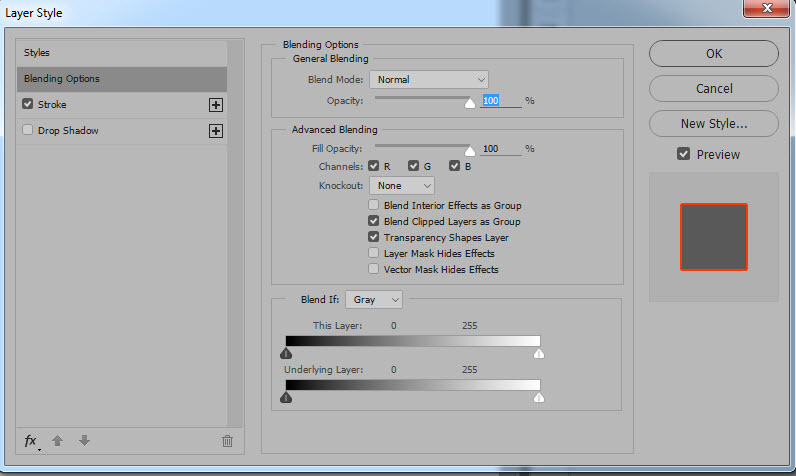
Blending Options are the current active Style option
Click on the Stroke “layer” in the left box, in order to make it the active Style. When you do this, you will see the Stroke options in the box on the right. In the image below, the Stroke Style on the left is now highlighted in gray (meaning it is now active), and the Stroke options are now visible in the box on the right.
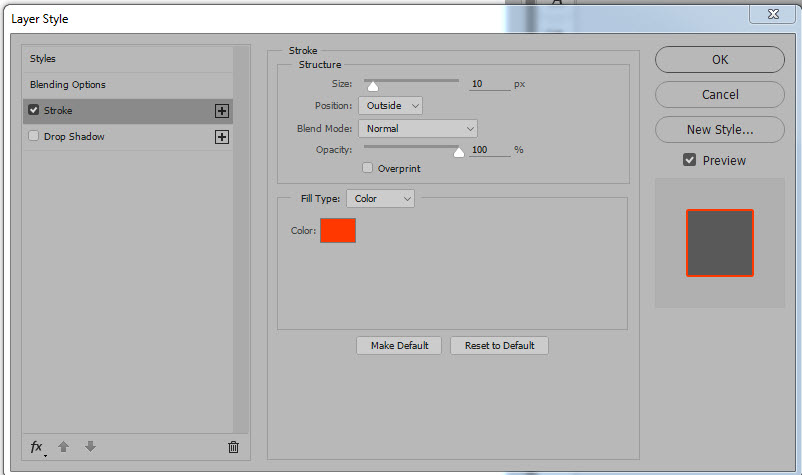
Stroke is now the active Style option
An easier alternative is to click on the “FX” icon at the bottom of the layers panel, then click on “Stroke.” When the Layers Style Panel opens, it will open with the Stroke options ready for you to use.
Chose what Size, Position and Color you would like your Stroke to be. For this tutorial, let’s leave Blend Mode and Opacity at 100%. You can always play with these later, once you are familiar with this technique. You may also choose to use a Fill Type other than Color, but for now, let’s use Color.
I’ve chose to use a Red Color, a 10 px sized Stroke, and I have positioned the Stroke on the Outside (of the text.)
Next, go to Fill, at the top of the Layers Panel, and drag the opacity of the Fill layer to 0%.
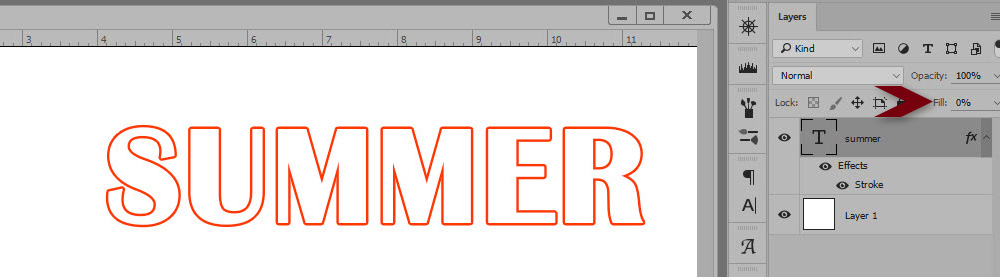
Fill Layer is 0%
That’s it! Sometimes pages need a title without a lot of weight, and when that is the case, this technique is a perfect choice.
For this tutorial I was using Photoshop CC2015.5. The Fill option is not available in Photoshop Elements; however, you can still achieve the same results using a different technique. Here is a great tutorial for you: Add Stroke on a Different Layer (Photoshop Elements).
If you would like to download a PDF of this tutorial, you may do so here: How to Create an Outlined Title.
You may also watch a You Tube video on the SnickerdoodleDesigns You Tube Channel or the Digital Scrapbooking Studio You Tube Channel. Be sure to follow both Channels, so you don’t miss a thing!


Thank you!! Thank you!! Didn’t know how to do this and was googling this just the other day!
You are so GOOD! I didn’t know the fill layer did that! I have wished I could do something like this on numerous occasions. AND another simple tutorial. Thank you so much.
Faith
x
[…] past two weeks we have focused on Text Effects. (How to Create an Outlined Title; How to Place an Image in Text in Photoshop). Today let’s take a look at how the Warp Tool […]