It’s Black Friday, and I know many of us are going to be shopping the Great Sales provided for us today! So, after you’ve completed your shopping, and are ready for some more fun, try experimenting on your images with Color Lookup! It’s fun, fast, and easy.
For this tutorial I am using Photoshop CC2017. Color Lookup is in other versions of Photoshop, but is not available in Photoshop Elements.
Just follow this simple process:
- Open the image you would like to work with.
- Add a Color Lookup Adjustment layer by:
- Clicking on the Add Adjustment Layer > Color Lookup at the bottom of the Layers Panel, OR
- Go to the top Menu Bar: Image > Adjustments > Color Lookup, OR
- In the Adjustments Panel, click on Color Lookup
- The Color Lookup Table will open, showing 3 different Tables. (3DLUT File, Abstract, Device Link). By clicking on the down-pointing arrow to the right of each Table, you will see options within that table. Click thru the options to see the effect each has on your photo. (Tip: Once you click on any of these options, you can use the Up and Down keys on your keyboard to quickly scroll through the list.)
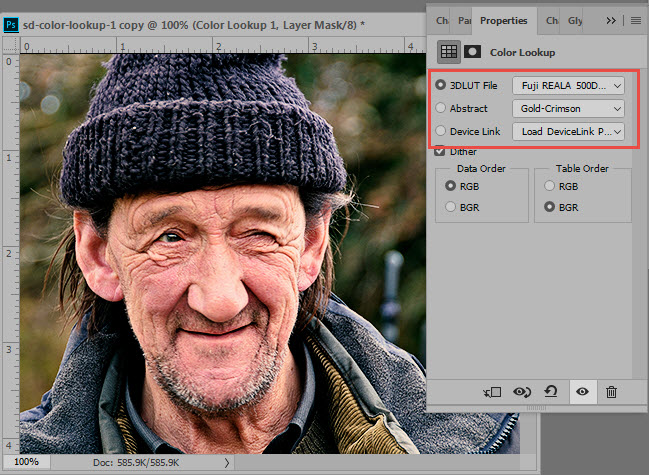
Color Lookup Options
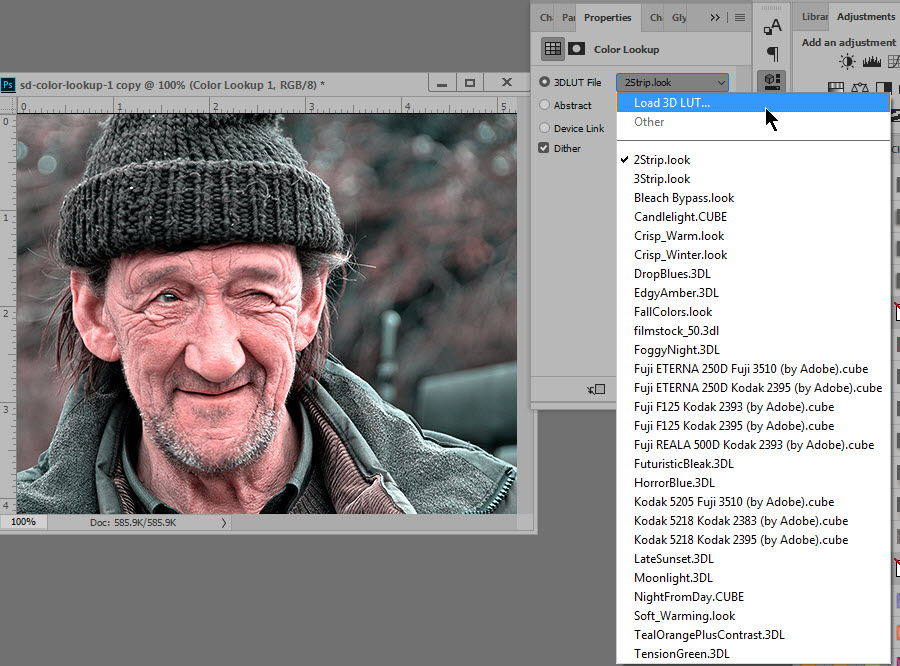
Expanded Options
Here is my original photo:
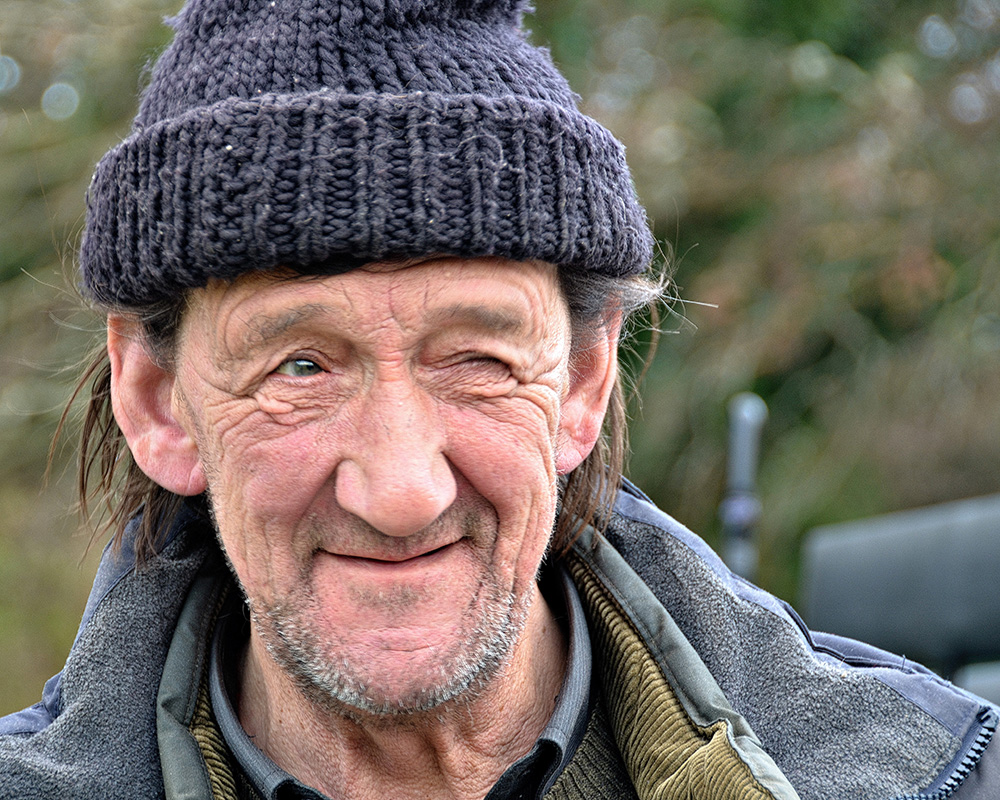
Original Photo
Here are just a few of the effects that were achieved by a simple click of the mouse:
 I do like many of these options, but this might be my favorite. (Abstract / Green-Red):

Once you decide upon the Color Lookup option you want, you can experiment with Opacity and Blend Modes of the Color Lookup Adjustment layer if you like, for some additional fun effects! I added a slight Levels Adjustment to the image above.
Enjoy and have fun!
If you would like to download a PDF of this tutorial you may do so here: Adjust your Images with Color Lookups


Another something I didn’t know, thank you. What a great character he is.
Faith
x
I’m glad it is helpful for you, Faith! Yes, he definitely is a character. We met him when we were visiting Ireland.