I had so much fun today! I took some time to play. Not work. Not scrap. Nothing for nobody but me. It was exhilirating!
I am a fan of all things Adobe. As a zero-ability-to-draw artist, I have to find creative ways to create. In comes Adobe. My life saver. On screen, my imagination comes to life. I can manipulate photo’s, images, scenery to take the shape of the pictures in mind. What my hands can’t do with pen & paper, my hands can do with mouse & Adobe.
So, of course, I subscribe to their Create Magazine. Sometimes I read it, sometimes I don’t. Today I did. I’m so happy I did! Today they included a free photoshop action. A simple action. A fun action! I immediately downloaded and went off to play.
Because I have no patience. Because just maybe this is not your idea of fun. Let’s start with my results. The photoshop action is by Mike Campau. The edits & photo’s are mine:

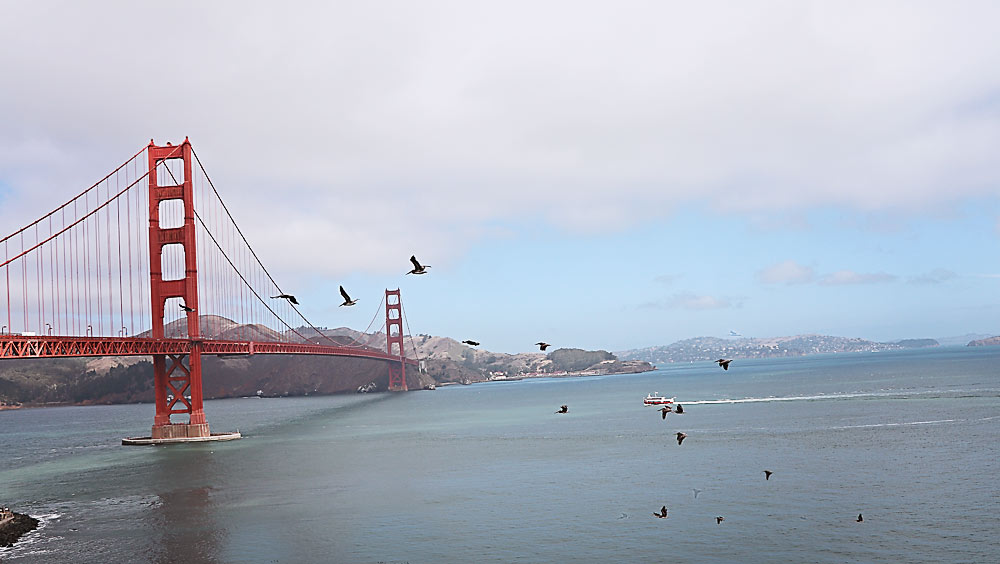
Golden Gate Bridge, San Francisco, October 2017 by Toiny
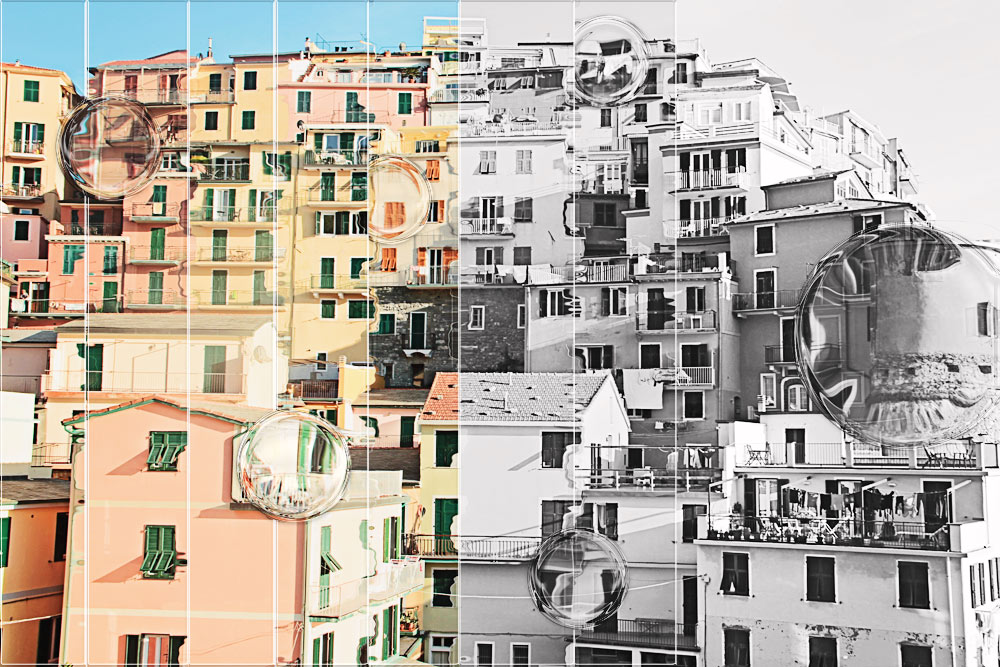
Manarola, Cinque Terre, Italy, May 2016 by Toiny
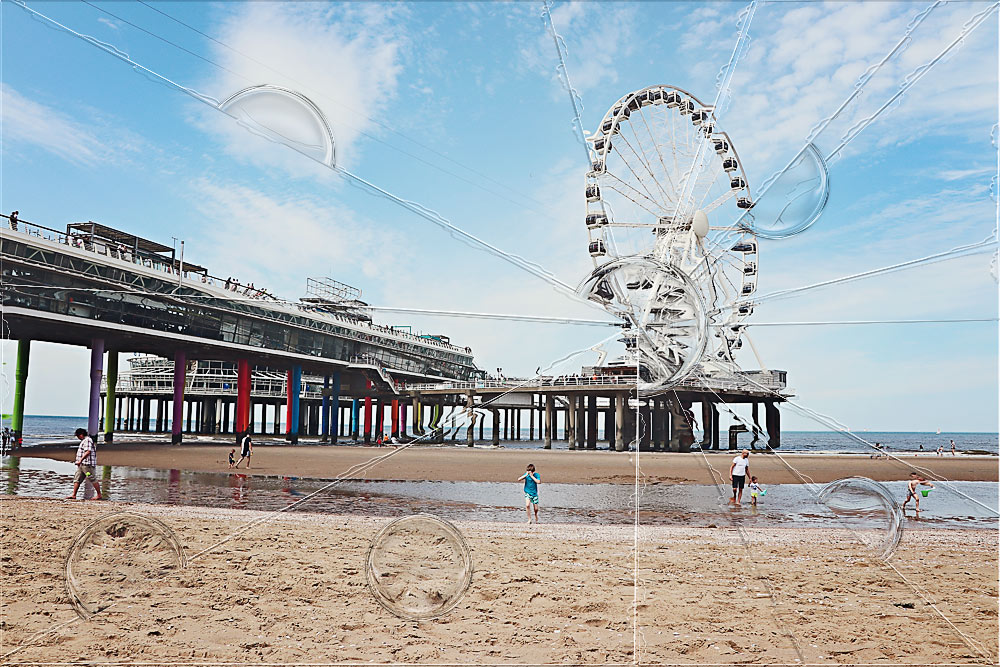
Scheveningen, the Netherlands, May 2018 by Toiny
Intrigued? Excited? Worried it’s too hard? It’s not! You can do this too! So. Much. Fun. Let me walk you through it.
Go download the action: Free Photoshop Action Set: Mike Campau’s Looking Glass Effects
There are two actions in the Action Set (Adobe Looking Glass Actions):
- Adobe Looking Glass Circle Selection
- Adobe Looking Glass Square Selection
It helps to understand that you must select a portion of your photo in order for the action to work. You can’t just open a photo, hit play on the action, and voila! Have a fantabulous result. Believe me, I tried.
So, let me walk you through it & give you some hints.
- Open a full-size photo. Web-size photo’s give a bad result.
- Make a duplicate layer. Simply drag your background to the “create a new layer” button at the bottom of your layers panel:
- Choose the Elliptical Marquee tool (M) in your menu bar & draw a circle on the Background copy of your photo.
Hint: Hold down the shift key while drawing your circle, this will make for a perfect circle - With the Background copy of your photo still selected in your Layers panel, click play on the Adobe_LookingGlass_Circle_Selection:
- Repeat until you are happy with all your circles. You can add a Square Looking Glass too. Simply change your Elliptical Marquee tool (M) by right-clicking it and choosing Rectangular Marquee tool (M)
and just like… tada! Done.
I played a little more and discovered that I could do shapes other than squares or circles by using the Polyganol Lasso tool (L) and then running the square (I prefer this) or circle Looking Glass action.
I used my Schevening beach photo for this, I wanted to mimic the spokes of the giant ferris wheel in my Looking Glass shards.
- Repeat steps 2 & 3 above. Then choose the Polyganol Lasso tool (L) in your menu bar and draw any shape. I choose a triangle:
- This can get tricky, so turn off the visibility of both the Background copy & Background layers. Then draw your next triangle using the the Polyganol Lasso tool (L).
Hint: Be sure to turn visibility back on & ensure you are on the Background copy layer before pressing Play
Continue until you are happy with your Looking Glass effect. Add in circles as the spirit moves you.. and tada!
A final little “trick” to make this action even more fun, it helps to understand what is happening so you can get the most fun playing with this cool tool.
Each time you select a square, circle, or random shape, and hit Play, the action makes a copy of just the selection. Just the selection is run through the Looking Glass action. Each finished selection is then saved into a separate group. These groups can be moved around in your layer palette. Depending where you place a SquareGlass group or a SphereGlass group changes your result. This is also how you can get some circles to appear as half circles, or even 3/4 circles with a little practice.
Watch as I change the layer order of my SphereGlass group and how it changes the effect in my photo. I’ve marked the SphereGlass group I’m moving in red. And the SquareGlass groups in green & yellow.
It’s your turn! Go play! Have some fun. Change it up. Share your images in our gallery, on Instagram or Twitter. Be sure to hashtag: #thestudio #lookingglassaction


Leave A Comment