 There is nothing I don’t love about Mermaid Tales! Blues, greens, ocean, mermaids… these are a few of my favorite things
The layouts in the gallery and on social media make me smile every time I spot a new one. The variety is astounding. From super arty pages (how do you guys do it?) to traditional pages filled with adorable kids, they are all fantastic and a joy to behold.
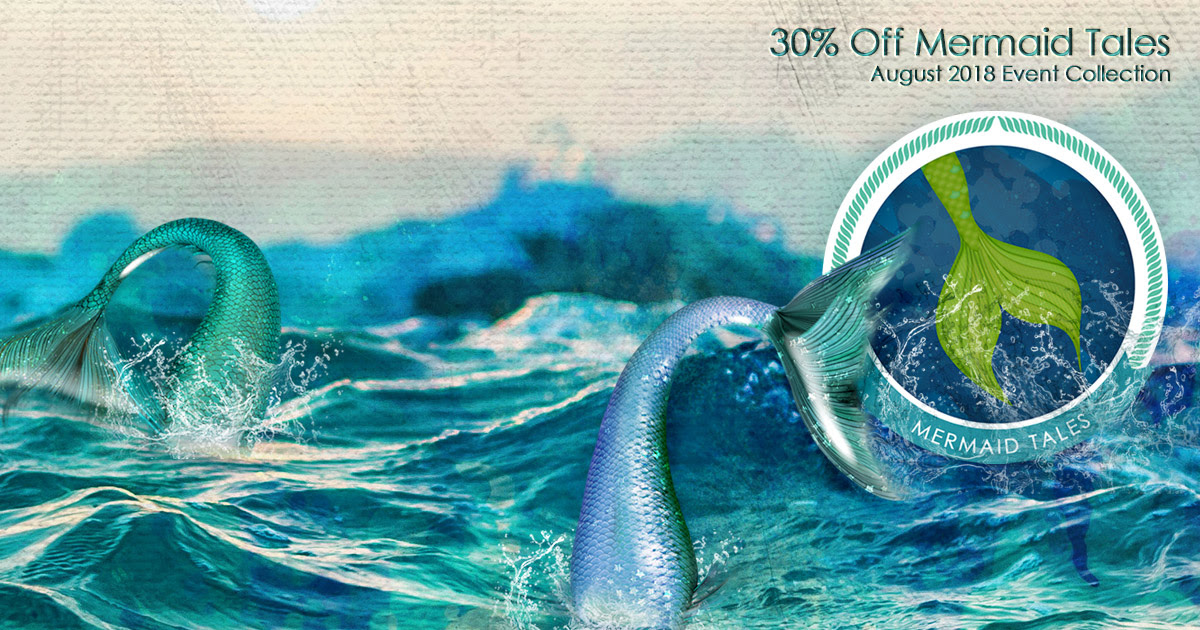
I haven’t had a chance to play with Mermaid Tales, between my trip to the states and my broken ankle, playtime has ground to a halt. But! I did *have* to make a banner to herald the arrival of Mermaid Tales.
I found both ocean-themed paper and actual mermaid tails in Heartstring Scrap Arts Mermaid Tales collection. What I didn’t find were splashes. And I love splashes! Luckily I have a little photoshop experience so I was able to make my own. I thought maybe you’d like to make your own too!
I used Adobe Photoshop for this tutorial; Heartstring Scrap Arts Mermaid Tales collection and free Water Splash Photoshop Brushes I found on Photoshop Brushes by Brusheezy!
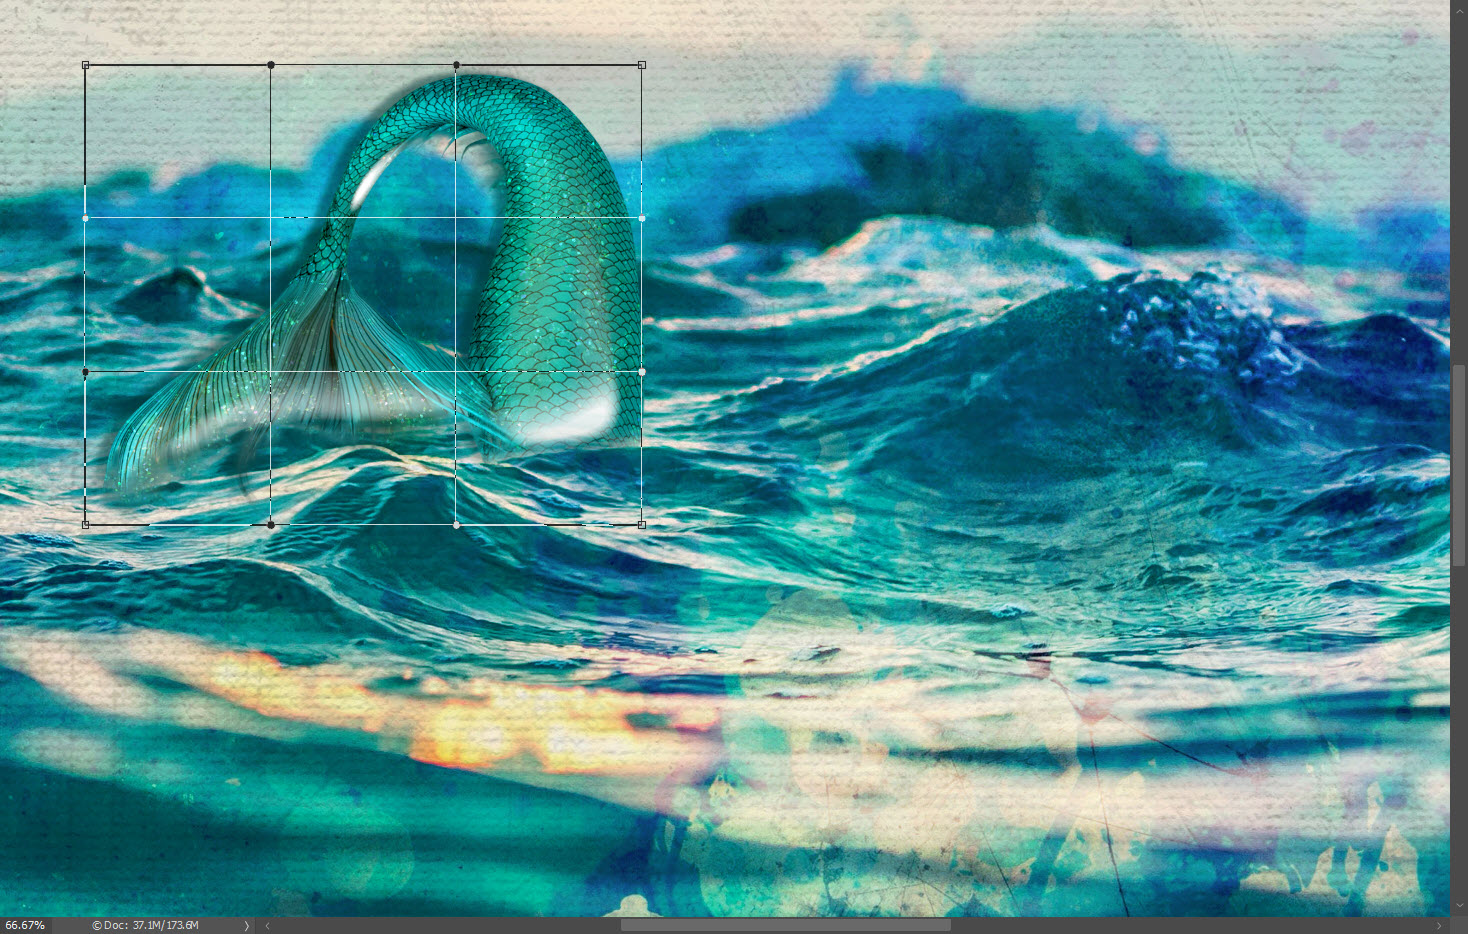
I start with opening photoshop, HSA Mermaid Tales paper (HSA-mermaidtales-artypp6.jpg) and her gorgeous green mermaid tail element (HSA-mermaidtales-tail2.png). Honestly? It looks pretty awesome right out of the gate!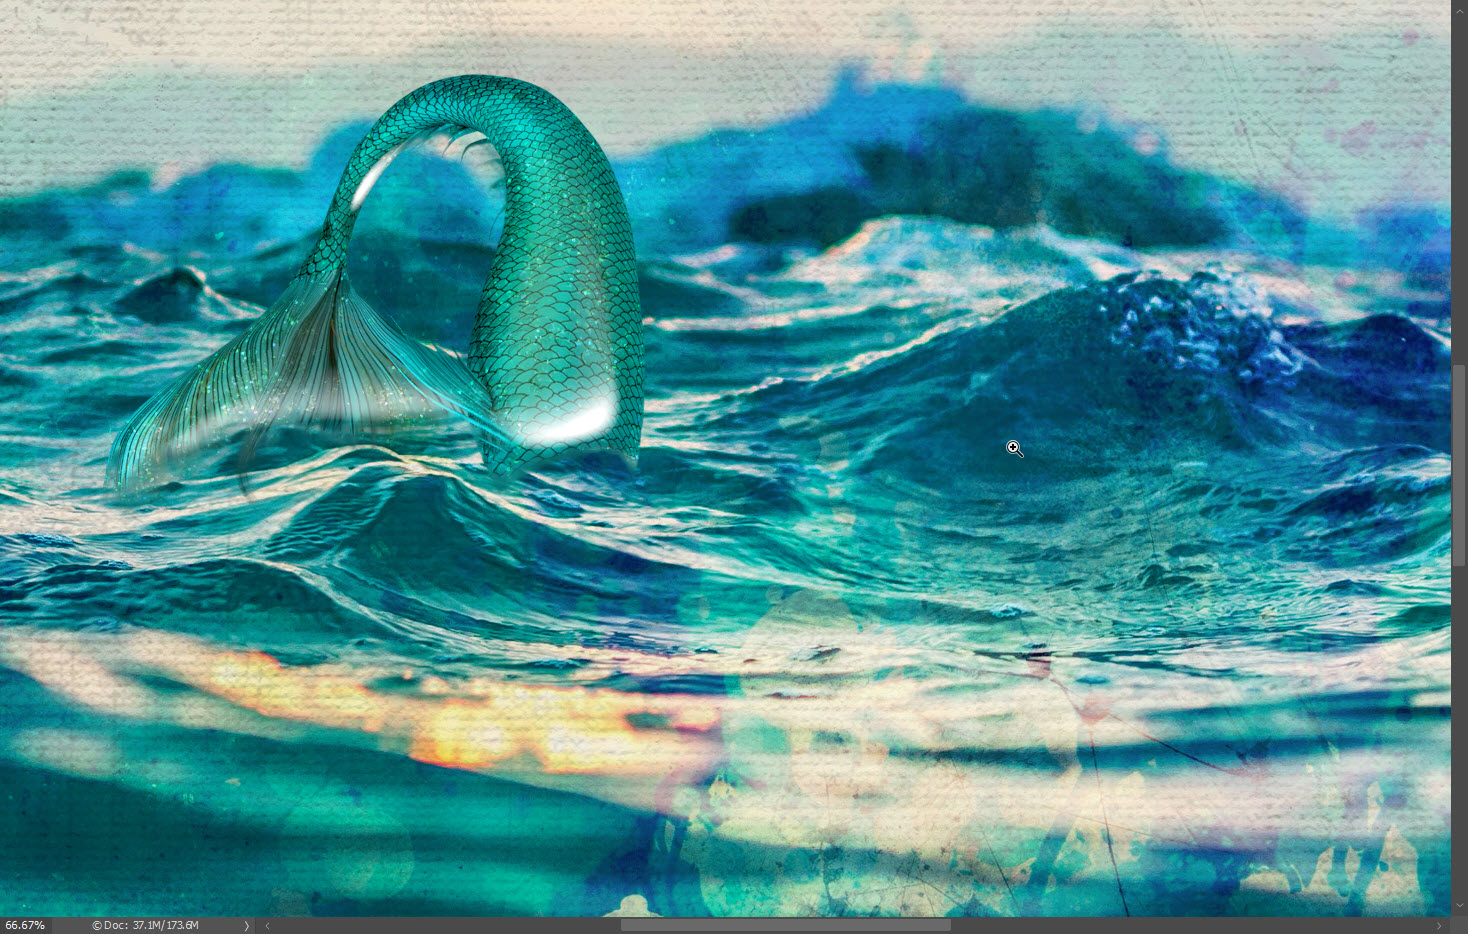
Next I add a mask to the Mermaid Tail:
- At the bottom of the Layers panel, click the Add Layer Mask button to create a layer mask.
- This prevents destruction to the element itself.
- I use a soft round brush to gently paint out part of the tail to better blend it into the water

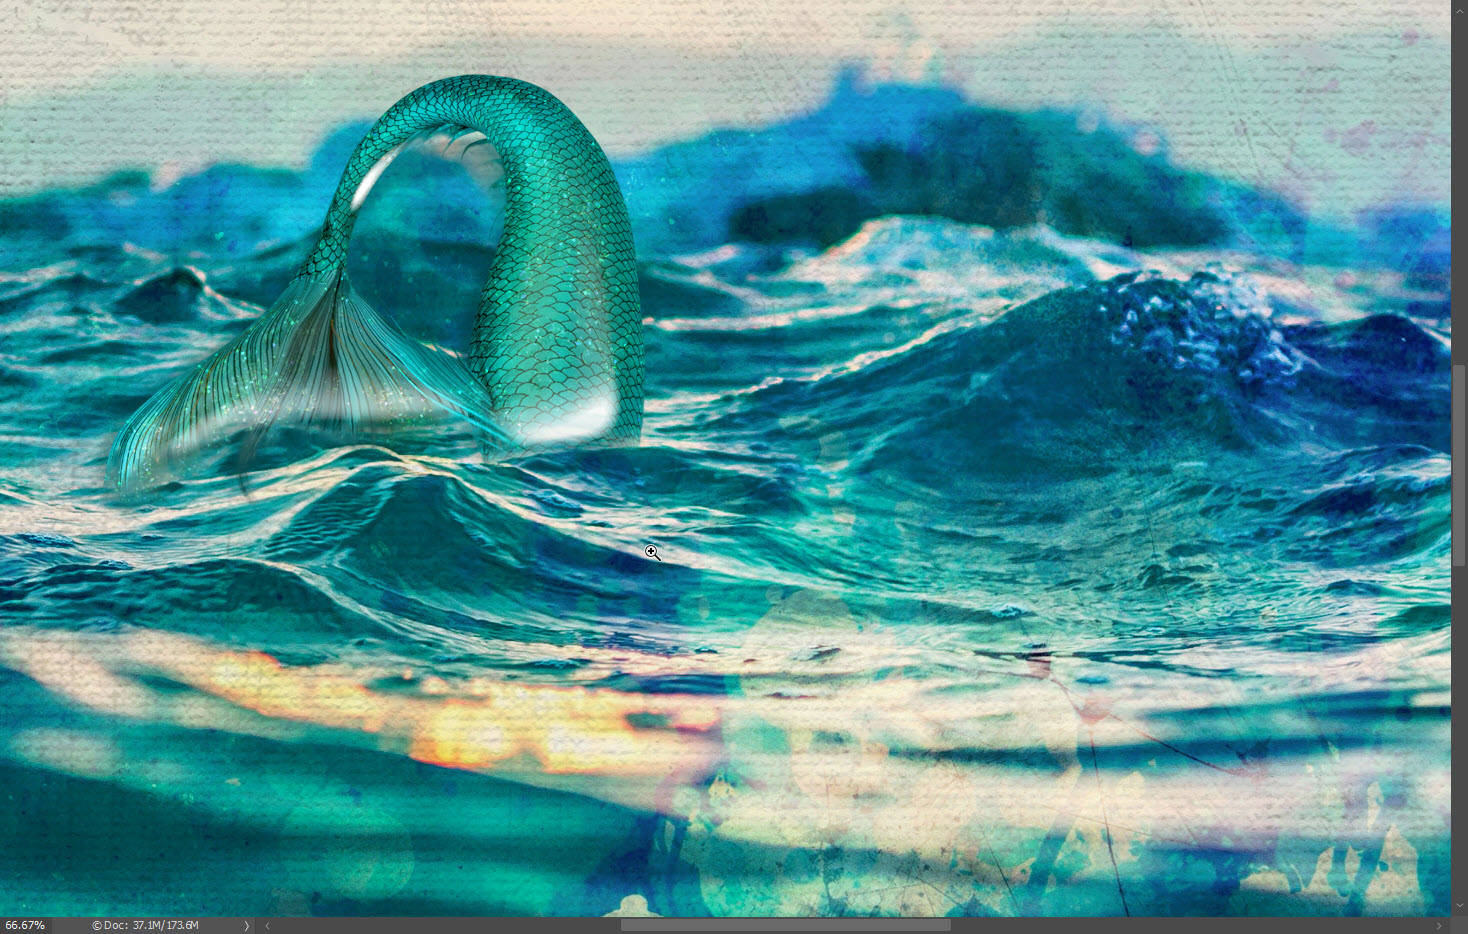
I added a shadow to the tail to distance it a little from the background. Shadows always require a little customization depending on the background you are working with. These are my settings for this shadow, on this background:
- I choose a dark green color from the water: #003635
- I set the Blend Mode to: Darker Color
- I reduced the Opacity to 54%
- I kept Distance & Spread to 0
- I set Size to: 21 px
My shadow wasn’t perfect. I decided it need a little warp. I also decided I needed to write/video a tutorial on warping shadows. Unfortunately I’m short on time today. But it’s coming!
The basic steps for warping a shadow:
- First Create Layer
- Right click on the fx on the Mermaid Tail layer
- Choose Create Layer from the dropdown options
- Click on the newly created shadow layer
- Be sure you are on the Move Tool
- Click –>Edit–>Transform–>Warp
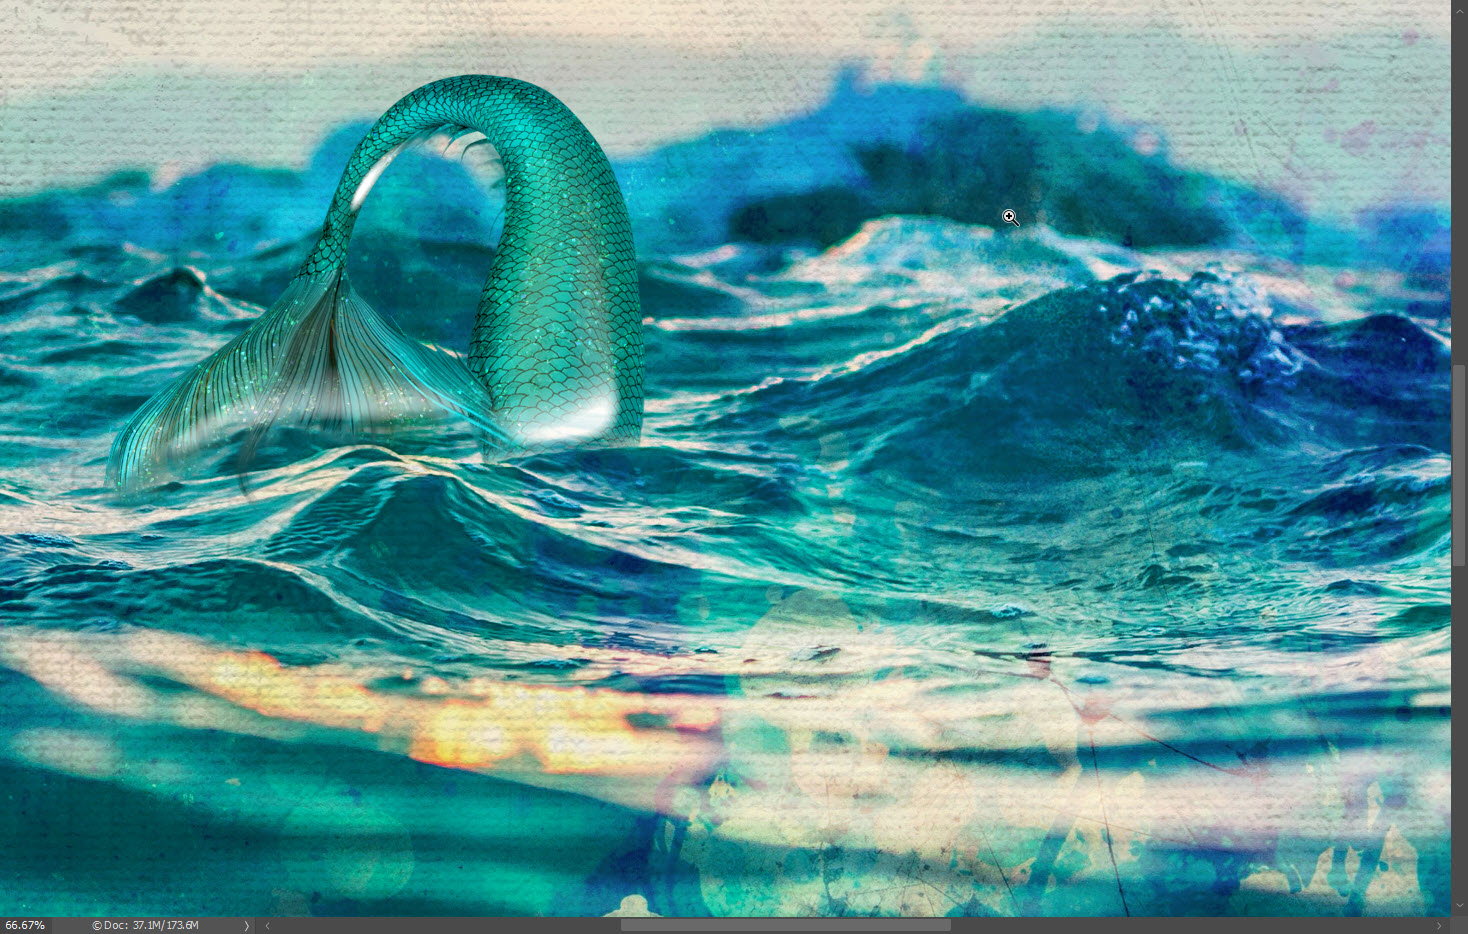
You can now grab the corners or lines and manipulate your shadow. I just wanted to pull it down a little right at the bend to give the illusion of coming out of the water.
Great! Tail is good to go. It’s time to add in a splash. First load the Free Water Splash brushes. Karen, SnickerdoodleDesigns, wrote a great tutorial a while back to help you load those brushes: Installing Brushes in Photoshop
- I choose Splash 3 as my brush
- I painted it onto a new layer, in white at full opacity
- I shrank it by 50% and rotated slightly to fit my mermaid tail
- I also warped the splash slightly to better match my mermaid tail
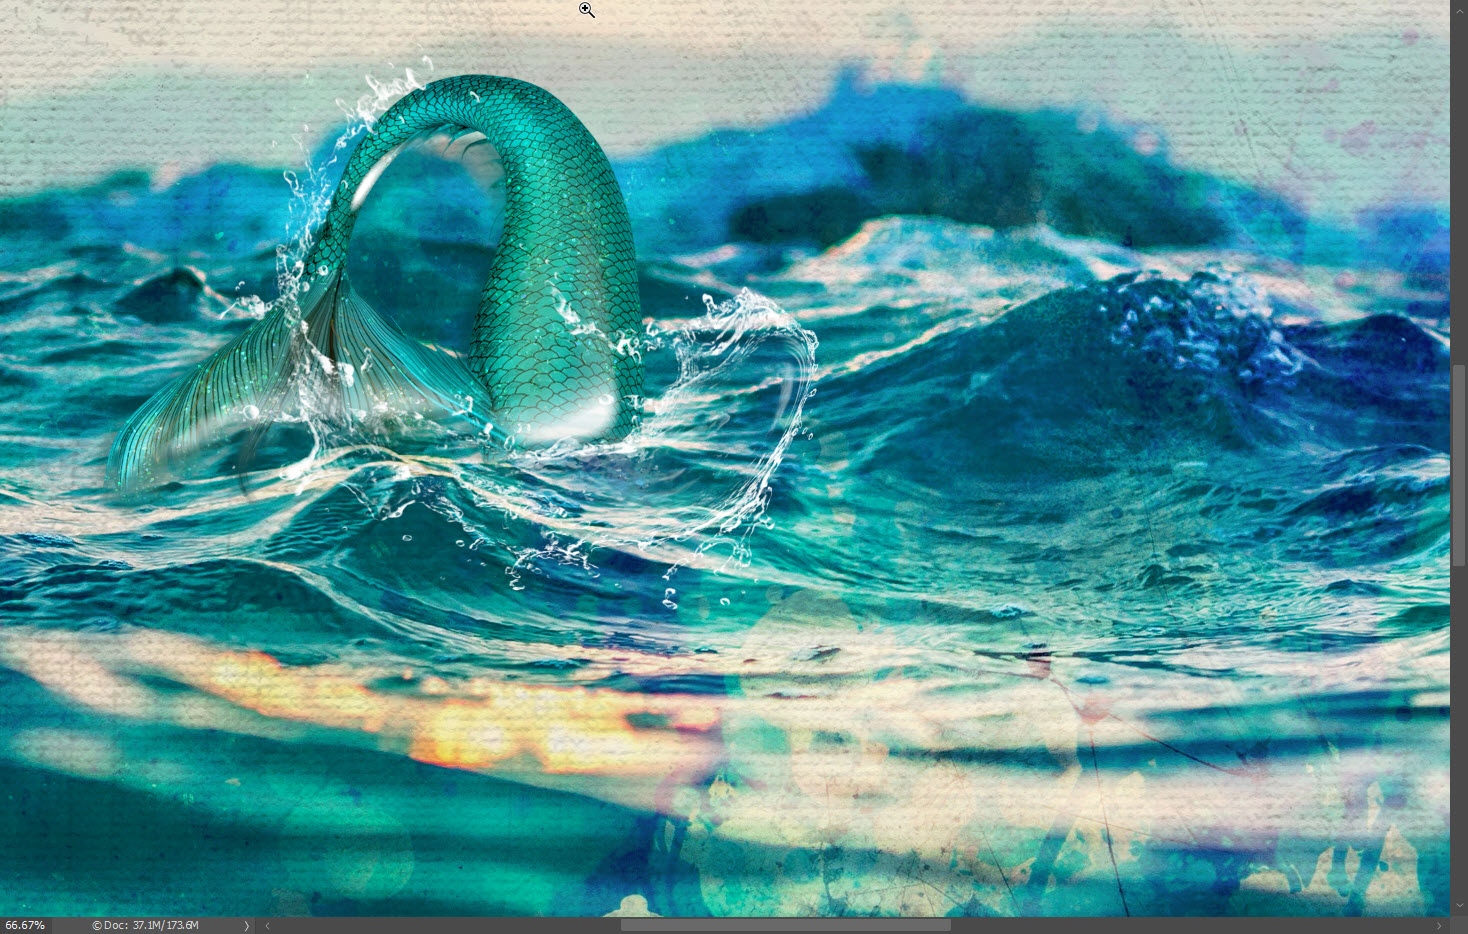
Almost done! I want to add a little bit of color, matching the water in the background paper, to blend the splash with the page. I also want to add a drop shadow to pop it away from the background a little.
My settings:
- Open the Layer Style Palette
- Set Drop Shadow to:
- #003635; Darker Color
- Opacity 54%
- Distance 16 px
- Spread 0%
- Size 10 px
- Set Outer Glow to:
- #106890; Screen
- Opacity 35%
- Set Gradient Overlay to a mix of medium blues & greens from the background paper
- Blend mode: Pin Light
- Opacity: 26%
- Style: Linear
- Angle: -5
- Set Inner Glow to white; luminosity at 68% opacity
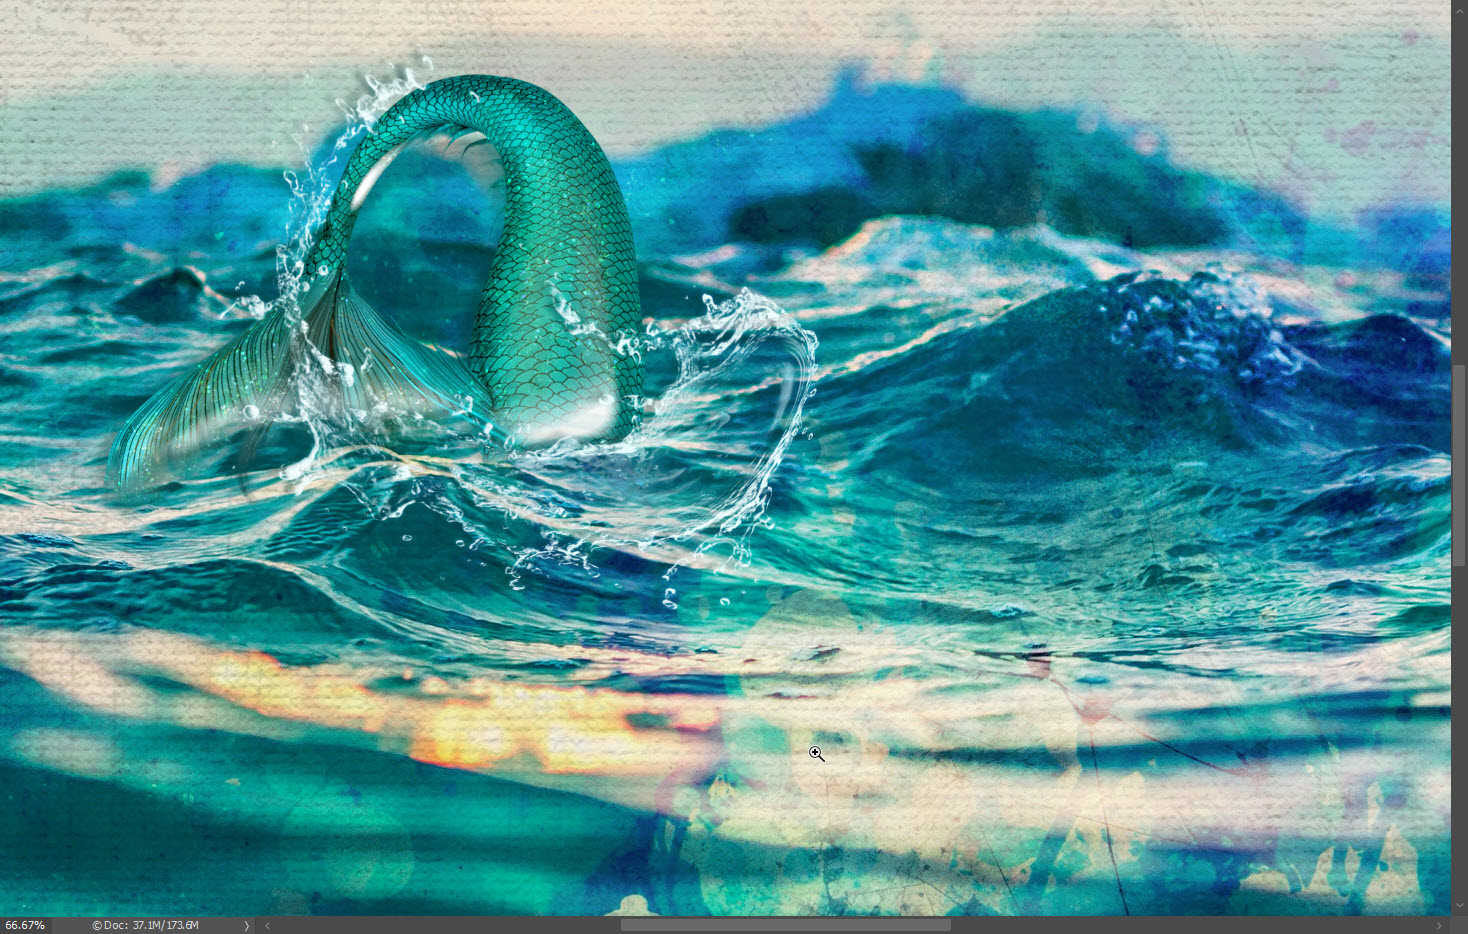
And that’s it! You are done! PHEW!
I know it’s a little finnicky. A little nit-picky, but believe me the extra effort is worth the effect it adds to your page. Just in case it’s all a little much, or you are in a hurry today, I’ve created 3 splashes for you. These are full-size, meant for 300 dpi pages, free for personal use. Enjoy!


WOW! GREAT tutorial and splashes, I can see me revisiting this a lot LOL. Thanks
Thanks so much! These are delightful!
So great for pool splashes as well. Thank you.
Thank you! Going to have to try this out.
Super tut! And thanks for the splashes, too.
Thank you very much <3