Hi, Sonja here with another Quick Tip on how to make your word art stand out on your layout! The last time we talked about using your word art as a clipping mask and applying blending modes.
If you want to refresh your memory, you can check this Quick Tip out here: https://blog.digitalscrapbookingstudio.com/2019/11/quick-tip-make-your-word-art-stand-out/
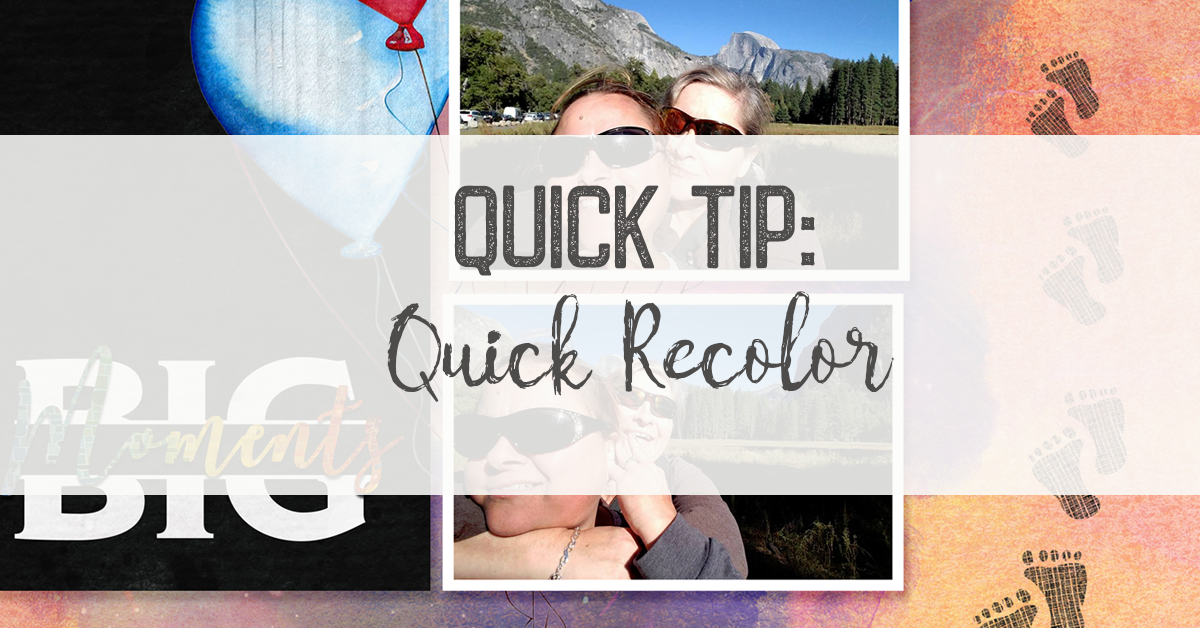
Today, I’m going to show you a very quick and easy way to adjust the color of your word art to match your layout perfectly! This trick works in both Photoshop and Photoshop Elements.
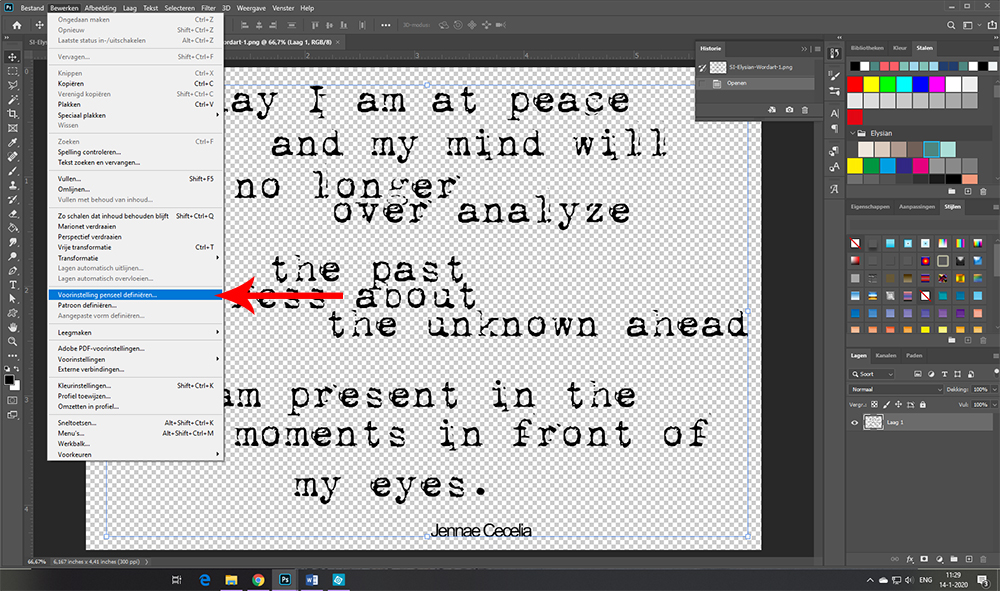
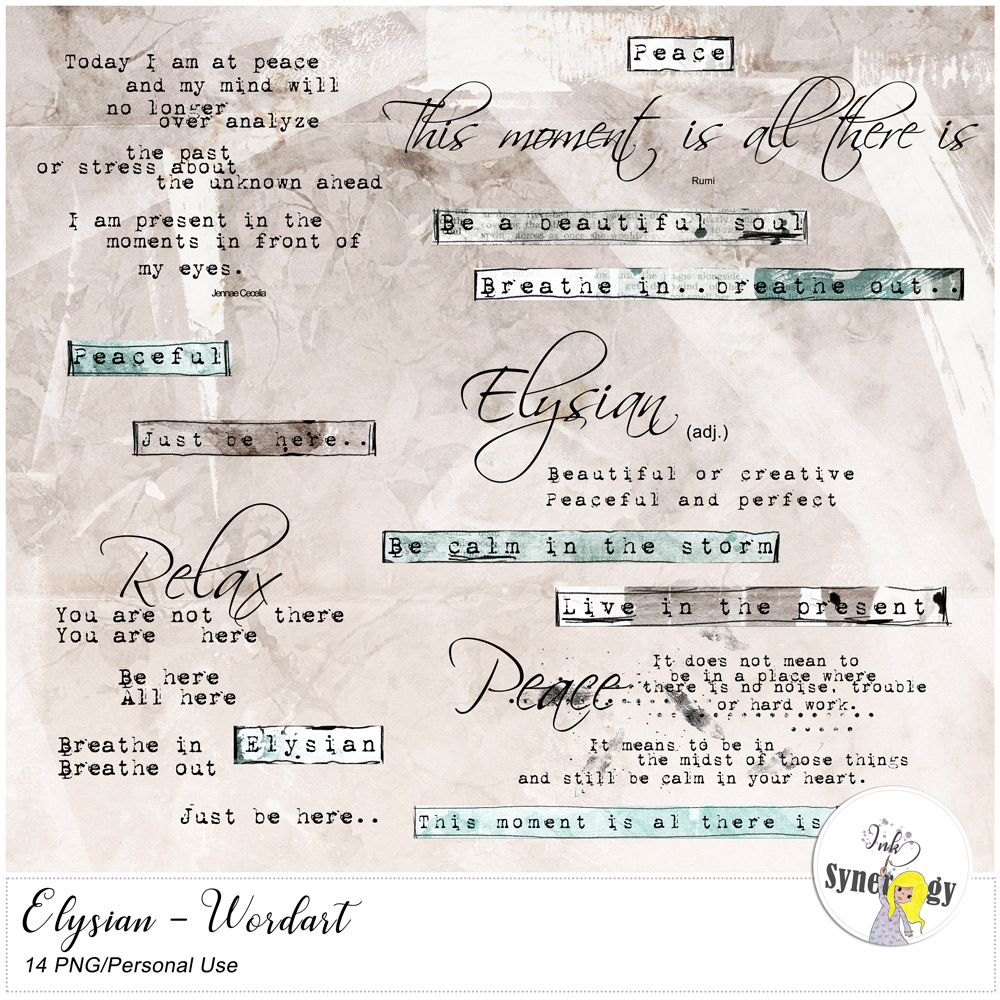
Start by opening the word art element you have chosen to use on your layout. This can be a single word or larger tekst. Whatever you choose will be fine!
- Go to Edit > Define Brush Preset (Photoshop); or
- Go to Edit > Define Brush (PSE)
- Save your wordart as a brush.

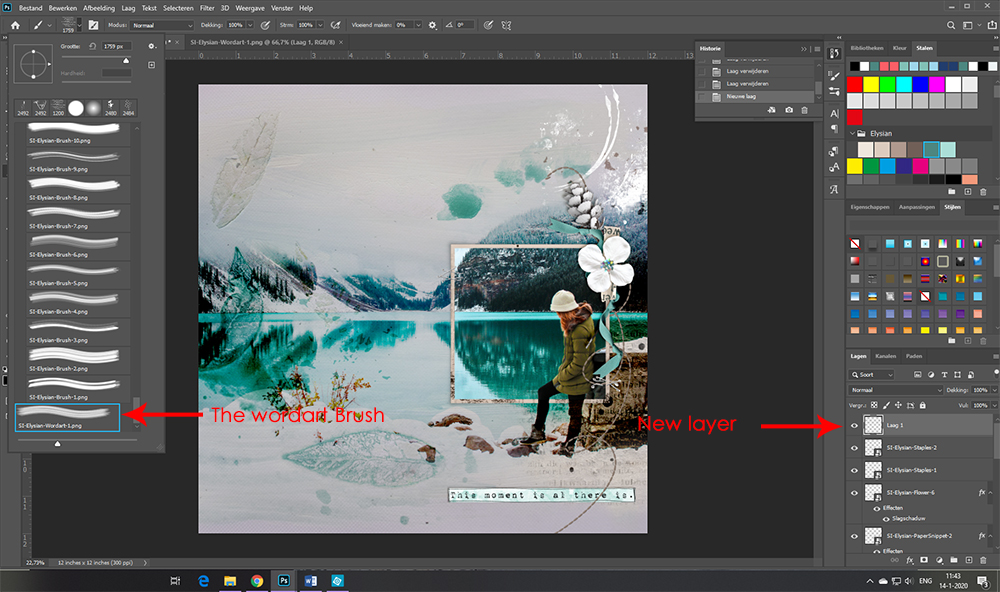
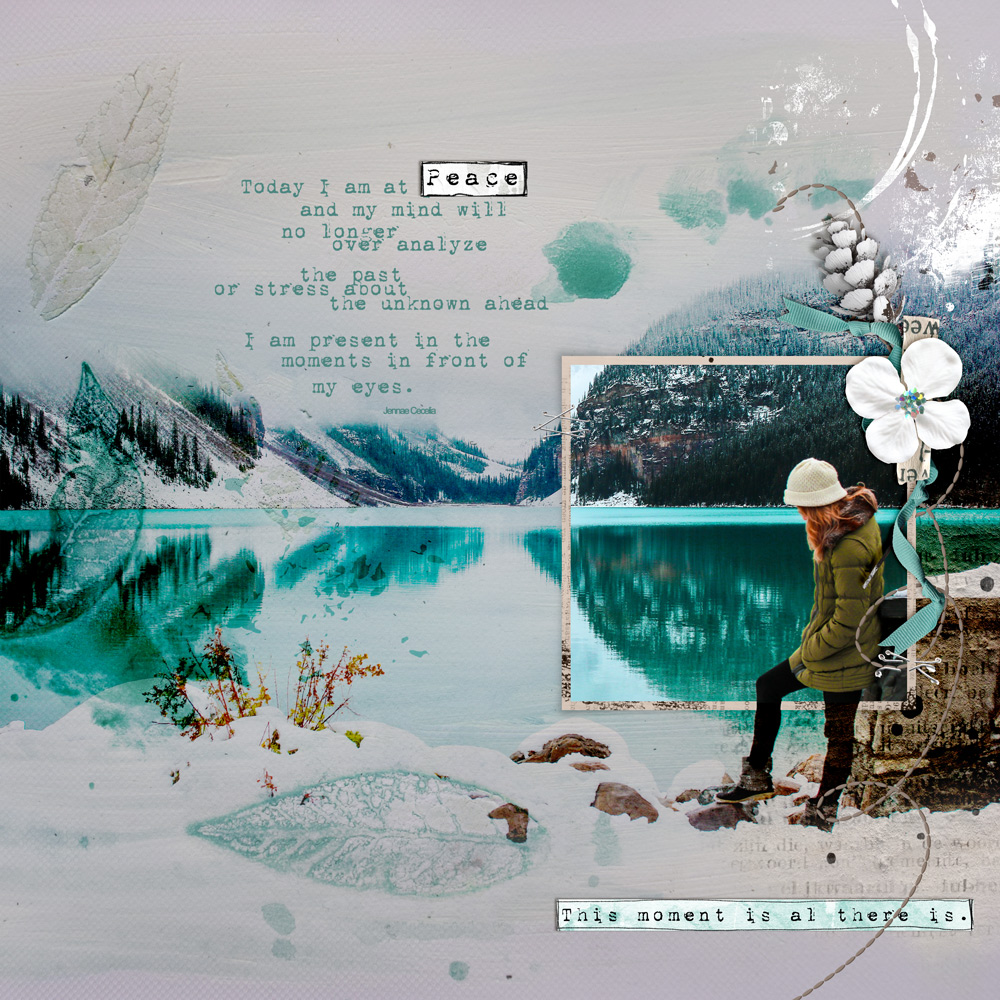
Next: make a pretty layout, or start with a background and your word art and build your layout around it.
I opted for the first one. When it’s time to add your word art, first make sure you add a new layer in the layers panel.
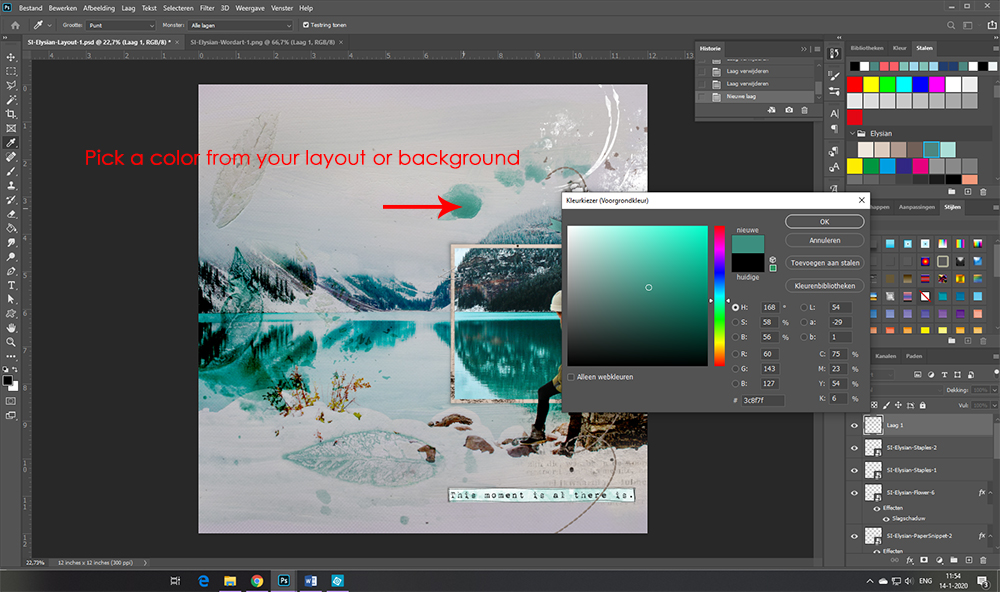
Now open the eyedropper tool in your toolbox to select a foreground color and select the color you want on your layout with the little color pipette. I chose the blue/teal color from the paint drops.
You can now select the brush you just made and apply it on the new layer! You can adjust the size of your brush by using the bracket keys on your keyboard.
Et voila!
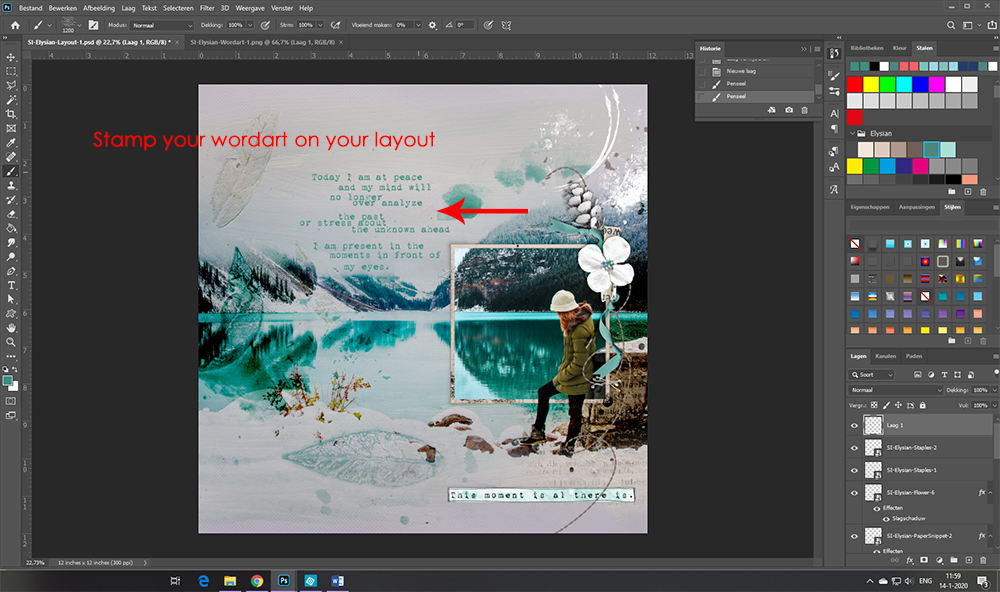
You can draw extra attention to the word art by using a word strip with matching or additional words.
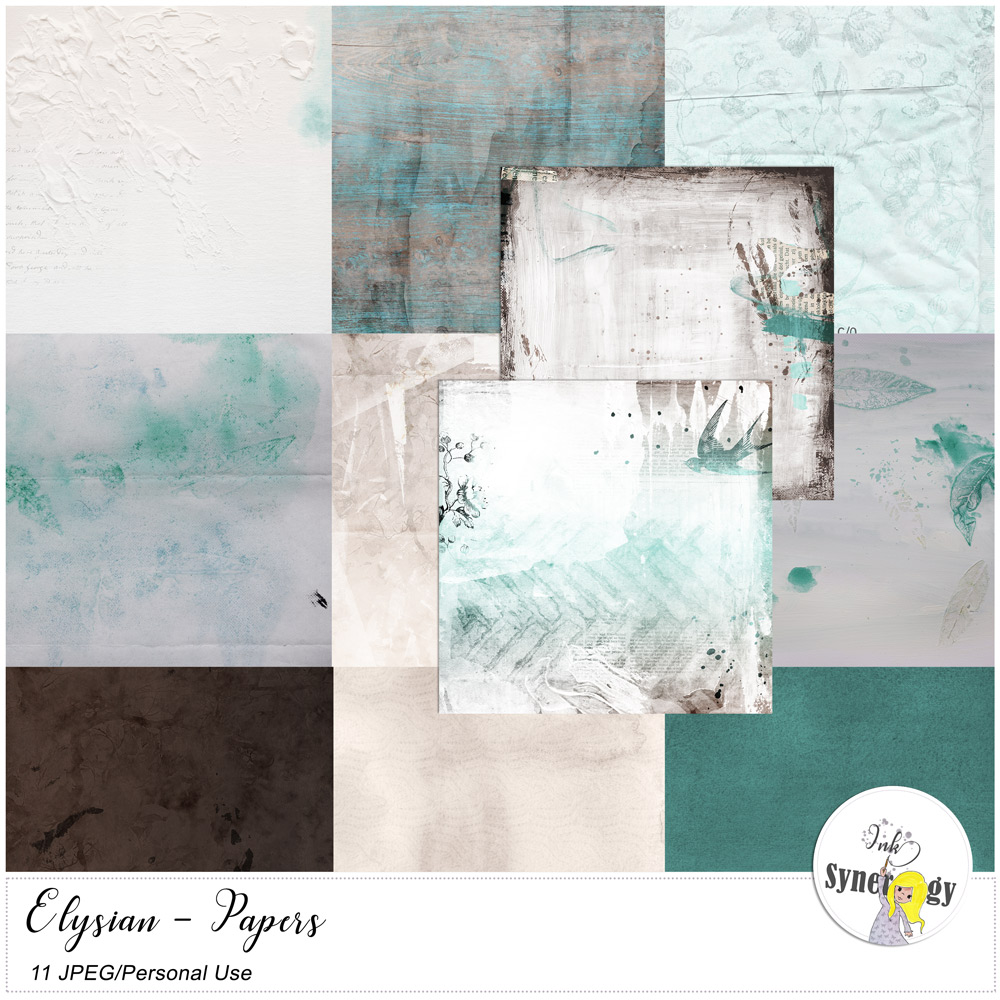
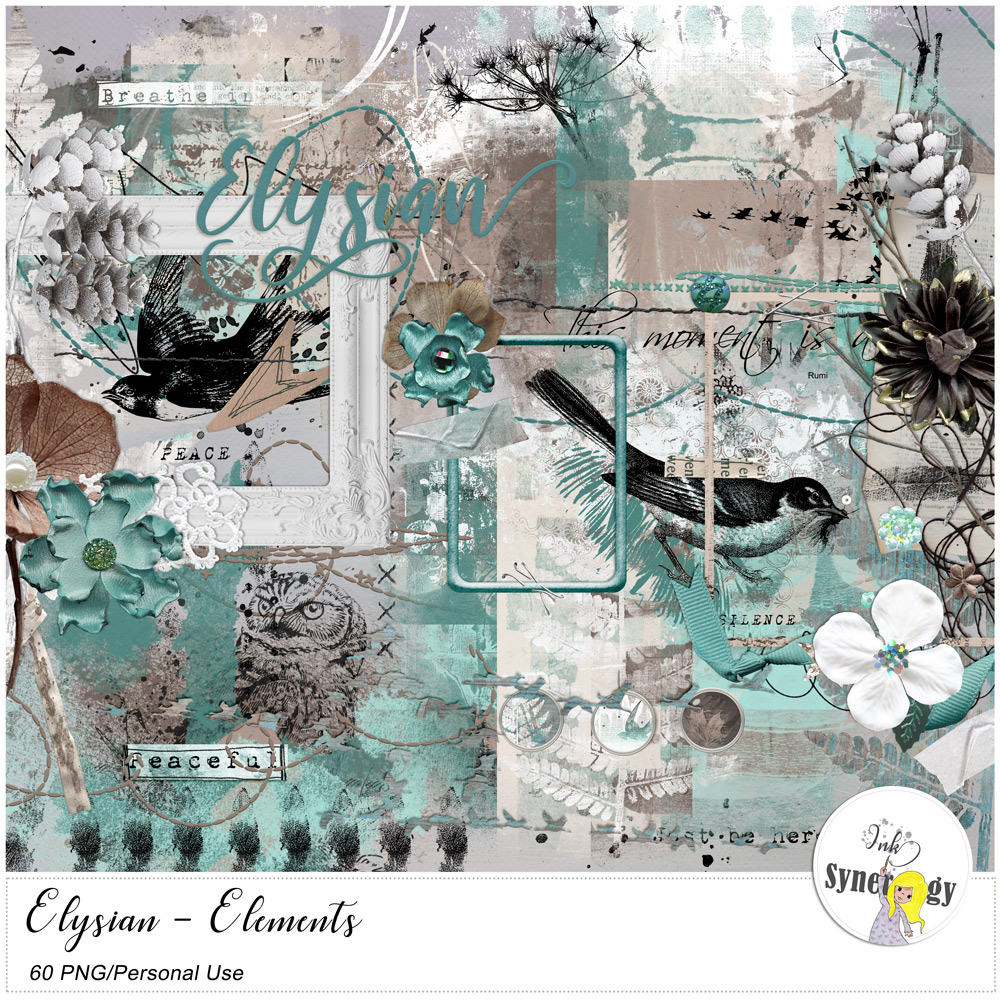
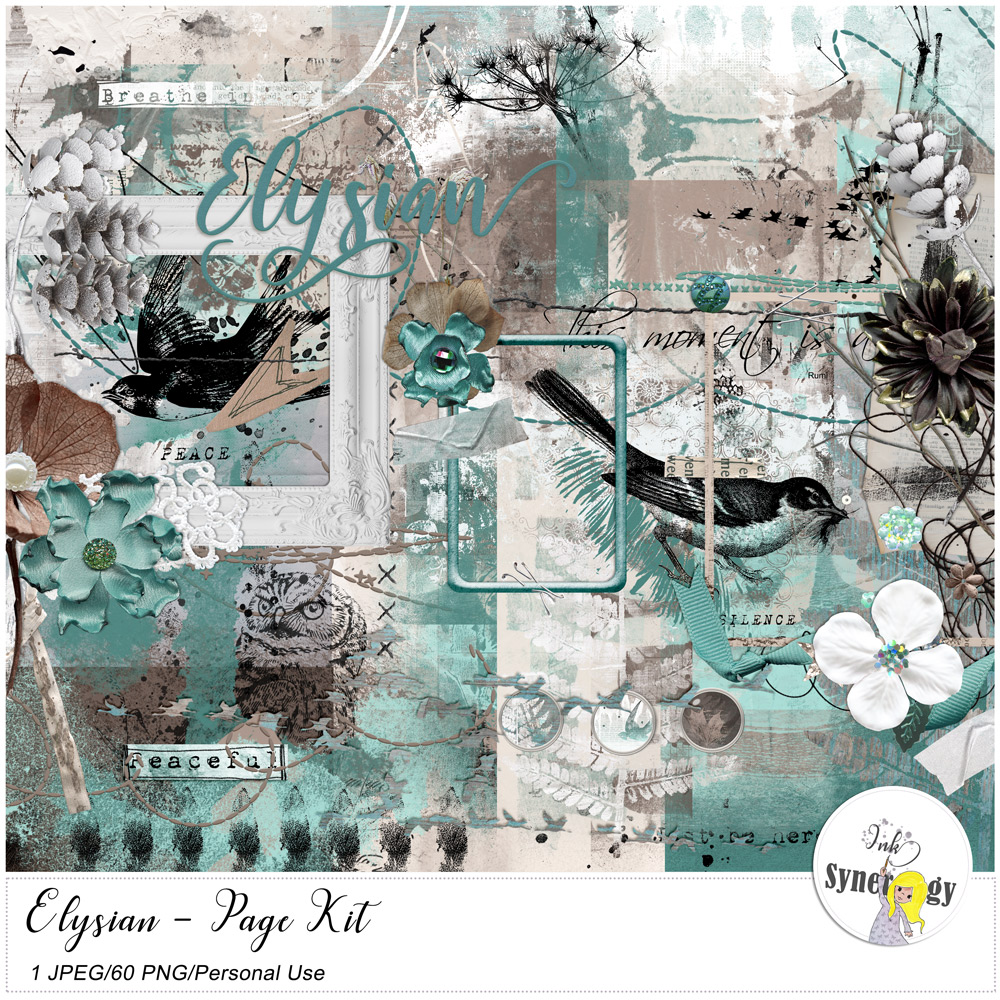
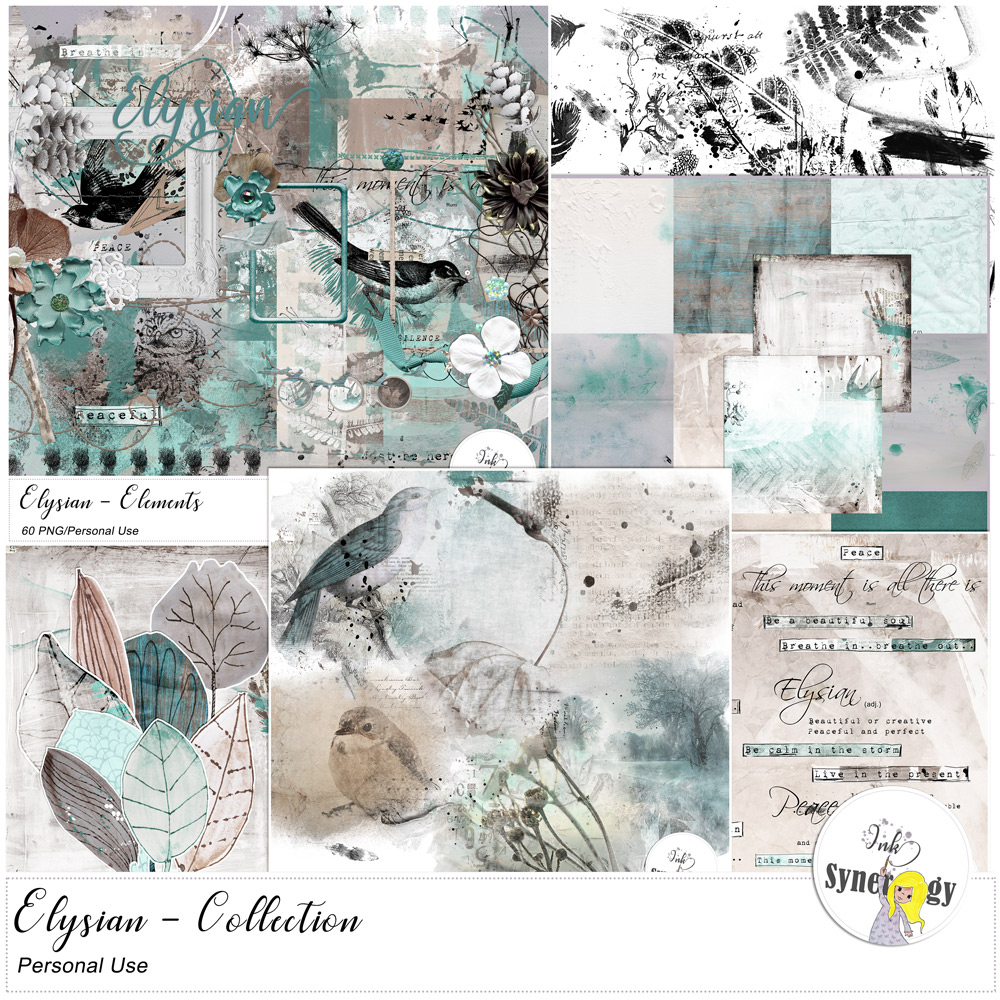
Here’s my final result using my new Elysian Collection:
And, finally: here’s a little “Snowed In”-matching freebie, available in my store this week:

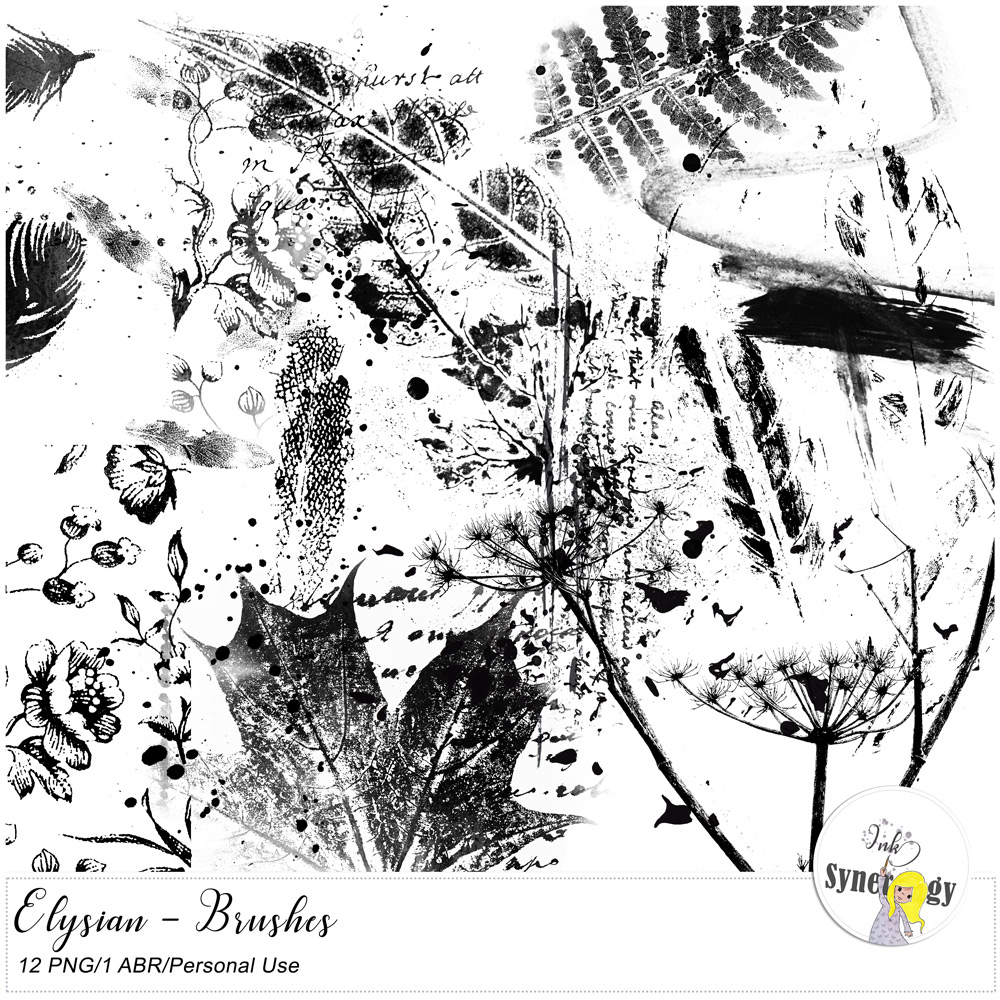
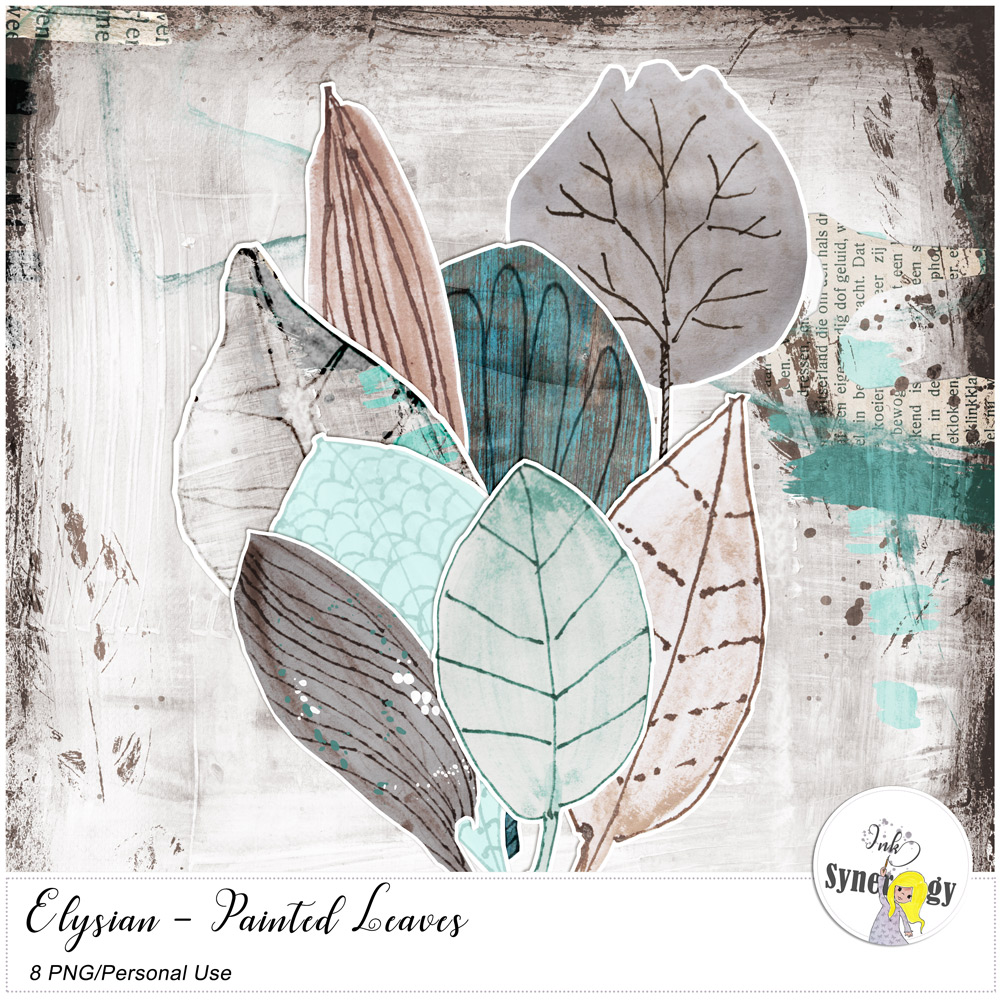
My Elysian Collection is now available in my store:


Thanks for the tip, Sonja! & the cool word arts!
Thank you Pam! I’m glad you liked it!
How do I save these wonderful tutorials if there’s no button to click on for a .pdf copy?