Hello again! Before we jump into today’s topic, I have two quick notes:
First, I’m hosting a challenge this month in the forum So, whatever mobile device you’re working on, running iOS or Android, jump in and join me!
Second, more on font installation. Last post, I wrote a little about how to load fonts to iPad using the freemium iFont app. Affinity Photo for iPad, which I used in last week’s post and again in today’s, has built-in font management.
For me, there are two cons and one pro for using it. I’ve had some crashes around this feature, and the installed fonts are only available for use in Affinity apps. But on the upside, it is generally a lot faster than installing fonts for system-wide availability. So, for someone using mostly Serif apps for typography (or if time’s an issue), it’s a great feature. For someone using a variety of apps and wanting broader access to a font, I’d consider installing for system-wide use via iFont or another management app.
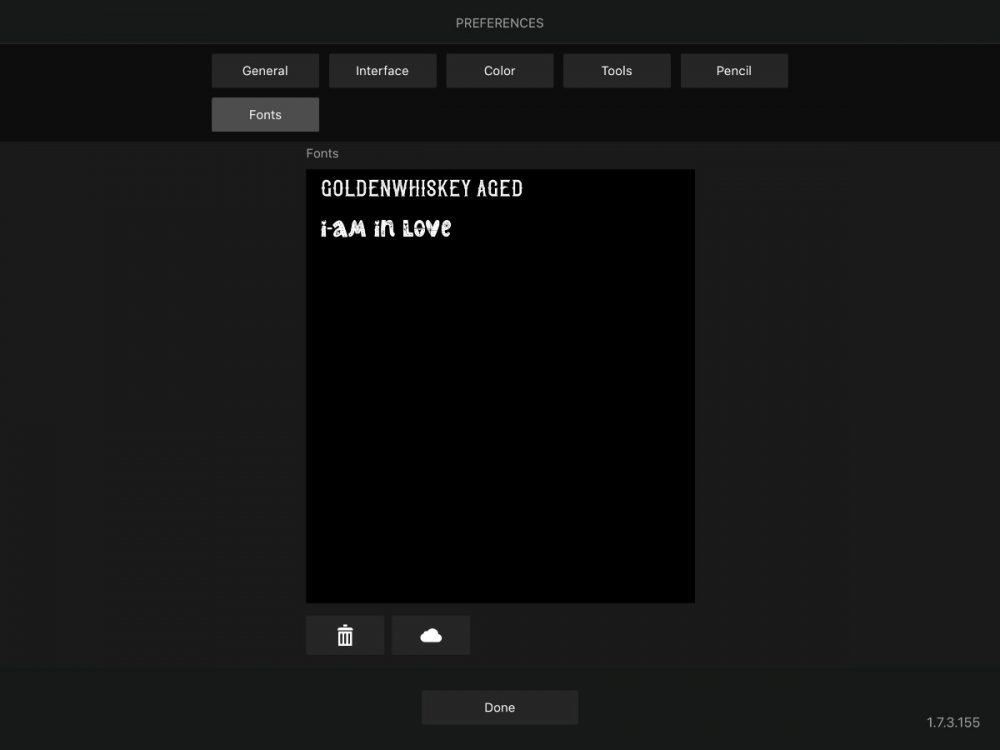
To access Affinity’s font management, tap the Preferences menu in the Home screen, and go to the Fonts tab. You can download from the cloud and delete fonts here.
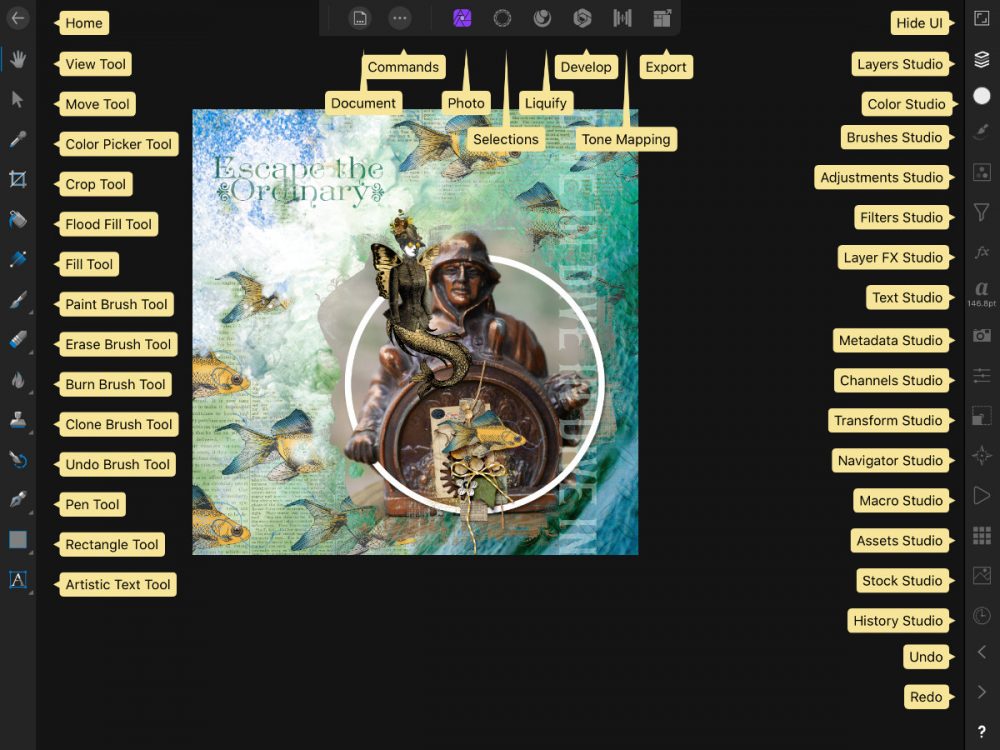
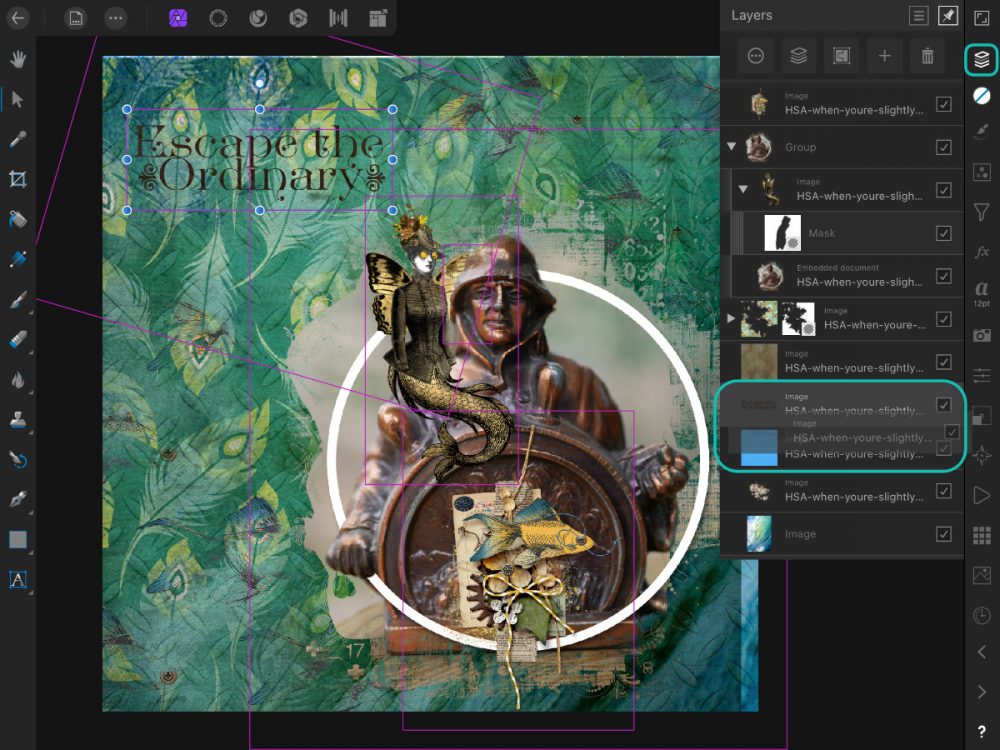
Below is a screenshot of Photo’s Help call out, showing the Photo Persona (highlighted in purple). This is the area of the app I was working in for this layout. Tap the ? in the bottom right of the screen to access this quick reference. We’ll be using Layers Studio, upper right, and Move Tool, upper left.
So, let’s get creative! I use masking in almost all of my layouts. Heartstrings Scrap Art’s When You’re Slightly Strange Collection had some great clipping mask resources including layered frame + mask .PSD files.

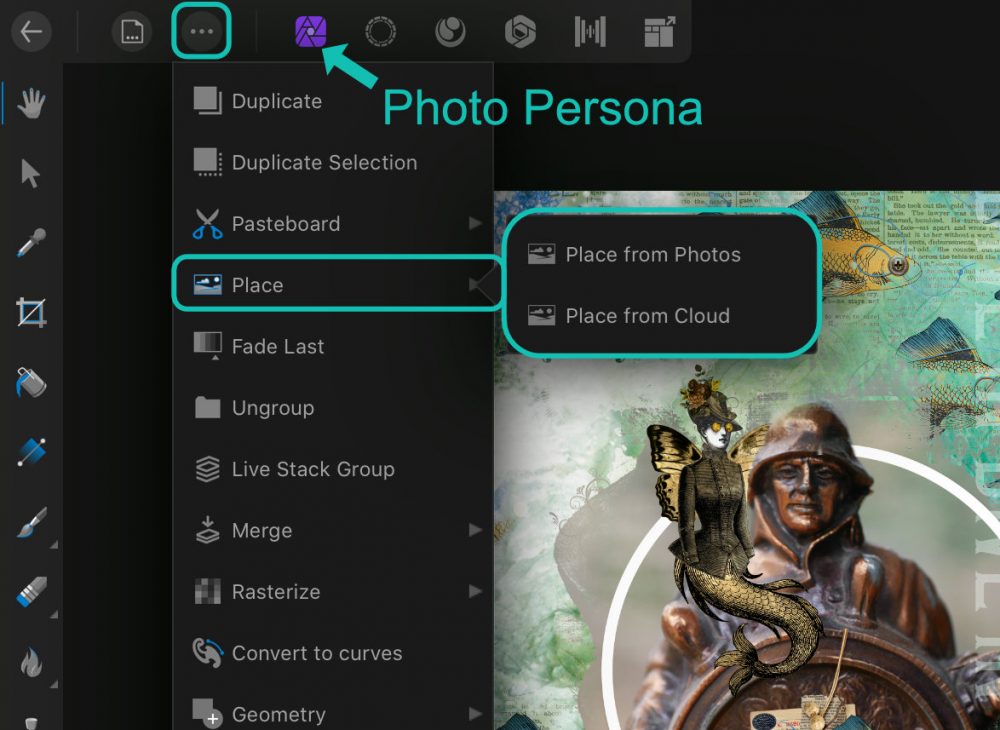
I’ve created a new document in Affinity photo and added some background and other layers. Using the Place Menu in Photos Persona, I’ve imported (among other things) word art, a background, and one of the Photoshop layered files into the document.
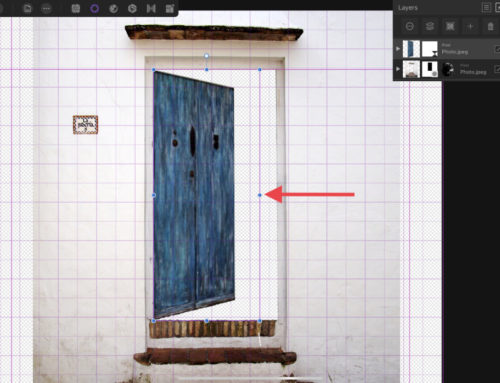
Open the Layers Studio, and tap and drag the layer you want to use as a mask on top of another layer. Pictured below, I’m dragging the word art onto the background. You see a blue box appear when it’s found a target destination.
HINT: If you see a blue line as you hover over the layer, that’s trying to Group, not mask. If it groups or clips to a different layer accidentally, open up the clipped or grouped layer, and drag the nested layer away in the layers palette.
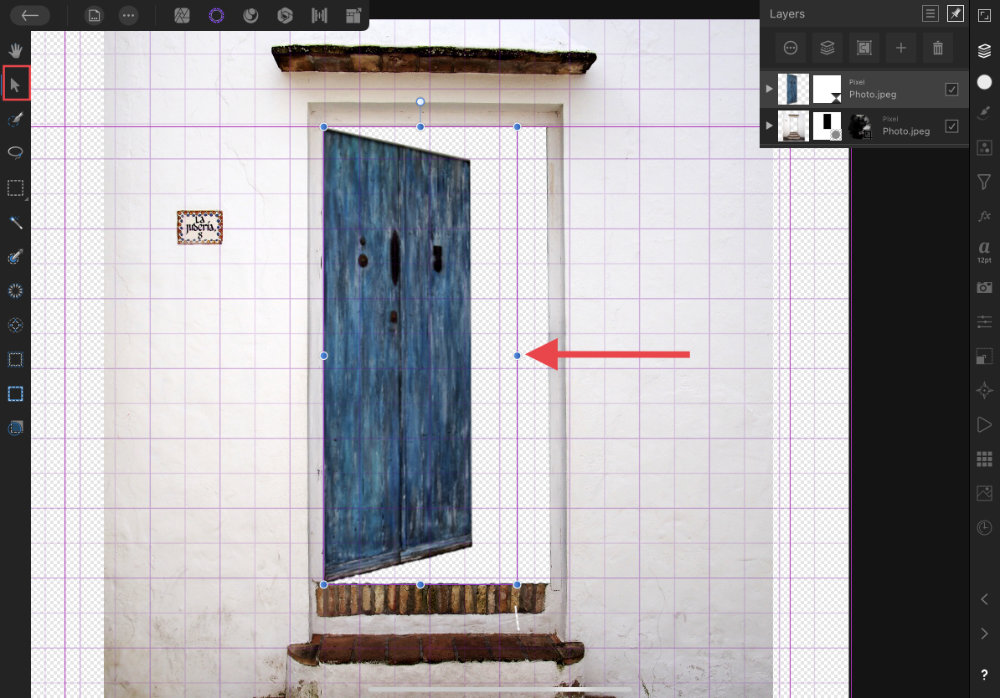
When I look at the .PSD import in the Layers panel, it looks flat, like it didn’t import layers at all. If you tap the Move tool (arrow, upper left), and double-tap the .PSD layer, you can now edit layers individually in another view. Tap the back arrow when you’ve finished clipping, masking, editing-however-you-want-to-edit, and you’ll return to your document.
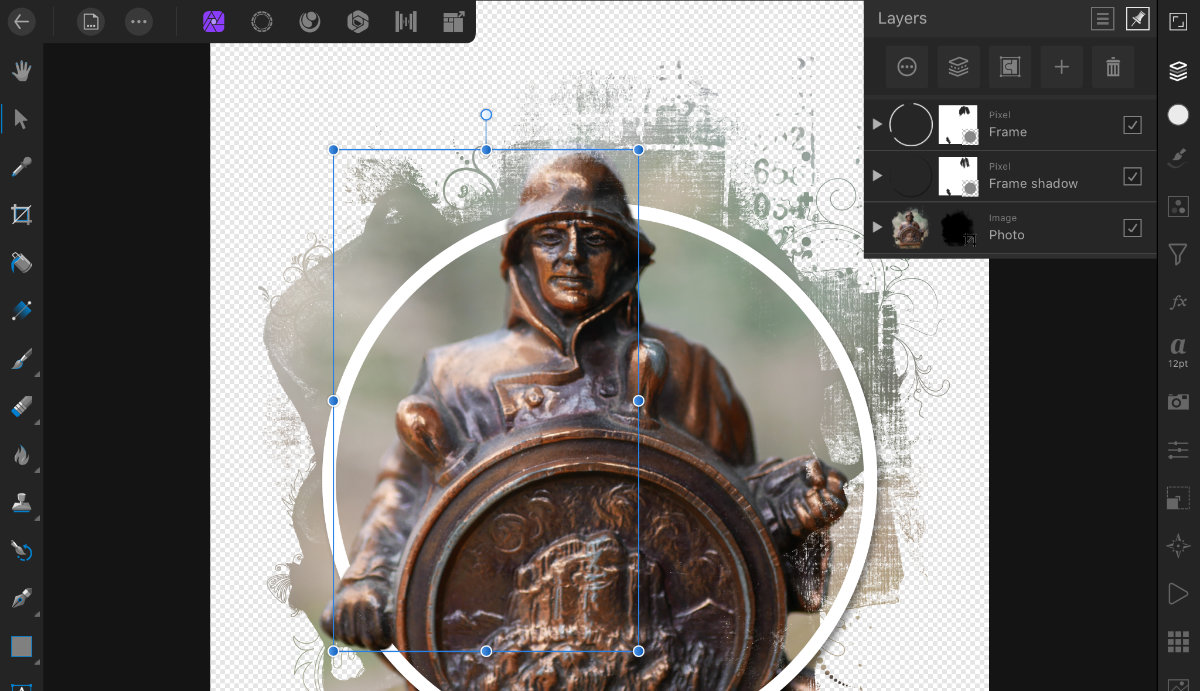
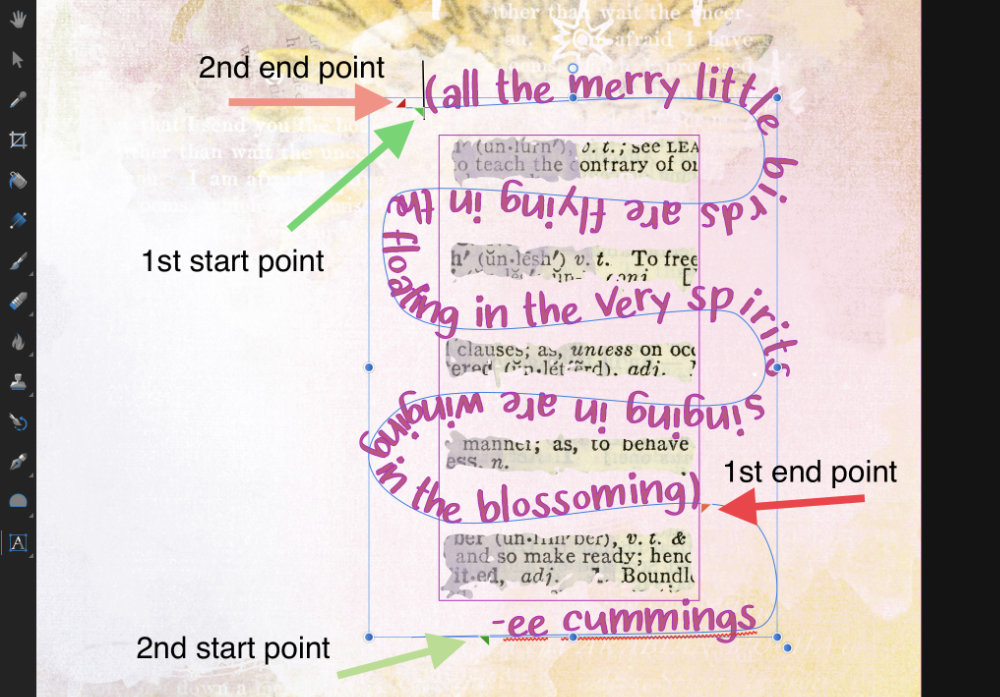
Below I’m editing the smart object, using masking on each layer. Tap + and Mask Layer to mask with a brush as I did with the frame and frame shadow.

That was a quick overview of using masks in Affinity Photo for iPad. Play around and get to know it! And don’t forget to stop by the forum and join in the challenge.
[…] masks are at the heart of using templates in Photo. I’ve written before about how to use them in this app. To quickly recap, you drag your shape layer (like the photo […]
[…] more explanation on how to use clipping masks in Photo, see here or […]