Several designers from our Open Doors Coordinated Collection have wonderful hand-drawn faces or people. This is a Quick Tip on how to use these in a layout! I will show you how to create a mixed media page with my arty doll.
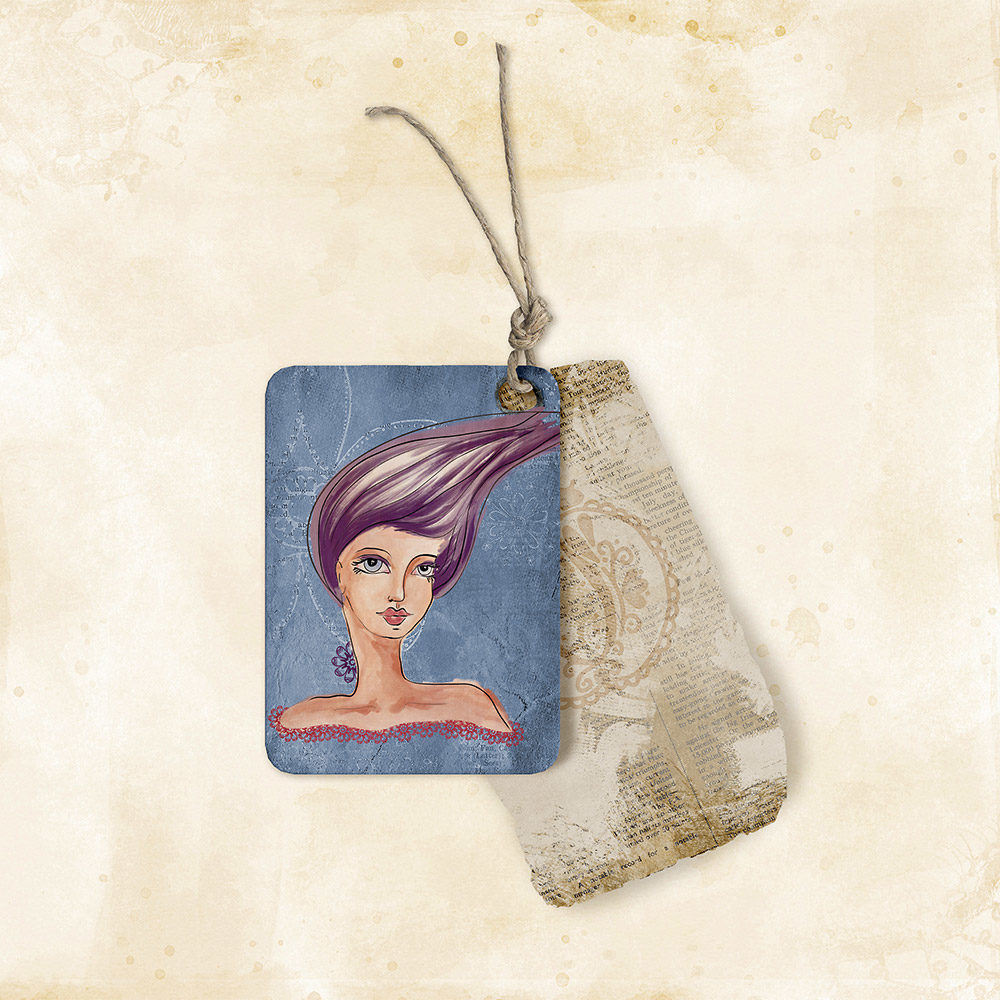
- Use the hand-drawn doll art on a tag:
- Open a tag in Photoshop and add the face art drawing in the layer above.
- Create a clipping mask.
- Add shadow to the tag; and then
- Blur and wrap it like I did it with a lace sample in this tutorial here.
In my sample here below, I added a second tag and removed the string with the eraser. These little details attract people’s eyes.
2) Make the Layout
In this sample I used 3 masks and 5 different background/ pattern papers.
- First open 2 papers in Photoshop; and
- Set both as background papers, like I did.
- Then add the 3 masks above the papers and clip a different paper to each mask.
See how I did it:
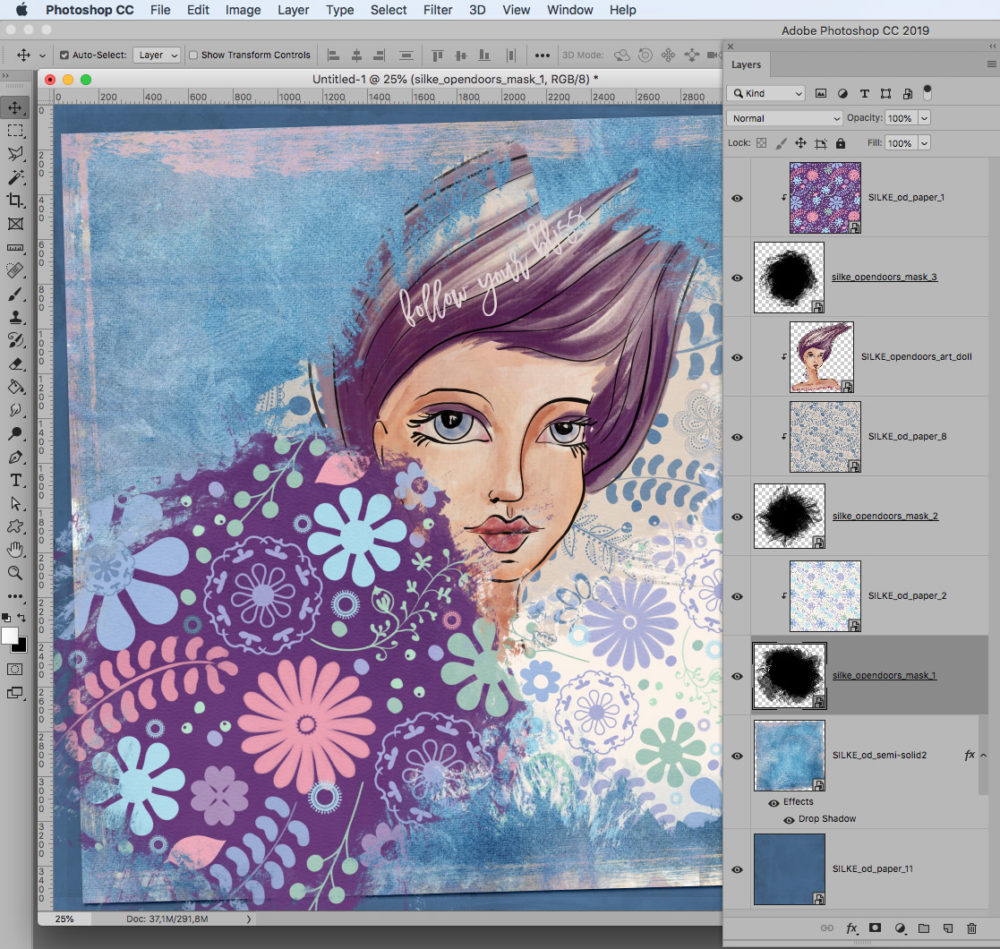
- Open the arty face doll and add it above the middle paper.
- Clip it also down to the mask. See it above.
- Then merge the paper with each mask (but not the face art).
Note: It is easier to merge the papers with the masks first and then load and clip the face art to the middle mask. - Do not apply any blending effect to the doll.
- Set all the masked papers to blending mode SOFT LIGHT. This will soften your papers with the background.
See it here below:
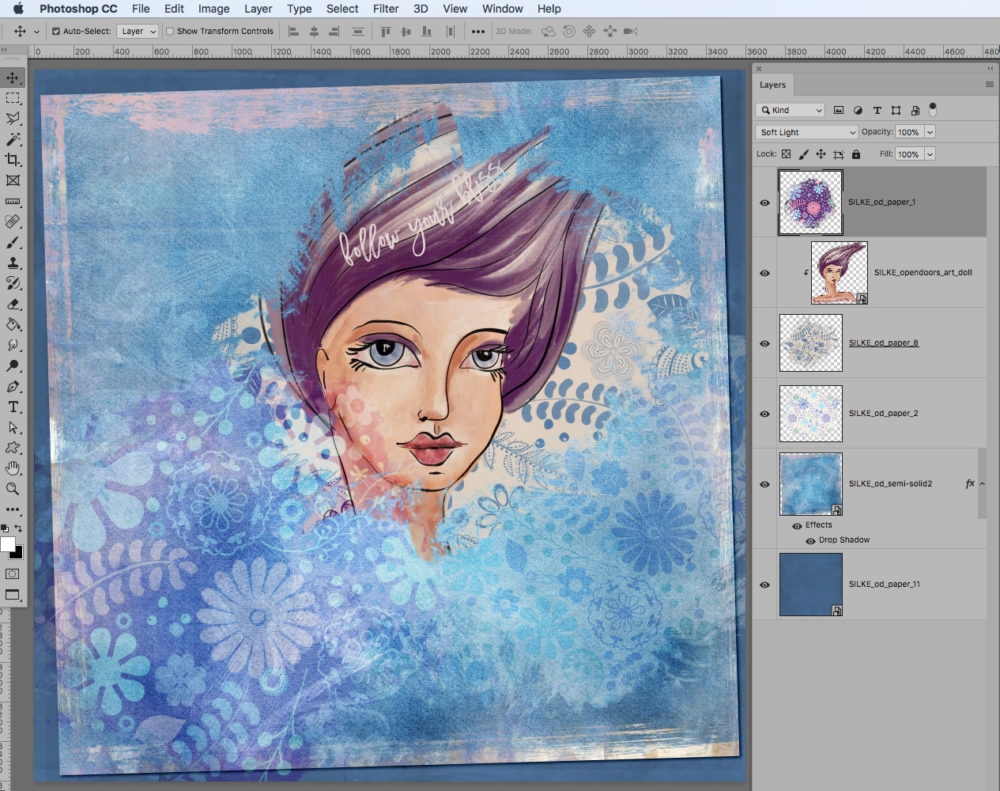
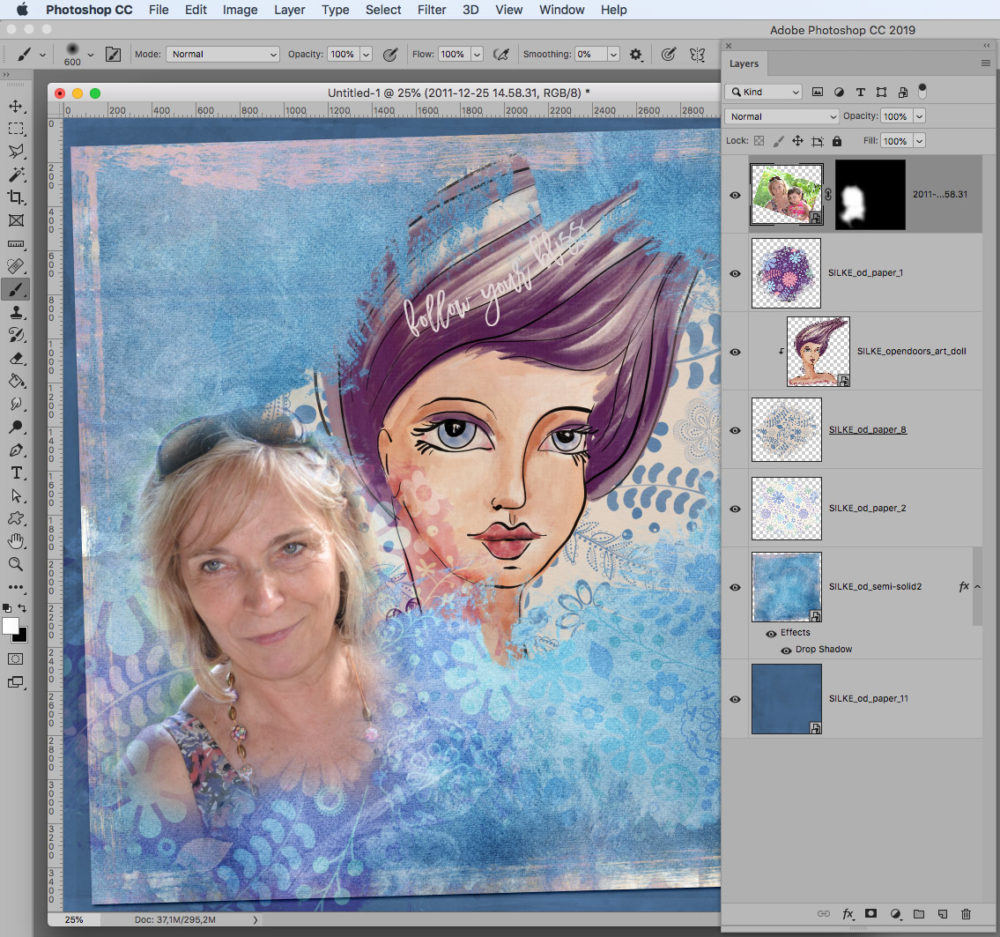
Now add a picture to your layout. This is optional and will look best with any portrait picture.
Here I used a personal picture from my stash and added it above all layers. To work in a non-destructive mode, I added a layer mask.
- Menu LAYER > Layer Mask> HIDE all.
- This will create a black square near to the picture layer. Now the picture is hidden.
- To reveal parts of the picture, we need to take a soft round brush:
- size 600;
- WHITE foreground color, and
- click on the black layer mask in the layer palette near the picture and reveal parts of the picture.
If you change your mind, you can switch to black foreground color (hit X on your keyboard) and hide parts of the picture.
Finish your page adding the tags, flowers and other elements of your choice!
Add dimensional interest to the hand-drawn doll by adding digital elements directly to it. Like I did here below, adding the glasses. And, in order to enhance the focal point of my layout, I added a frame around my cousin’s picture. This will lead viewer’s eye first to her photo!
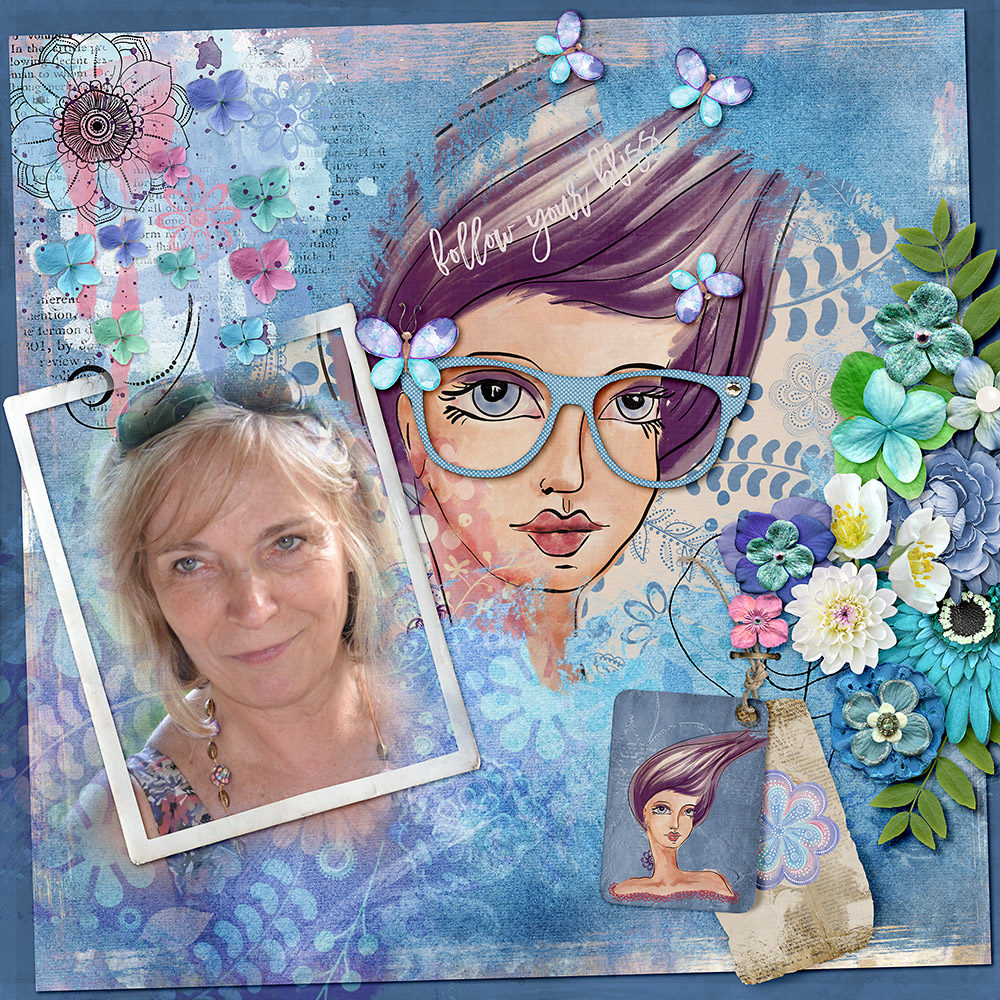
The glasses are from my Bold Autumn element pack. Everything else from my Open Doors kit and Collection here in my store.
Finally I did an second layout using the hand drawn face desaturated. Then I blended it into the background with blending mode Hard Light. And I recolored the eyes and the lips. See it here below:
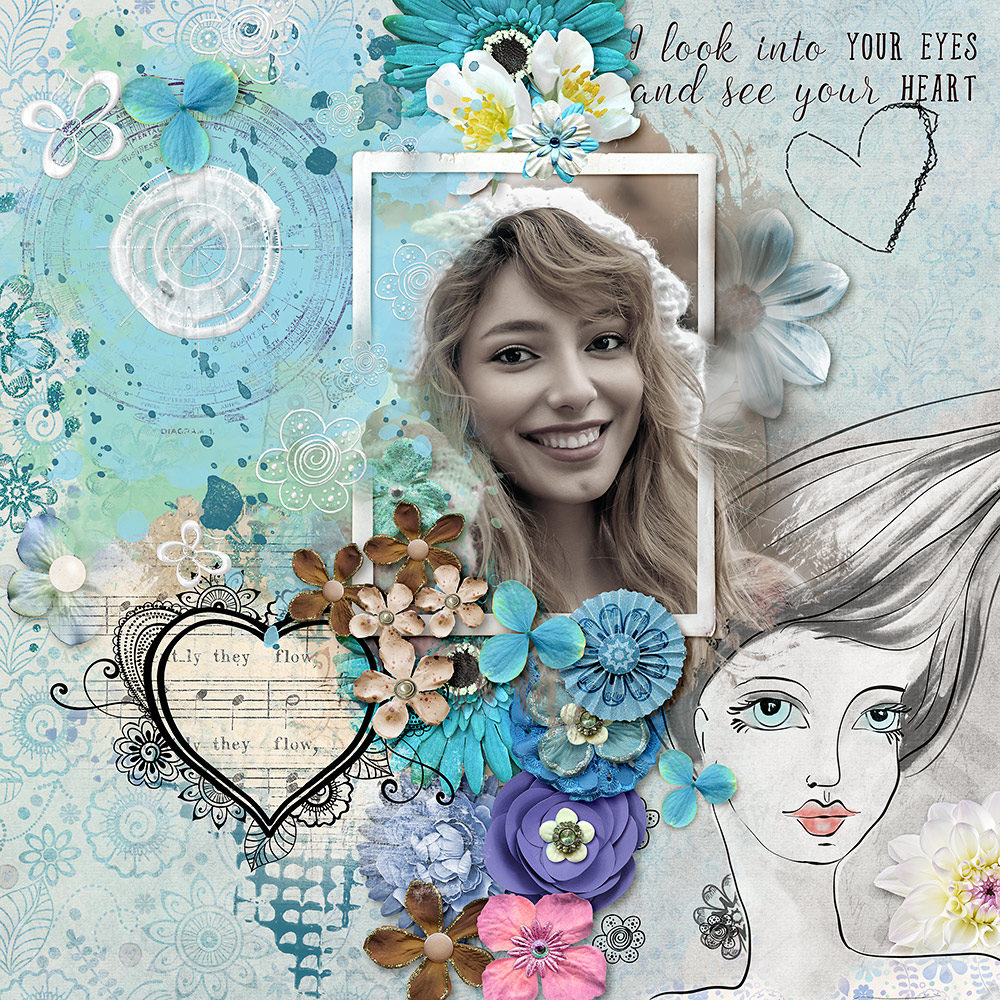
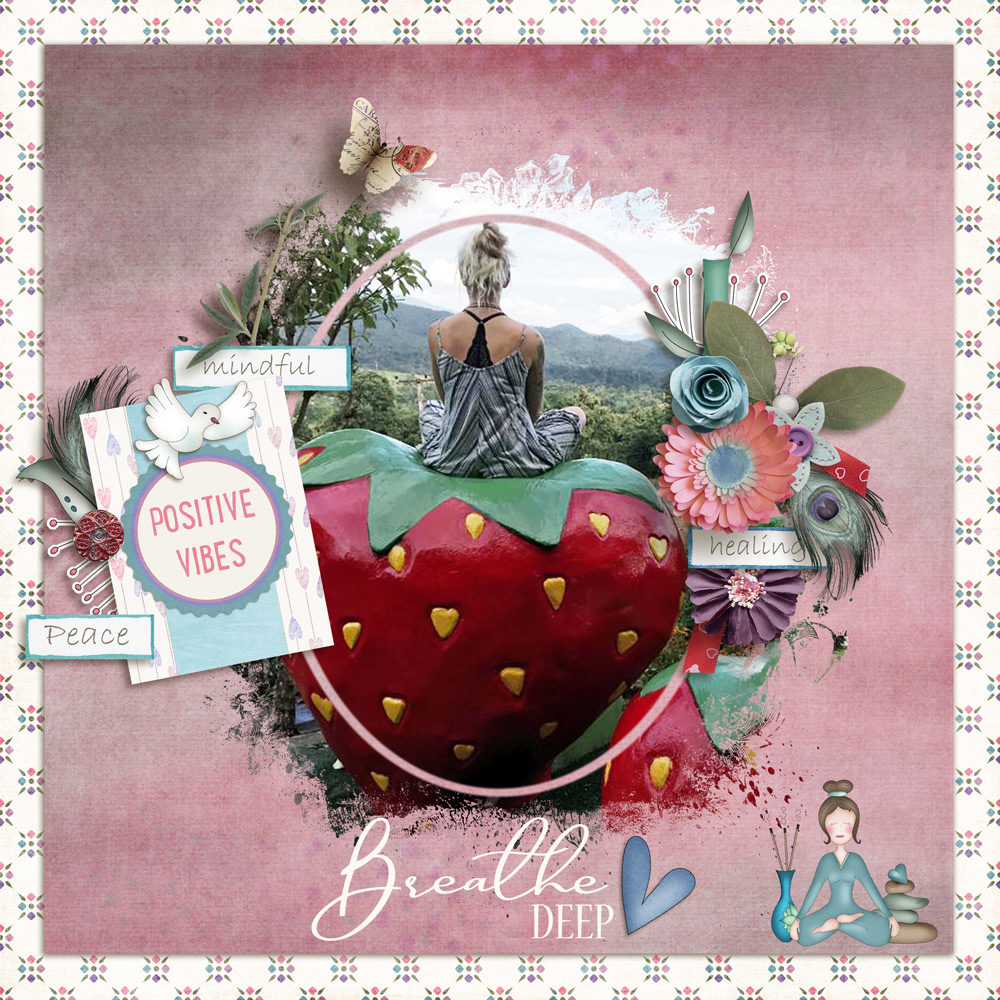
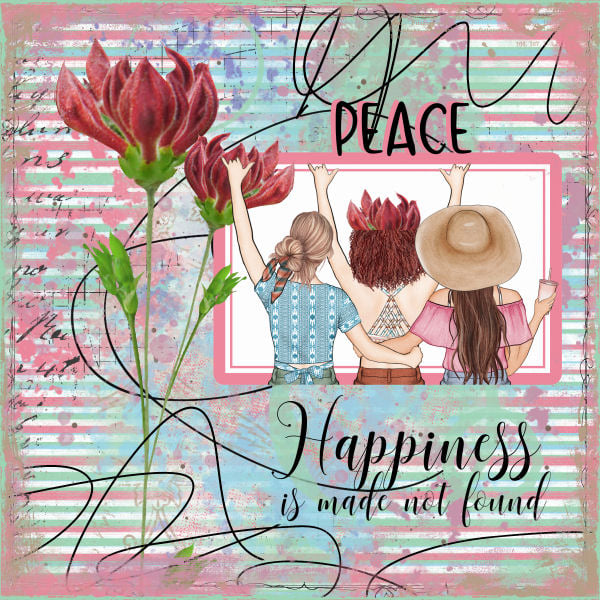
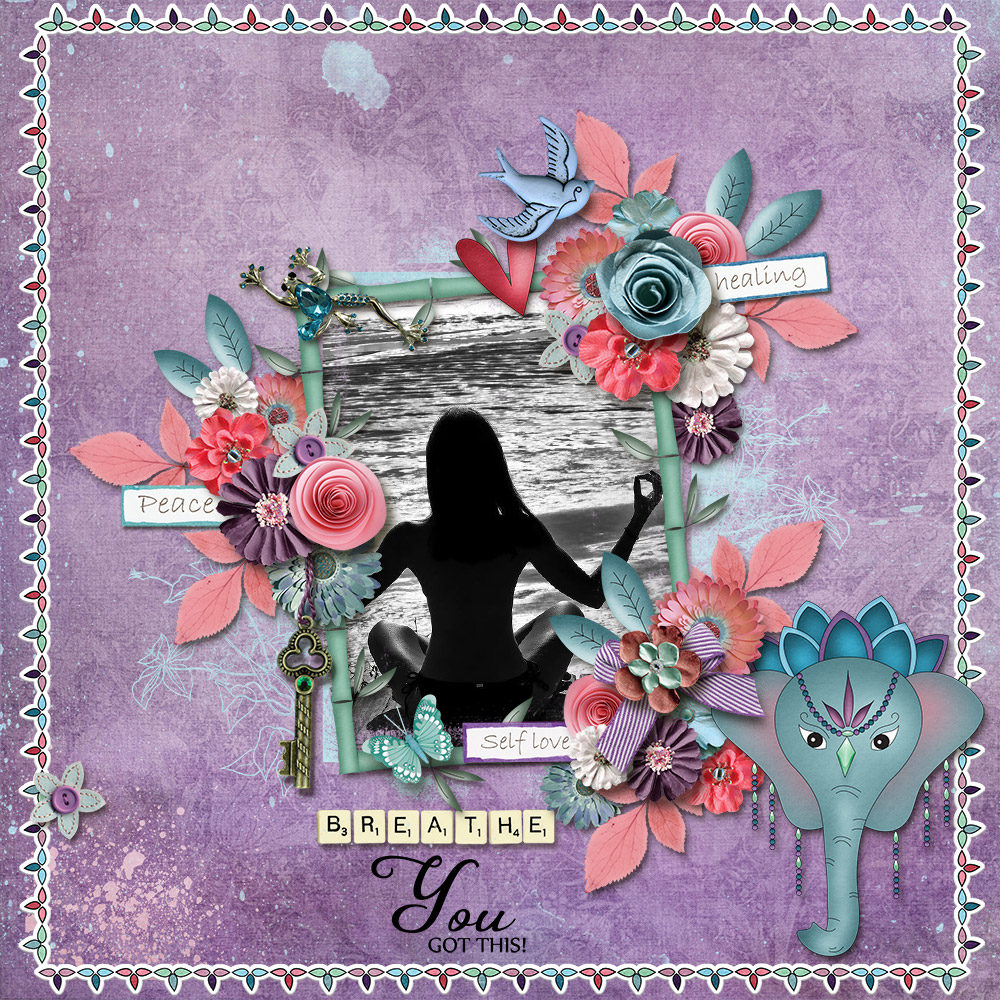
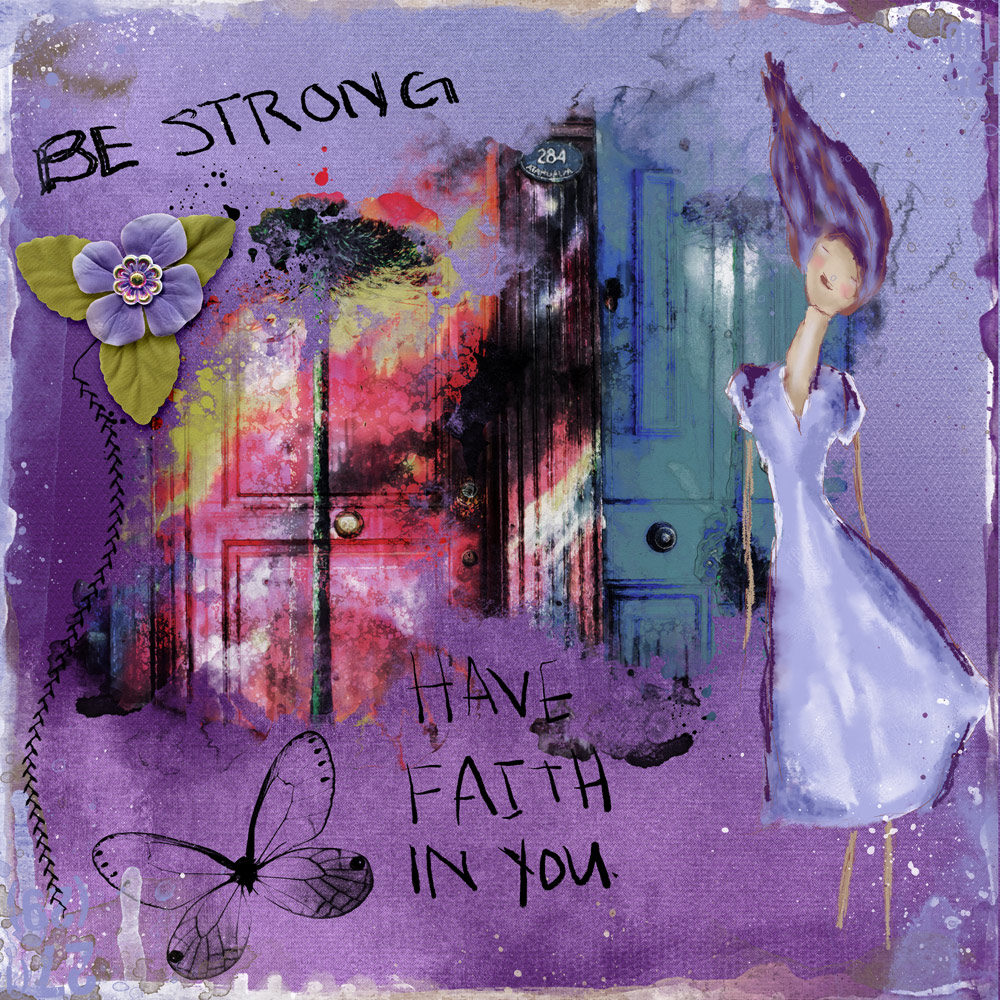
The Coordinated Collection you can find here. Below are some other sample layouts using hand-drawn elements for your inspiration.
Happy creations!
Silke


Beautiful! Lovely hand-drawn elements. I like the blended mix of masks and patterns. The addition of the eyeglasses is a great touch. Thanks for sharing!
Great tutorial and so many fun layouts! thank you!