Hi all, here is Silke. Today I will show you a Cut-Out effect using Shapes.
With this Quick Tip you will learn how to:
- Load Custom Shapes
- Use the Ellipse Shape Tool (color, stroke, exactly round)
- Rotate layer
- Change Layer order
- Rasterize Layer
- Move Shape
- Add more holes with the selection tool
- Add a big Drop Shadow to make the Cut-Out Effect
Load Custom Shapes
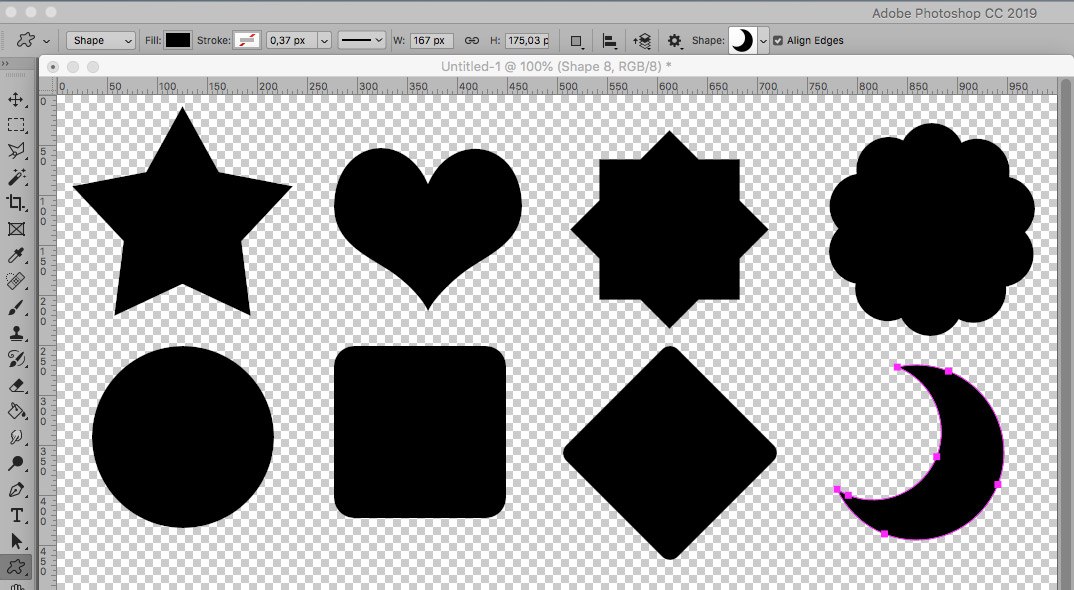
For this Quick Tip you can use any shape, but my sample here is with the Ellipse Shape Tool. If you choose to do it with the Custom Shape Tool follow the instructions here below and learn how to load these shapes.
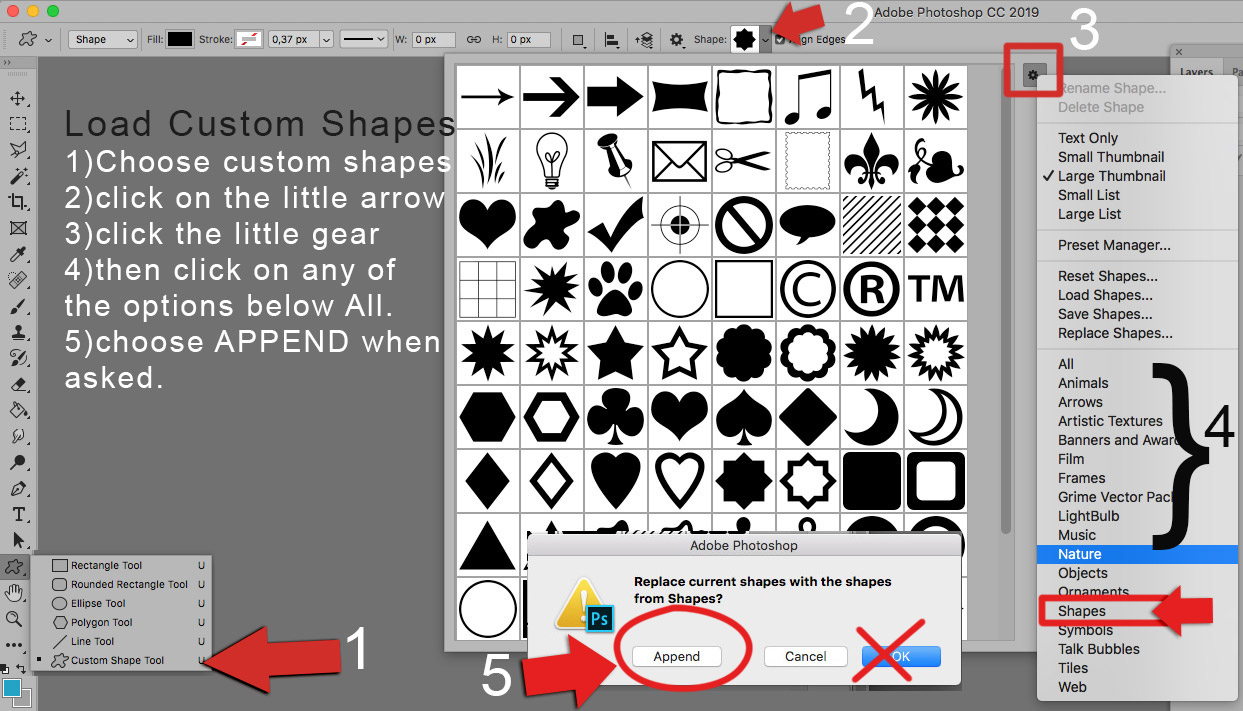
Photoshop custom shapes are very useful. You can use any readymade custom shape preset to create this cut-out effect for this Quick Tip. To load different shapes for this exercise, click on the Custom Shape Tool on your toolbar (shortcut U). Follow these instructions here below:
Load Custom Shapes
- choose custom shapes
- click on the little arrow
- click the little gear
- then click on “SHAPES” from the options menu.
- choose APPEND when asked.
Quick Tip – Using the Ellipse Shape Tool
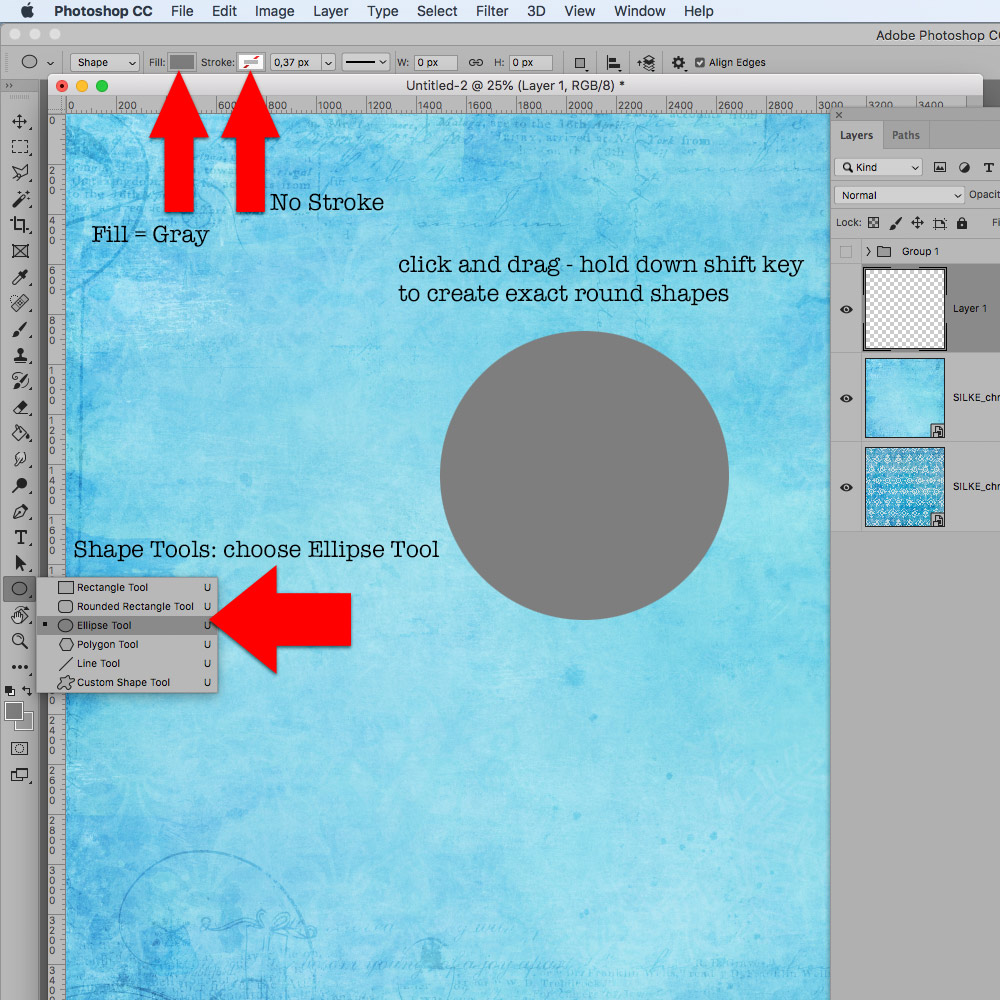
Start opening a new document and add 2 papers – one solid and another patterned.
1) Choose gray as foreground color and then click on the shape tool> select ellipse tool and then drag and drop holding down the shift key to create an exactly round shape.
2) Add more shapes until you have something like this here below. Remember to leave a big shape in the center area.
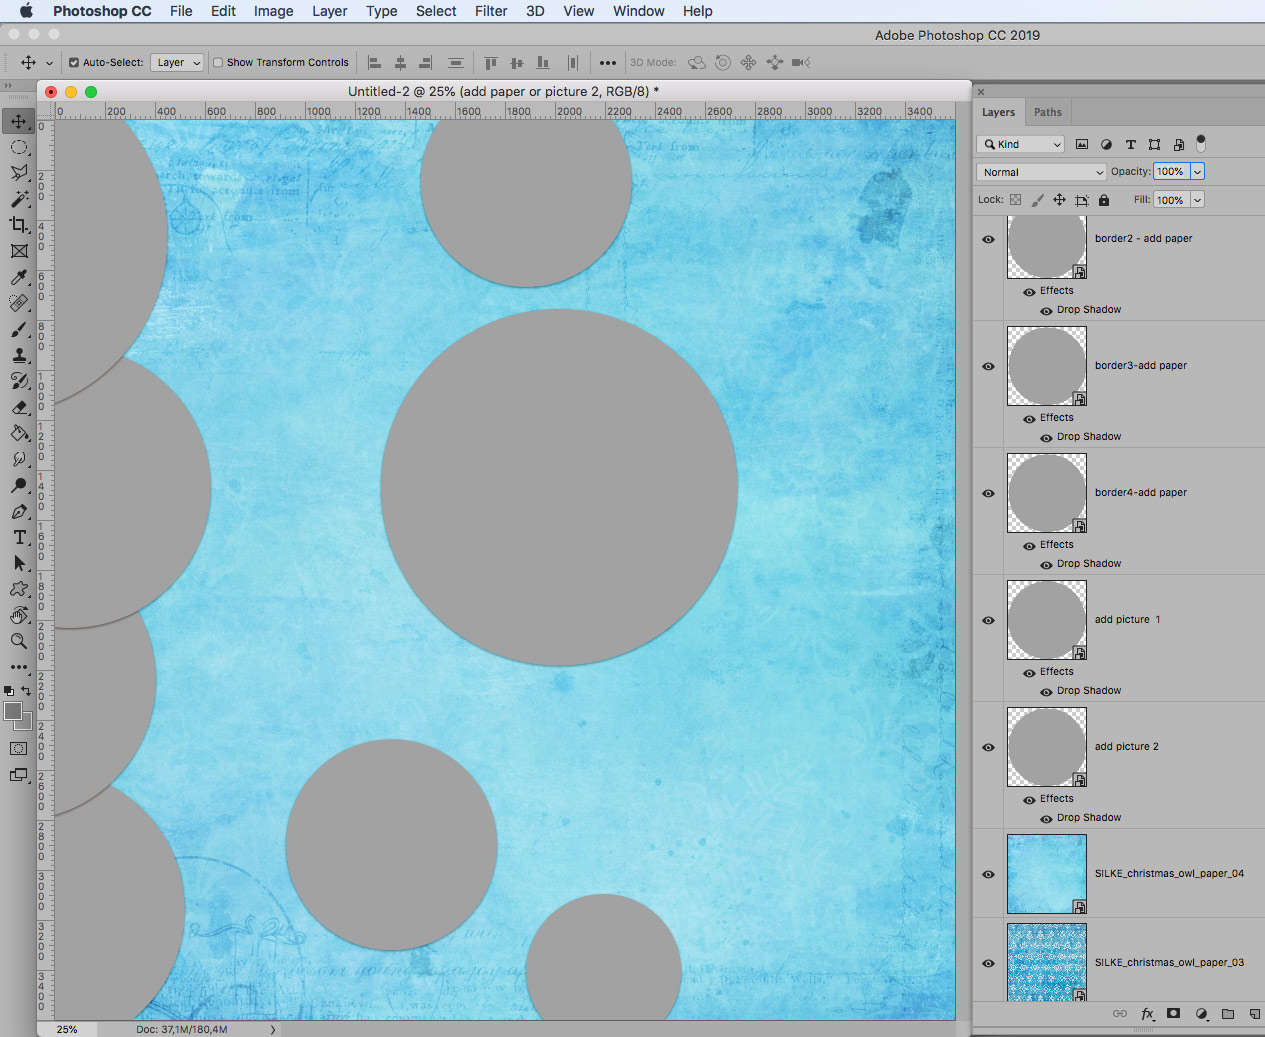
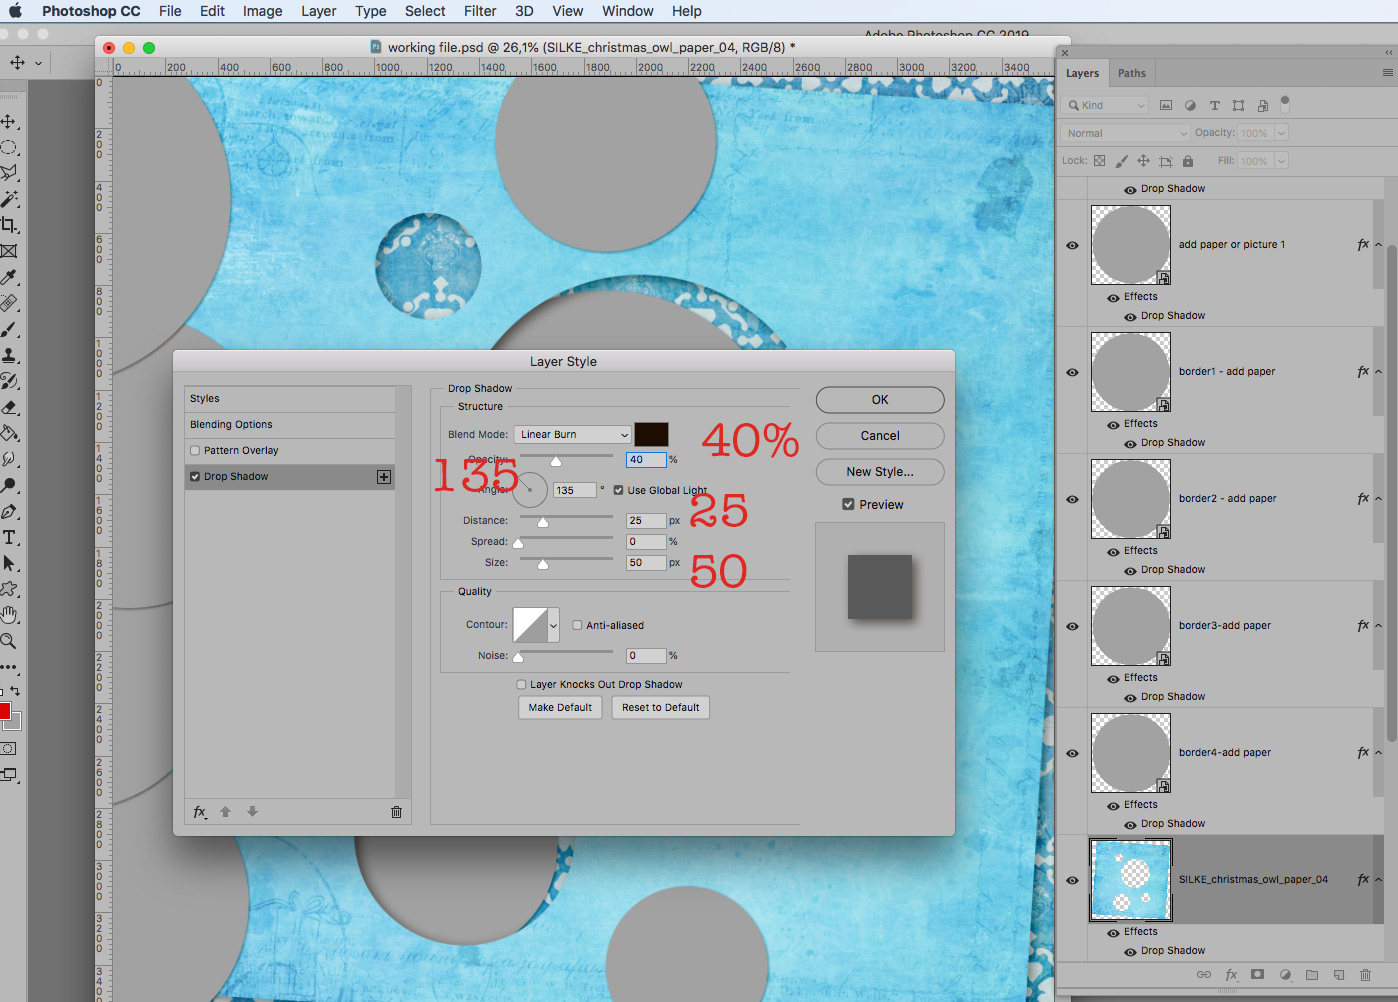
3) Add Drop Shadow to all shapes like my settings here:

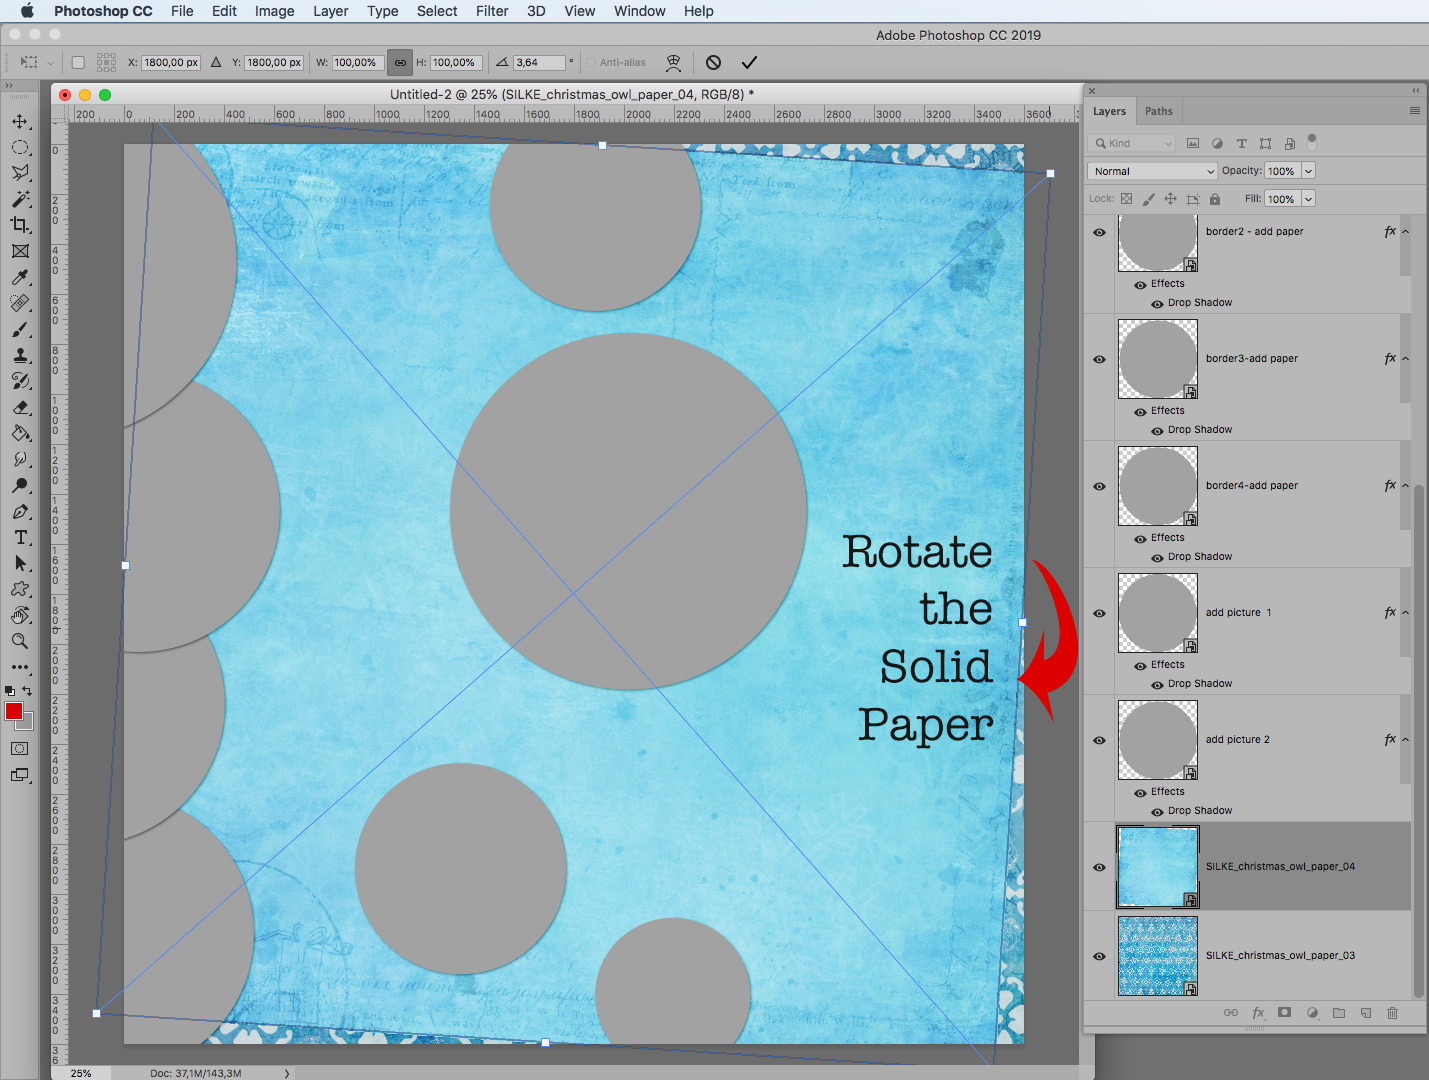
Rotate Layer
4) Select the Solid paper layer and go to Edit> Transform> Rotate. Rotate this layer a little.
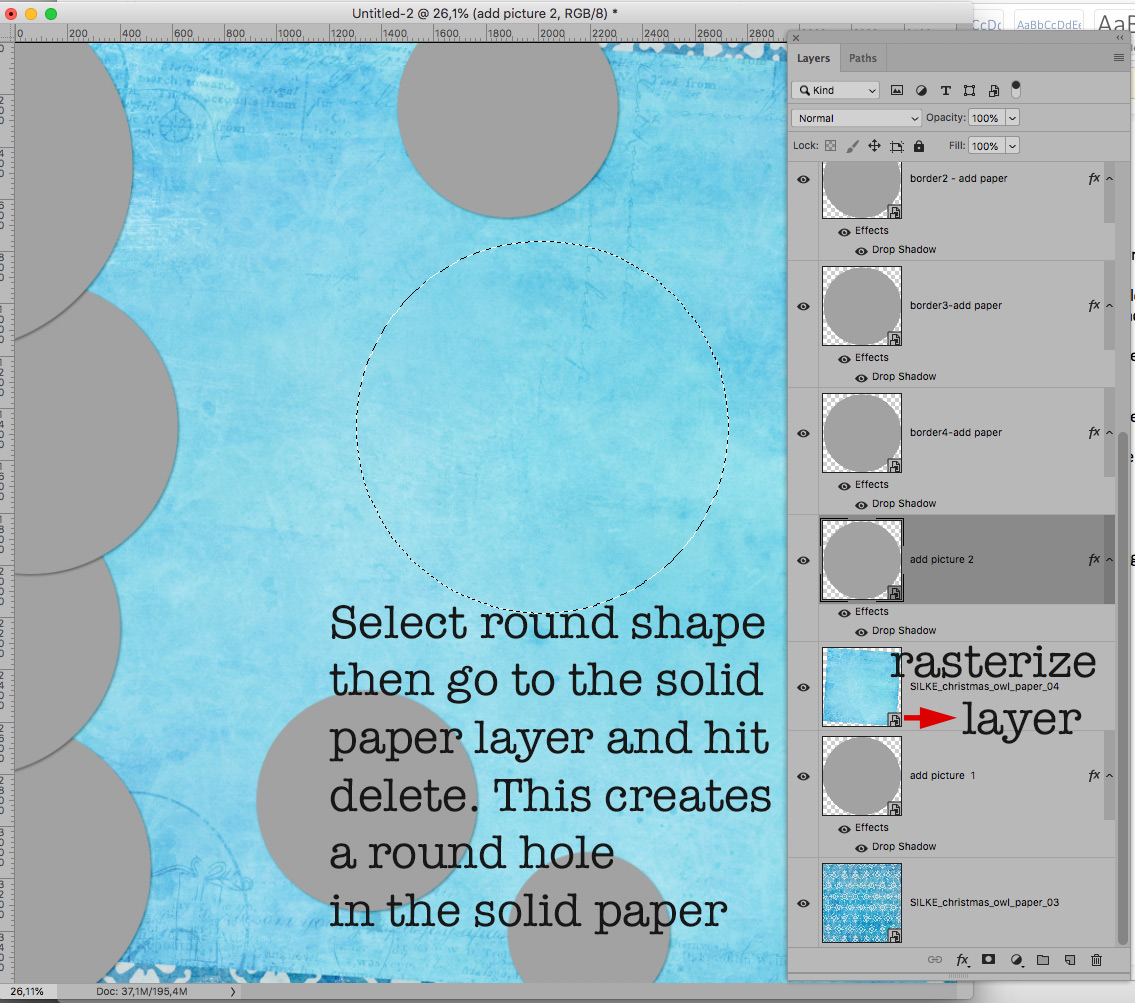
Change Layer order
5) Select the big central round shape. Move it below the paper and then select this round shape (hold Ctrl. + click on the big round shape layer). Then go to the solid paper layer and hit delete. This will make a hole in the solid paper.
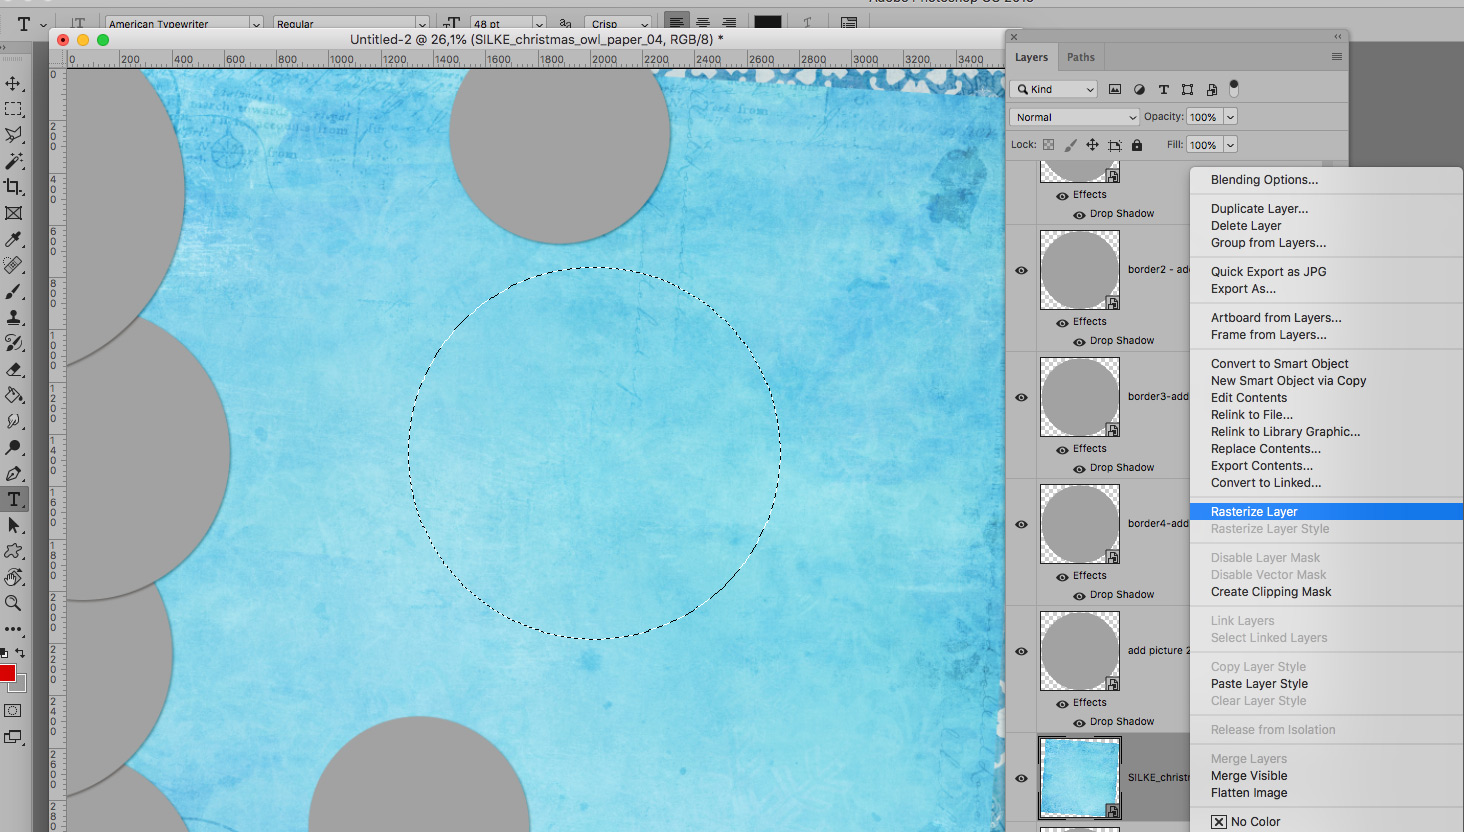
Rasterize Layer
Important: if your Solid Paper layer is locked as a smart object (if it has a little icon on the right bottom edge), you have first to rasterize the layer before you can make the hole.
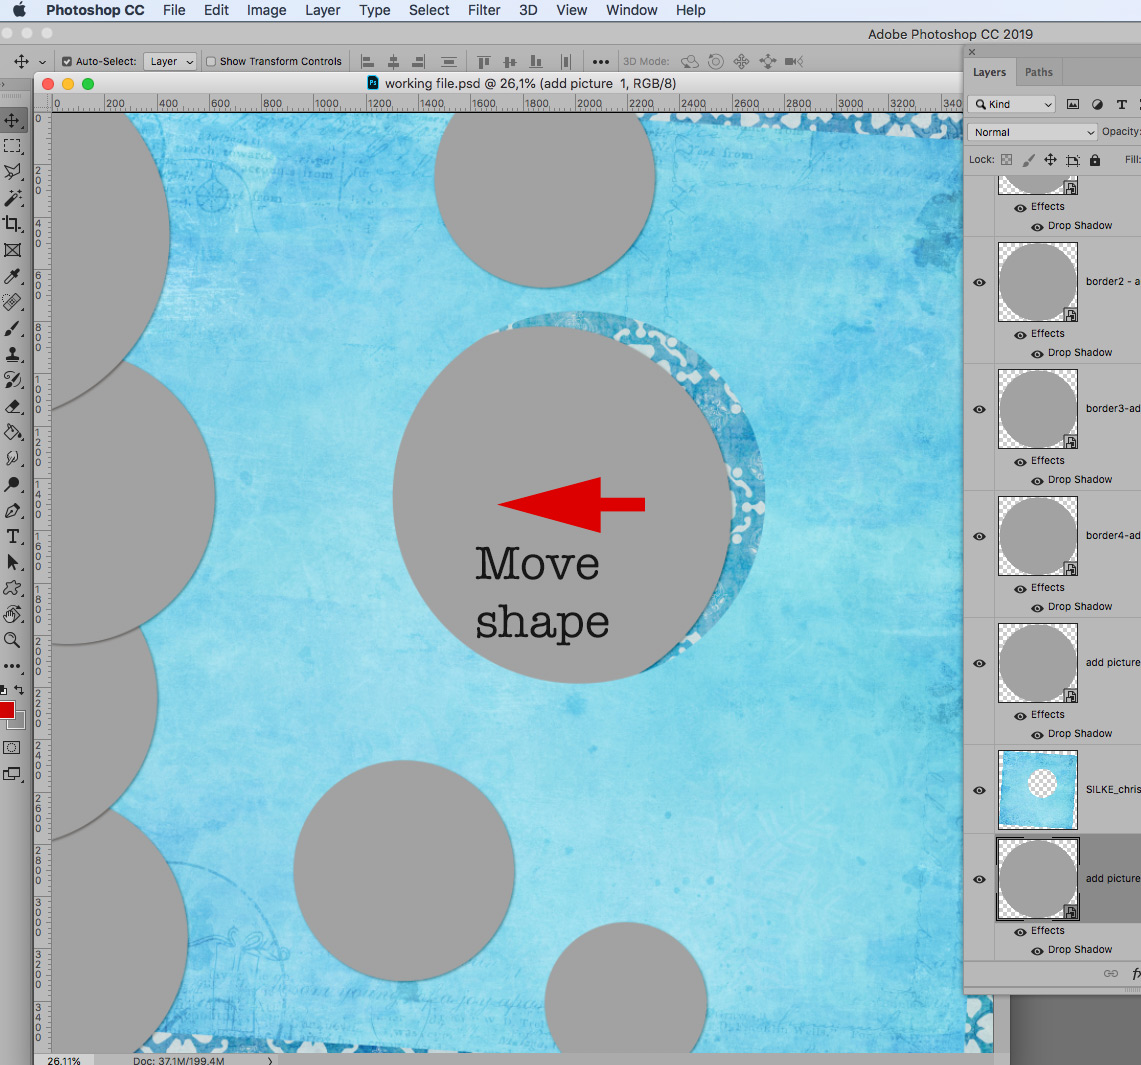
Move Shape
6) Now move the round shape a little in order to make the patterned background visible.
Add more holes with selection tool
7) Repeat the same steps with the next round shape. Select it, delete this round selection on the solid paper layer and then move it below the solid paper. Move the gray shape a little bit.
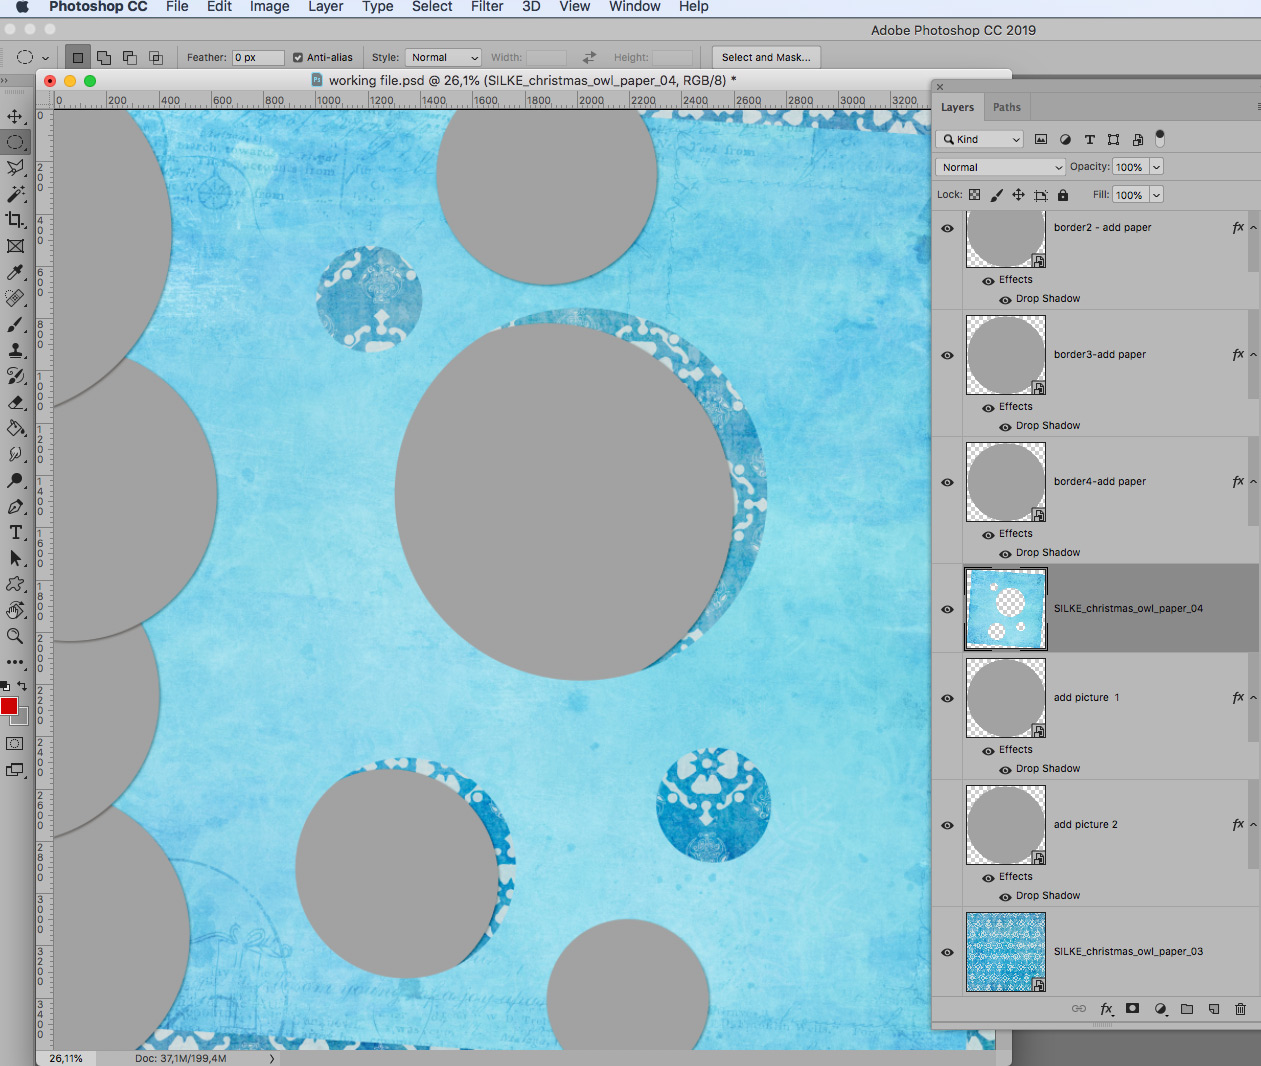
Go back to solid paper layer and add with the round selection tool more holes (create a round selection holding down shift key and the hit delete).
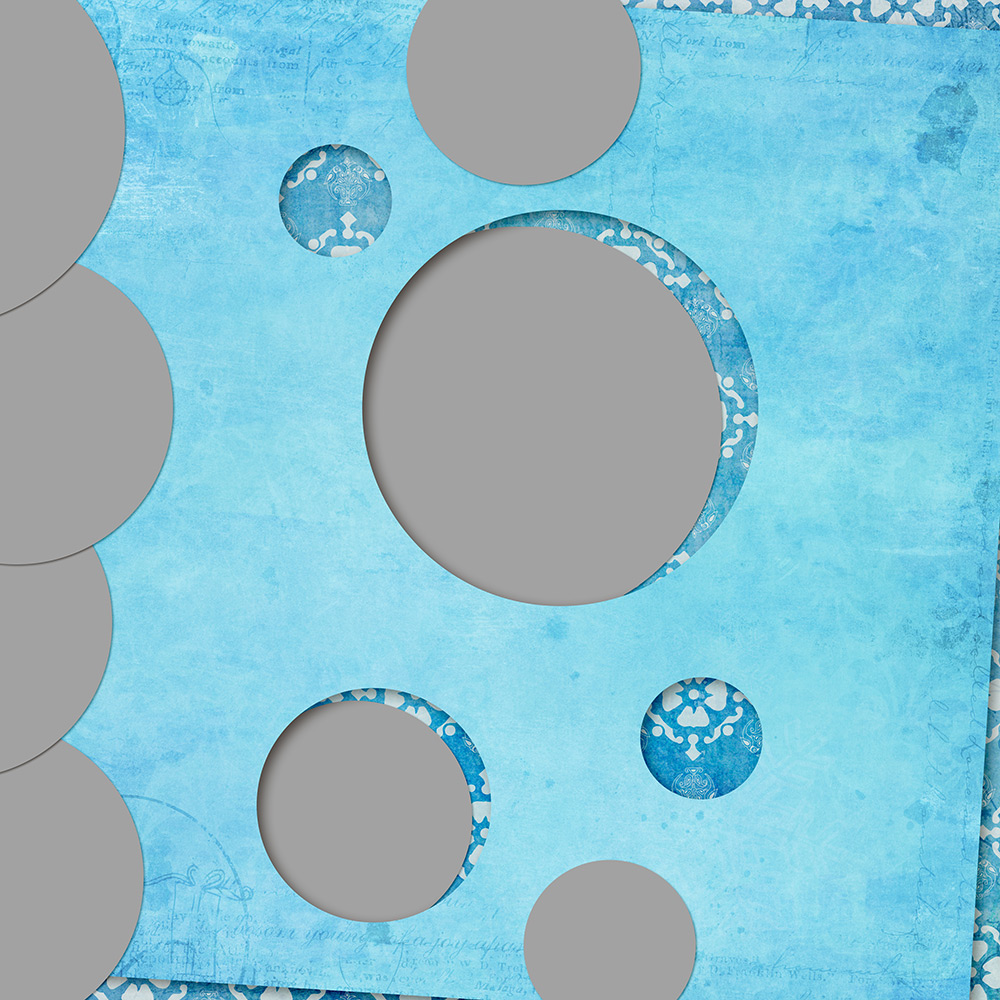
Add big shadow to make the Cut-Out Effect
8) Now let’s add the shadow to this solid paper like my settings here below:
9) See here how you will end up with.
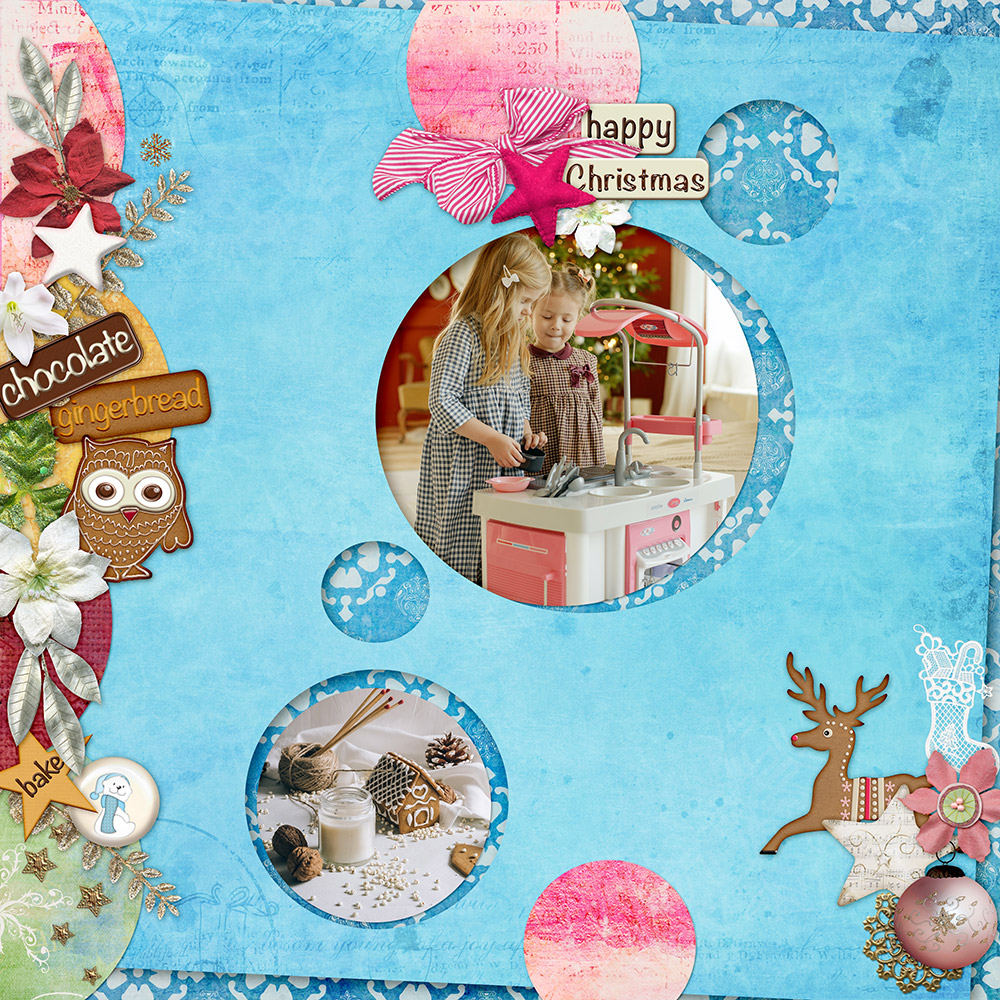
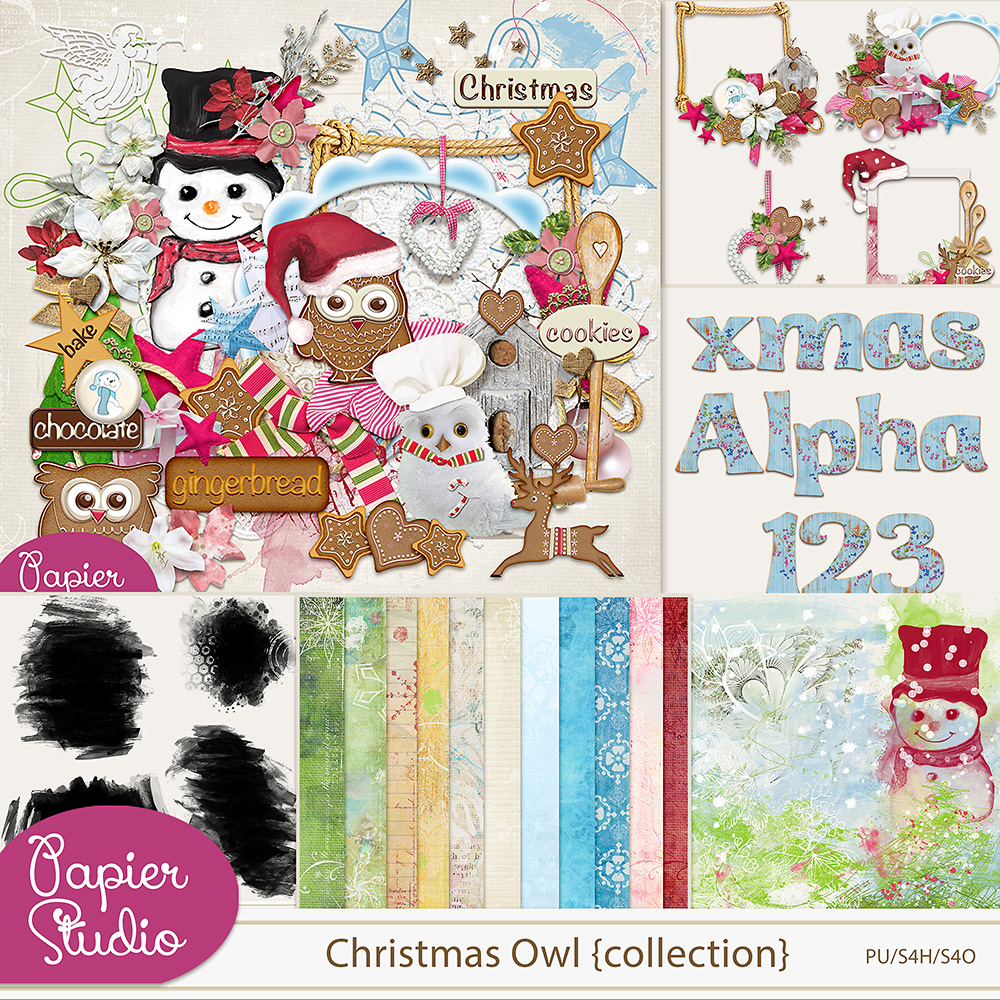
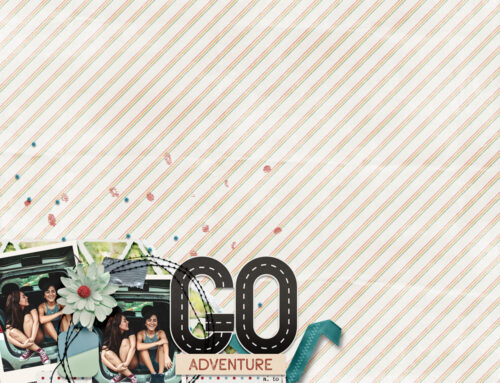
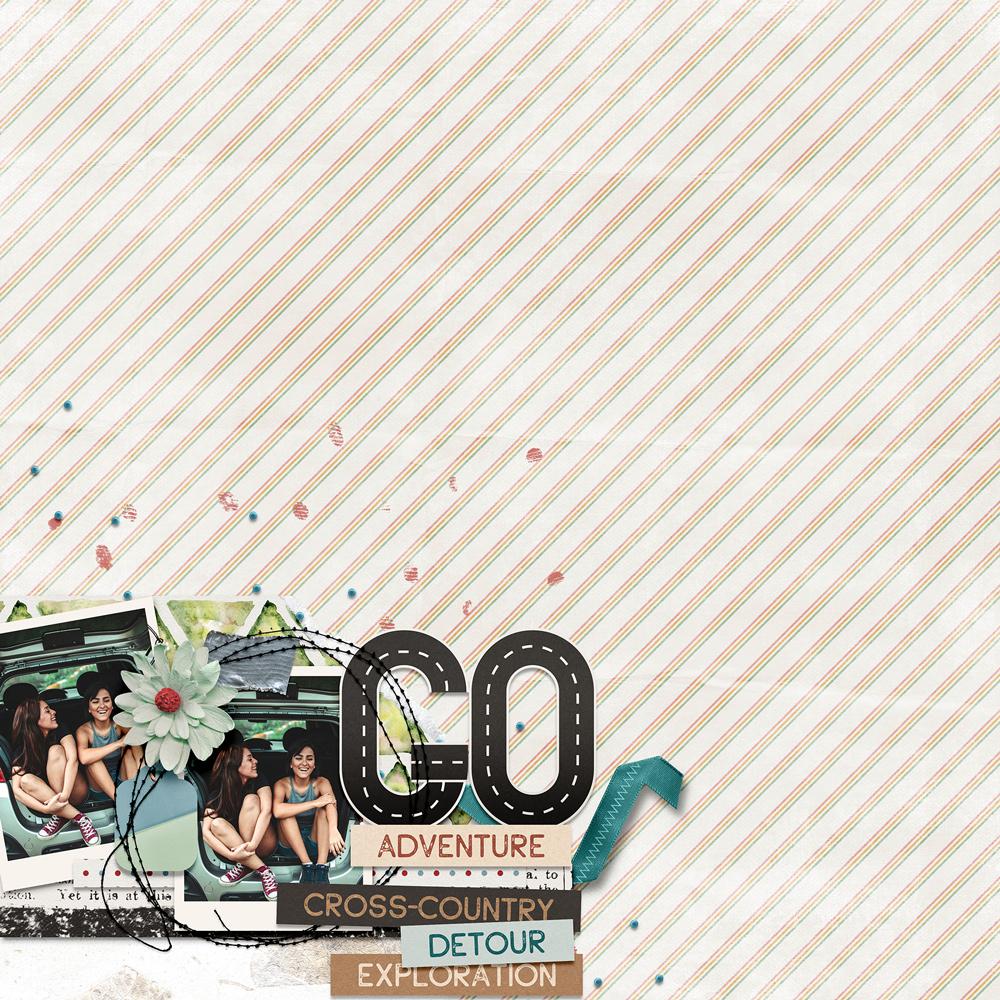
10) Now clip photos and papers to your shapes! Here below is my Layout – everything from PapierStudio Silke’s Christmas Owl kit and Collection.
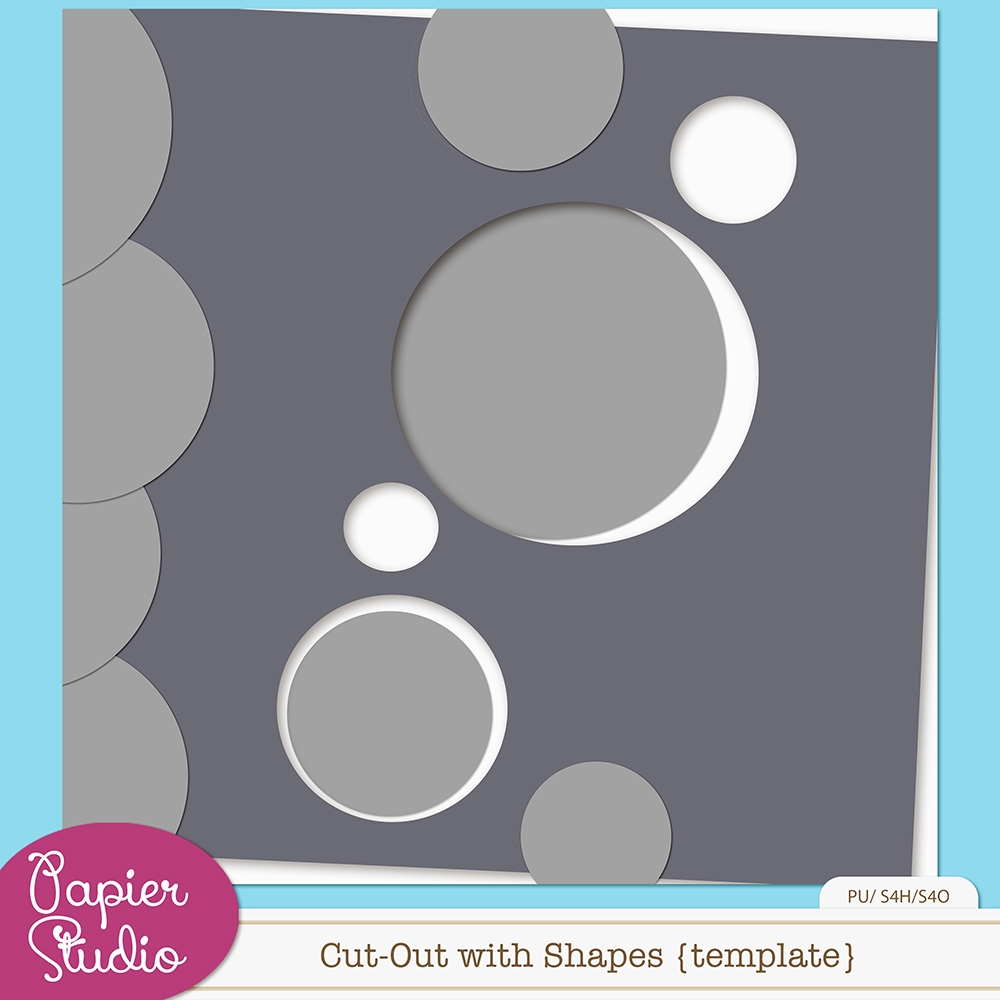
Here is a cut-out template for you:
Happy Creations! Don’t forget that I love comments!
Silke


Oh wow how cool is this effec, thank you for sharing once again and also for the template.
Thanks for sharing Silke, great effect.
Thanks for the tutorial … I love how the photo spot is peeking out from the cut-out & that it “shows” the paper underneath. & thanks for the template, too!!
Thank you so much Silke.
Thanks so much for the tut and the freebie!
Your 2 tutorials reach the end result in such different ways… Love it… Liz
Very fun tutorial and a great template to use -thank you so much!
Thank you for the great tutorial and freebie template Silke! 🙂
snifffffffffffffff I can’t download the template ;((( bad link 😉
can you repair le link please ??? … thanks 🙂
thanks it’s ok now )))