Today we’re going to talk about realistic shadows. This may not be your normal style of scrapbooking, but that’s okay. It’s a good took to have in your toolbox. I will be using Aimee Harrison’s Shadow Styles as my ‘base’ style, as they are ready made and easy to use. However, any style you have already made will work for these, and I will give you some pointers for shadows as we go along.
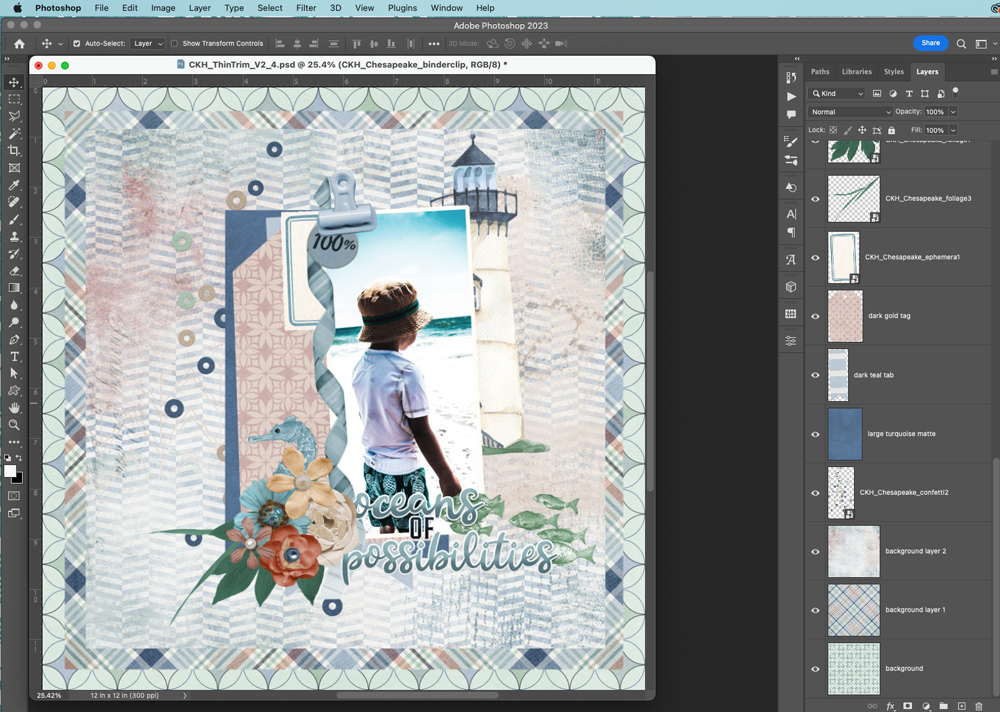
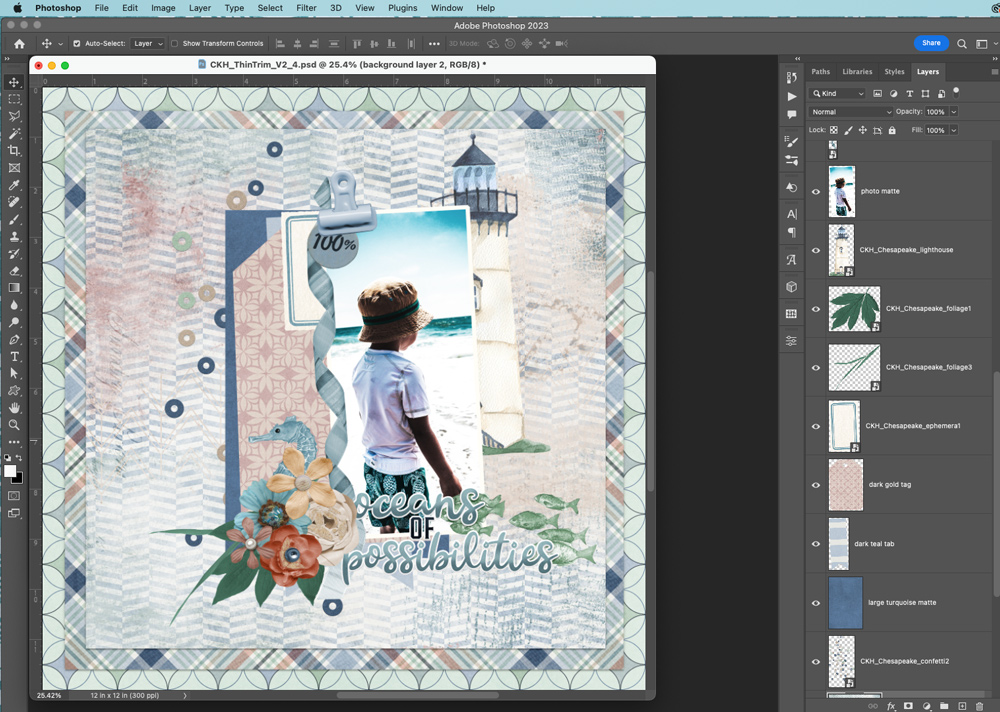
I’m beginning with a simple layout that has all my layers already placed but with no shadows so far, so you can see what we’re working with. I’m not going to use very many element pieces on this layout, just for the simplicity of this tutorial, but no matter how many elements you use, the concepts are the same. You want to layer your elements and your shadows one by one, from bottom to top, so that they look like a “real” paper layout would work. Consider your light source, the weight of the element, and what is above and below it as a few things that would make the shadow different. Let’s play!
We’ll start from the bottom and work our way up. My layout has three papers that make up the ‘background’ of my layout, so I’m going to use some close, flat shadows to make the papers look like they are laying on top of each other with very little space between. I’m using Aimee’s Paper 1 shadow, and while I won’t give you her exact measurements, her Blend Mode is Multiply, and her Distance is around 10, and her size is around 5. It already makes a huge difference in how the background of the page looks.
Next we’ll shadow the other close distance things. I have some confetti, along with a few other larger pieces of paper. I’m going to apply the same kind of shadow to these layers for now, but I will come back to the dark blue paper and the pink paper tag and manipulate those pieces near the end. For the white paper ephemera and the photo, I used a larger paper shadow (Paper Shadow 2 from Aimee’s set), with a Distance and a size about double what I used for the small paper shadow. You can definitely see the difference.

For the lighthouse, the seahorse, and the blue 100% ephemera, I am treating those as stickers, so I’m using a close paper shadow on those as well.
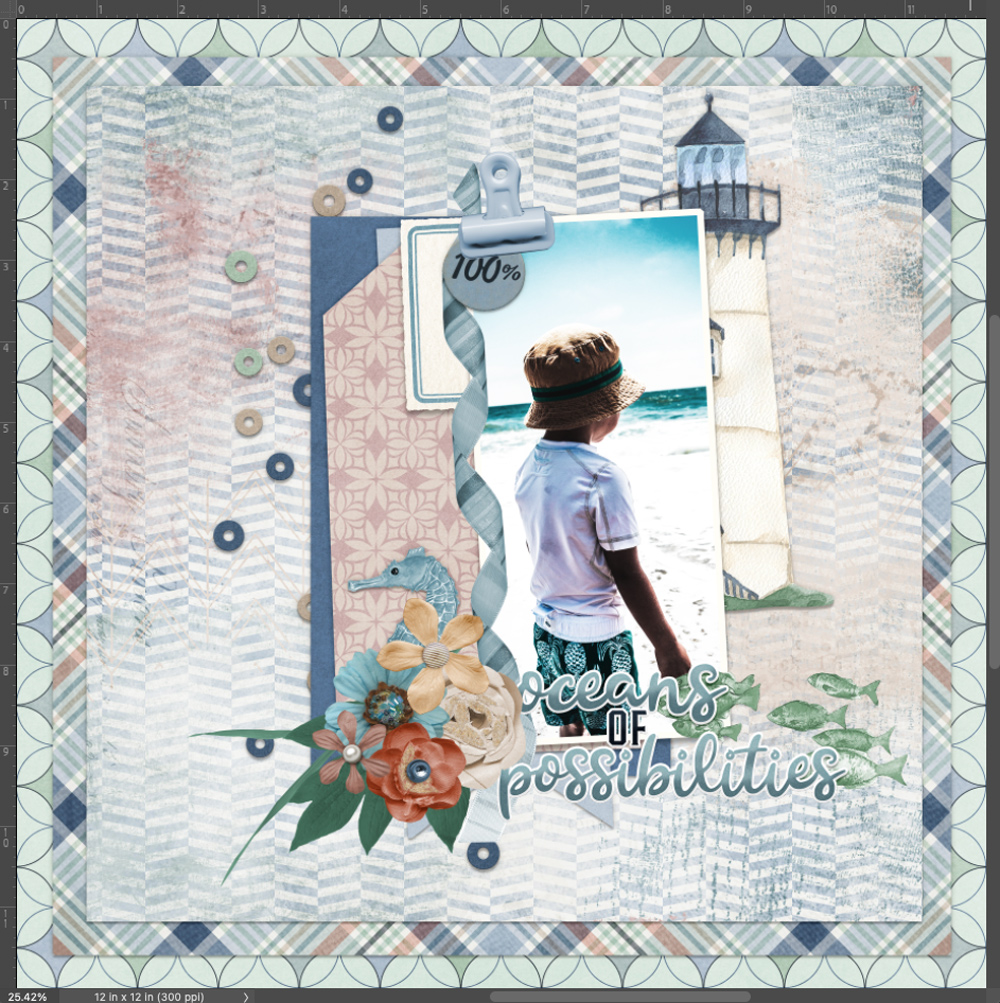
For the foliage and flower cluster, these are going to be stacked up from the bottom of the page to the top of the page. I’m going to put some basic shadows down, and then I will go back and manipulate a few of them later to make them feel more realistic. For the Foliage, I used Aimee’s foliage shadow, but you want a large Distance (over 36) and a large Size (over 30) to get a beautiful effect. For your flowers, I used various shadows from the set, but you will want to vary your Distance and Size for the different size and shape of your flowers. Smaller, flatter flowers will have smaller distance and size, whereas more fluffy, larger flowers will have a greater distance and size. This takes a little bit of experimenting, but the end result is so worth it! We will manipulate a few of these at the end to make them look even more realistic.
Last but not least, let’s shadow the curly ribbon, and then the binder clip and the title. The curly ribbon is going to get a distance shadow, and then we’ll manipulate that a little at the end. My Distance and size for this are over 35. The binder clip shadow is close to the paper but it is a heavy piece, so the shadow is a little different; I put both Distance and Size at around 25. The Title I’m treating as cardstock, but it’s on top of everything, so the size and distance are a little heavier like they are on dimensional dots – so my distance is about 20 and my size is about 10.
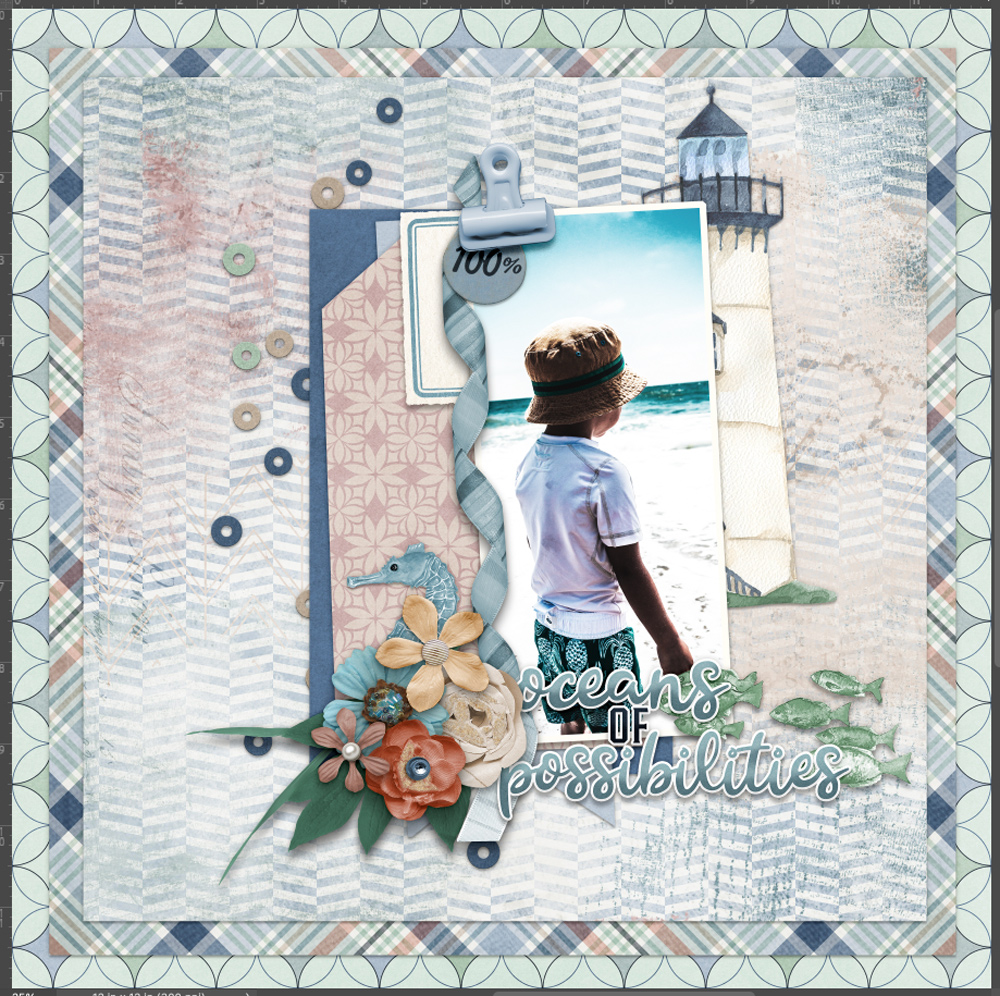
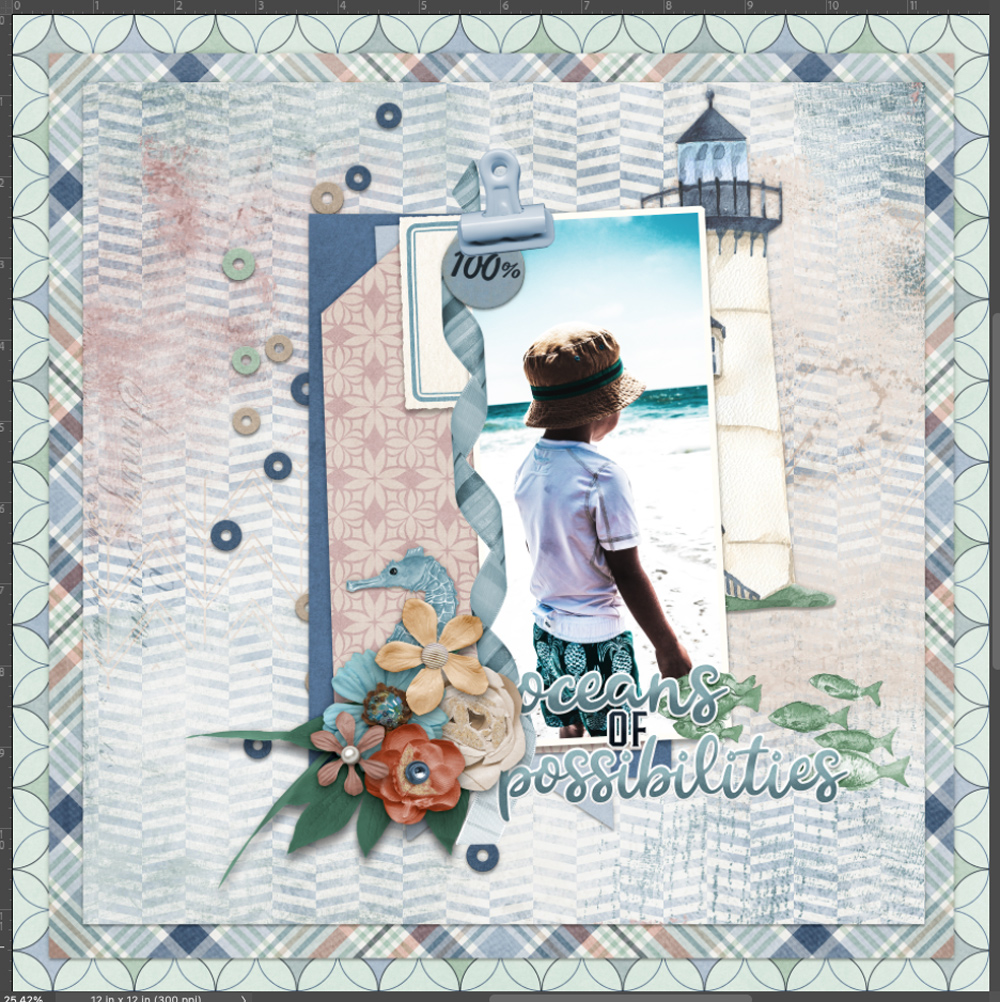
As in our tutorial from yesterday (06 July), we’re going to right click on the FX in the layer panel and create a new layer for a few of our shadows and manipulate. I’m going to play with the dark blue paper, the foliage, the peach flower, and the ribbon to manipulate my shadows a bit. Here is the result using my Chesapeake Collection.

I hope you have a great time making realistic shadows. Remember to keep in mind the closeness of the objects, the heaviness of the objects, and the light source, and you will have tons of fun! I can’t wait to see your beautiful works of art.


Leave A Comment