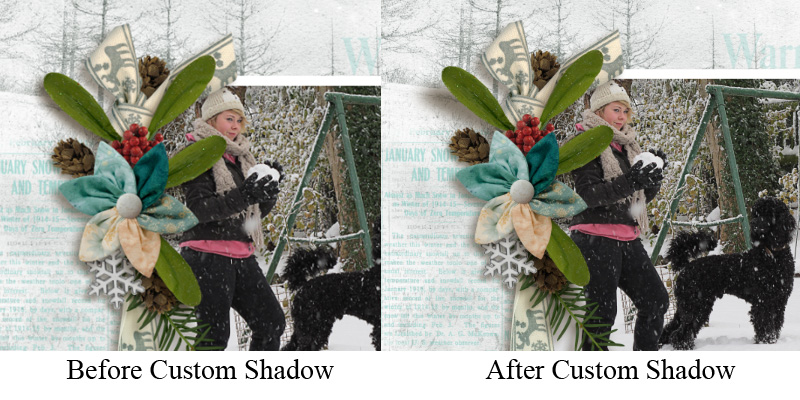
Shadows are a critical part of our layouts. They create a sense of realism, giving depth and dimension to our pages. When adding shadows to our page elements, we can use Shadow Styles that Photoshop has provided for us, Shadow Styles that we have purchased, or we can create our own shadows. Today, let’s take a look at how to customize a Drop Shadow , which is a slightly advanced technique.
This tutorial is being provided as a direct request from one of our blog readers. Please feel free to leave your requests in the Comments Section at the end of any tutorial post. We do read your comments, and are always interested in what you want to learn.
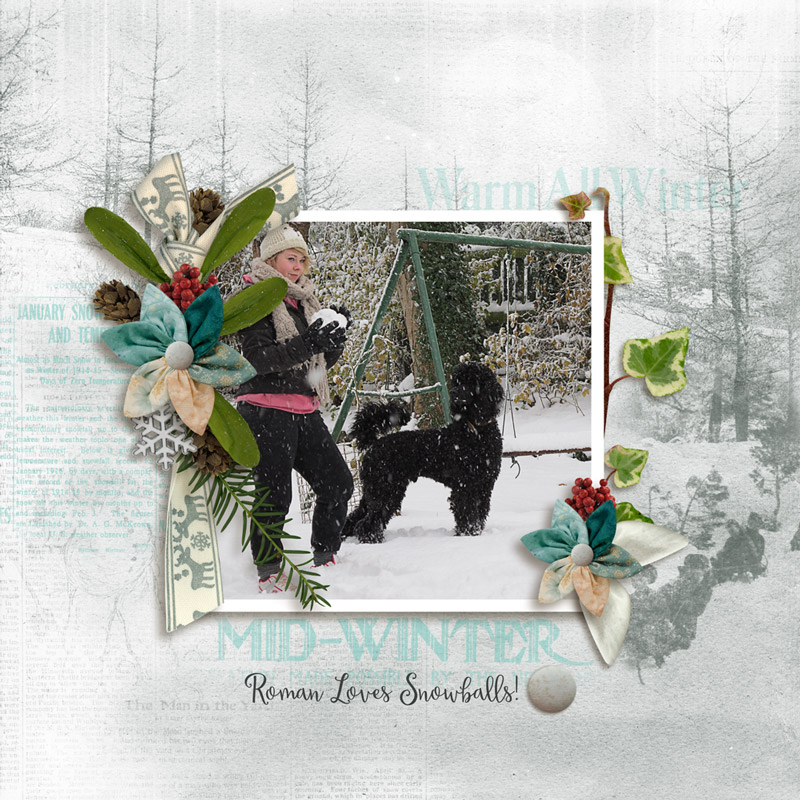
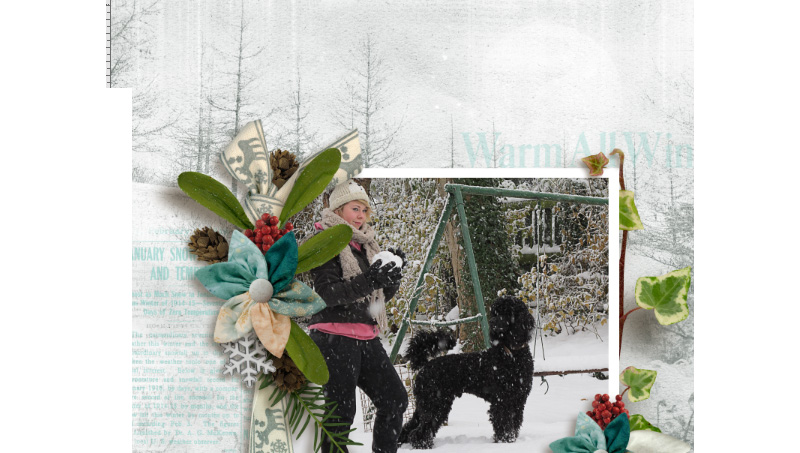
I requested the help of LouCee Creations for this tutorial by asking her to create a layout without the use of any custom shadows. Her page is beautiful as it is, but let’s see what we can do with just a few custom shadows.
I am working in Photoshop CC2015 today; but this technique should work in most, if not all, versions of Photoshop. At the end of this tutorial, I will also provide a work-around for Photoshop Elements users.
Let’s create a custom shadow on the foliage that is on the left side of the photo.
1. Lou used a piece of greenery from her “Winter Foliage” pack, which is part of our collaborative DSD Winter CU Grab Bag. She duplicated a 2-leaf element in her pack to create a 4-leaf cluster in her layout. We could put a custom shadow on each 2-piece leaf element if we liked; but to make it easier (and faster!), I’ve merged the 2 elements to make one 4-leaf cluster, then reapplied the Drop Shadow that Lou used.
2. Lou has already applied basic shadows to each element. To customize a shadow, we need the shadow to be on its own layer. To do this, go to the Layers Panel. Right click on the greenery’s Drop Shadow, and an options panel will open. Click on “Create Layer.” (If you click on the Layer itself, you will not get the options panel pictured below. Place your cursor over the “Effect” Label or on the Drop Shadow label itself, then right-click, to access these options.)

The Shadow is now on its own layer below the greenery, and we are ready to work with it.
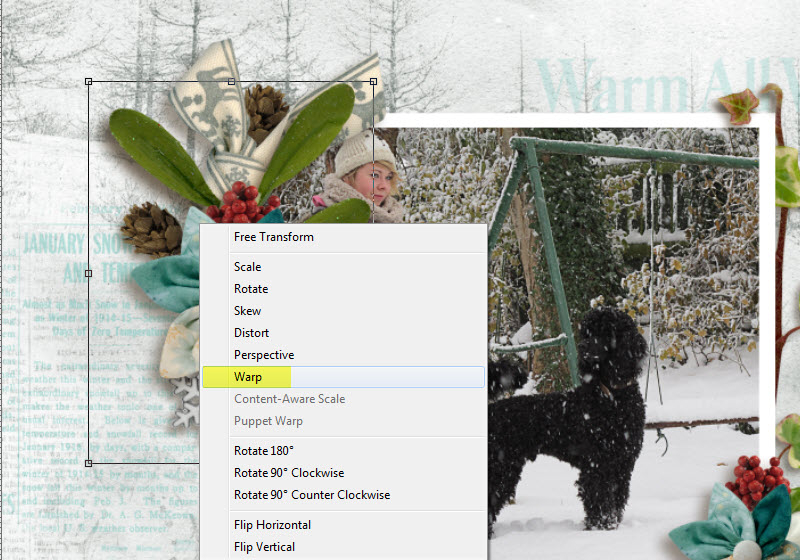
3. With the Shadow layer active, hit Control + T to bring up the Transform Tool. Place your cursor inside the selected area and right-click to bring up additional options. Select Warp. (Alternatively you may go to the top menu bar: Edit > Transform > Warp.)
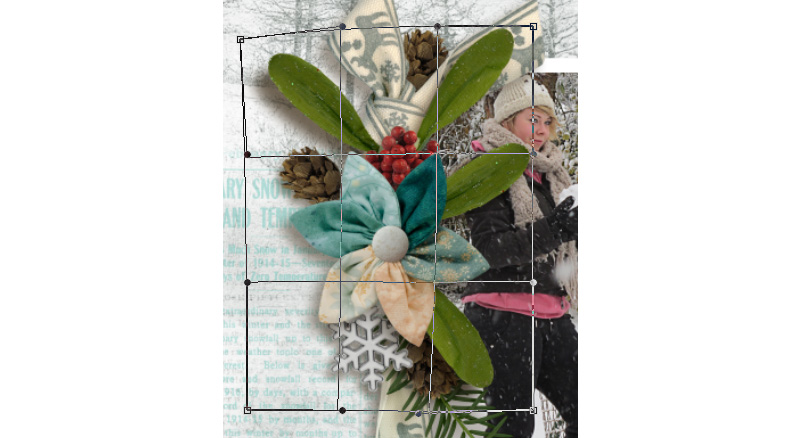
4. Once Warp is selected, a grid will be placed within the selected area. Grab the handles along the edge of the grid and drag the shadow in the direction that you would like. I have dragged the shadow of the top left leaf and the bottom right leaf down and to the left. Once you are happy with your choice, click the Check Mark in the top menu bar to commit your change.
5. Adjust the opacity level of the shadow if it is too harsh. You can also play with the Blend Mode of the shadow if you like. For this image, the Multiply Blend Mode (which was the default setting for the Drop Shadow Style that was originally applied), looked just fine. I lowered the opacity of the Shadow to 46%.
6. The shadow was a bit too harsh for me still, so I applied a small Gaussian Blur to it: Filter > Blur > Gaussian Blur > Radius 17 pixels.
I like the shadowing better, but it looks a little odd to me….so using what we learned about the Puppet Warp Tool (Do You Use Puppet Warp? and Puppet Warp Part 2), I added just a slight bend to the top leaf. I like that a lot better. That makes the leaf conform better to the shadow, and gives it a more realistic look.
Next, continue adding custom shadows throughout your layout as you like. While we need to follow the basic shadowing principles (i.e. all shadows in the layout facing in the same direction), shadowing is a personal preference, so shadow to your own taste.
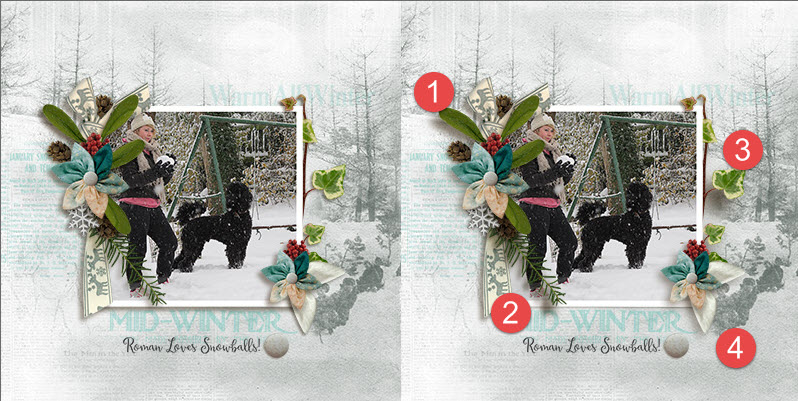
Here is what our original layout looked like (left), as well as the final effort (right). Custom shadows have been added to: #1 top left leaf (along with Puppet Warp); #2 lower greenery; #3 ivy; #4 white leaf (very subtle change).
And that’s it!
Photoshop Elements Users: Photoshop Elements does not offer you the “Create Layer” or “Warp” options. What you can do, however, is this:
- In the Layers Panel, Control + Click on the thumbnail of the layer/element you would like to work with, in order to select it. (You will see marching ants around the selection.)
- Create a new blank layer below the element (Control + Create New Layer Button will place the layer below your selected layer.)
- With the new blank layer selected, go to the top menu bar: Edit > Fill Selection > 50% Gray.
- Control + D to deselect the image.
- Control + T to bring up the Transform Tool.
- Right click in the selected area and choose either Skew or Distort. Sometimes one option works better than another, depending on the shape of the element you are working with. Adjust the perimeters of the shadow until you are satisfied.
- Once you are happy with your shadow, experiment with Blend Modes, Opacity Levels, and Gaussian Blur choices, as described above.
Example created using Photoshop Elements 13, Skew, Opacity 100% (for Fill of 50% Gray); Gaussian Blur of 23 pixels.

For an additional tutorial using Lou’s Layout above, please visit the SnickerdoodleDesigns blog, where we will explore 2 different ways to use transparencies in your layouts.
This is DSD weekend, and we imagine you have multiple stores you want to visit and numerous Sales Events you want to explore. Time is at a premium this weekend, and we thank you for stopping by our blog for today’s tutorial!
If you are a visual learner, you can view this tutorial on SnickerdoodleDesigns YouTube Channel and on theStudio’s YouTube Channel.
Please head over to YouTube and take a minute to Follow both channels. Each Channel will have some exclusive videos, so by following both channels, you will be sure not to miss a thing!
See you next week!


thanks for another excellent tutorial. After DSD i’m going to try and play with shadows!
[…] How to Customize a Drop Shadow in Photoshop – 1 freebie(s) […]
thanks Karen. Once again you have taught me a new trick – thank you! I play with custom shadows in PSE13 but not in this same way you described. Something new for me to try! The before and afters show what a difference they make.
[…] week we used the beautiful layout pictured below to add a custom drop shadow to a few elements (How to Customize a Drop Shadow.) Let’s use it again today to create a cold-weather […]
[…] week we used the beautiful layout pictured below to add a custom drop shadow to a few elements (How to Customize a Drop Shadow.) Let’s use it again today to create a cold-weather […]
[…] week we used the beautiful layout pictured below to add a custom drop shadow to a few elements (How to Customize a Drop Shadow.) Let’s use it again today to create a cold-weather […]
[…] week we used the beautiful layout pictured below to add a custom drop shadow to a few elements (How to Customize a Drop Shadow.) Let’s use it again today to create a cold-weather […]