
Hi, Ann here. Are you as excited as I am that Pixel Giraffe is a Guest Designer at The Studio? Her work is gorgeous, so I was really thrilled to get to use her Hygge Collection for today’s post. Be sure to check out the sale at her Studio Shop – you’ll find gorgeous goodies galore!

In today’s post, I’ll show you how I used dynamic brushes in both Affinity Photo, and Procreate. Keep reading for a freebie…
So what are dynamic brushes? They are brushes that change appearance as you move your stylus or finger along the canvas – in shape, size, etc.
Why use them? They can add a subtle, custom texture to your pages, or you can use them to make your own borders and masks. Dynamic brushes are also fun to use as a decorative accent, adding a repeating line or pattern on a layout.
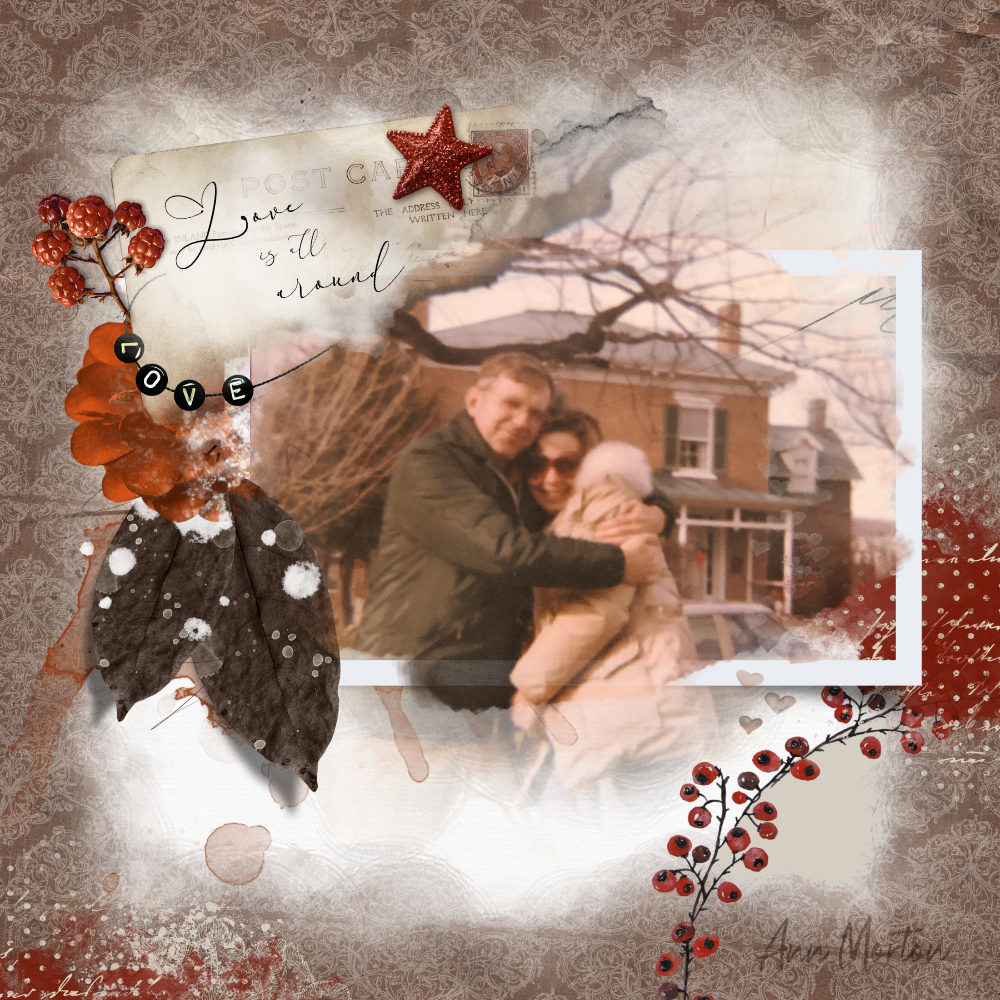
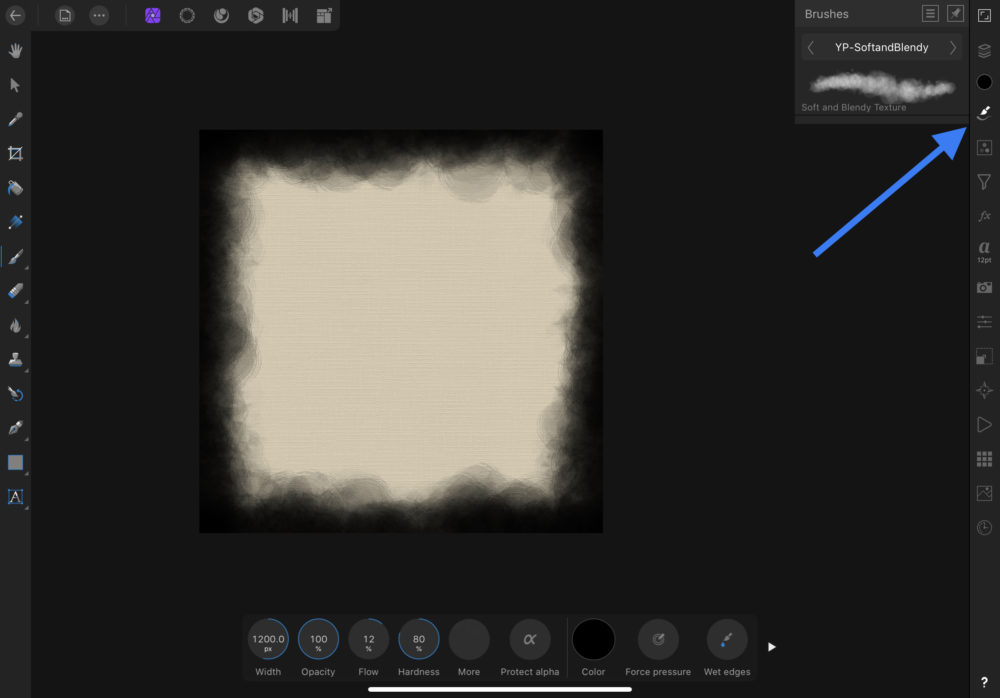
In this first layout, above, I used one dynamic brush three ways in Affinity Photo. First, I painted on a page border.
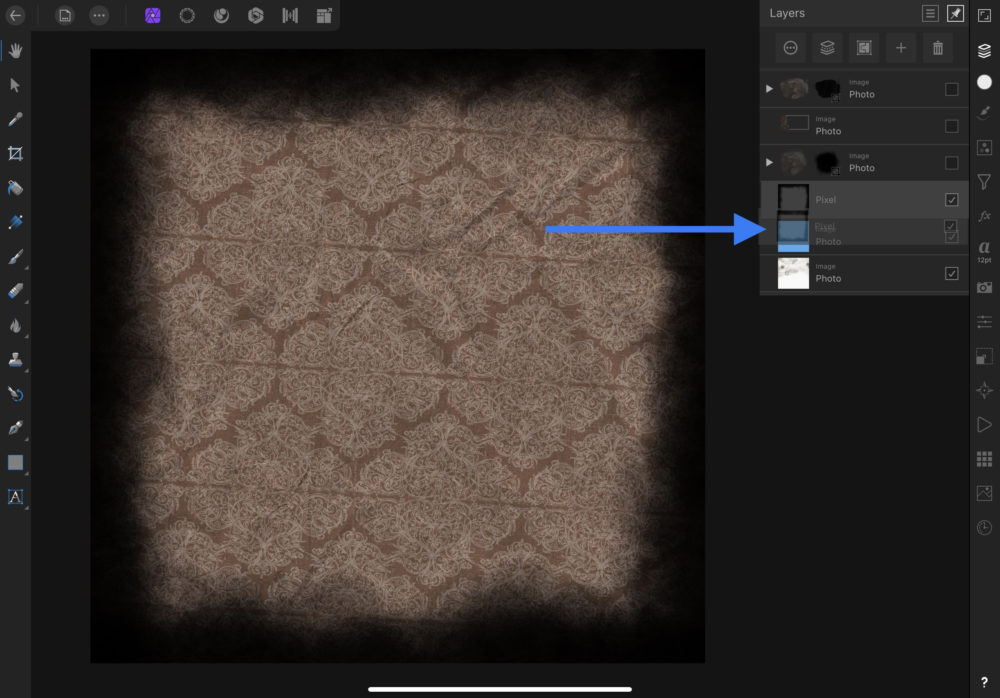
I imported and clipped a Hygge paper to it.
I used the same brush to paint an additional photo mask on a new layer. I duplicated the photo, then clipped it to the mask and changed the blend mode.
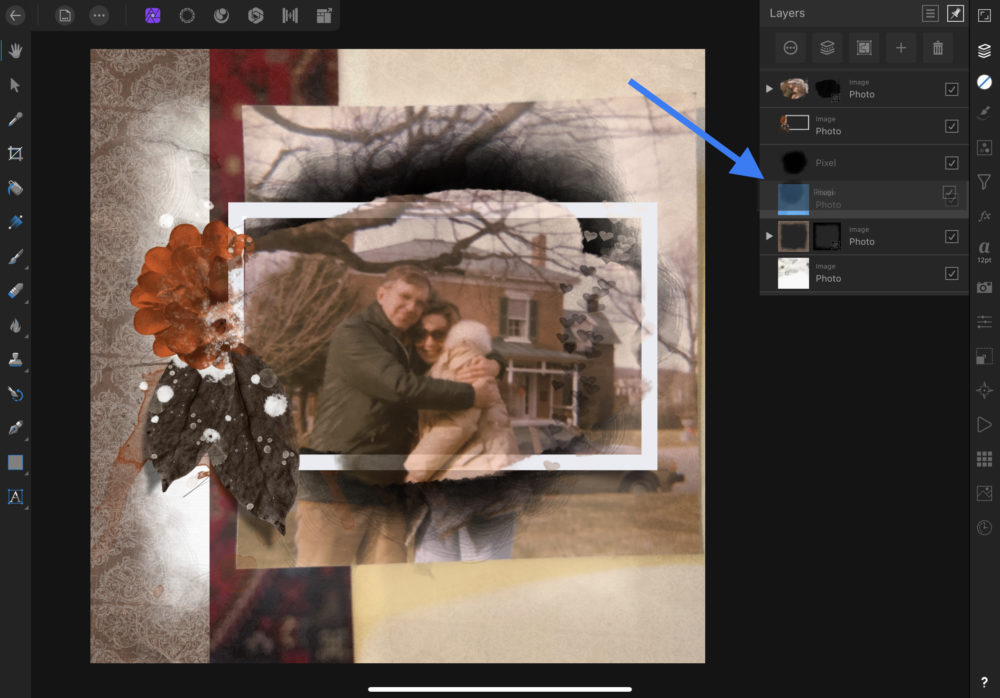
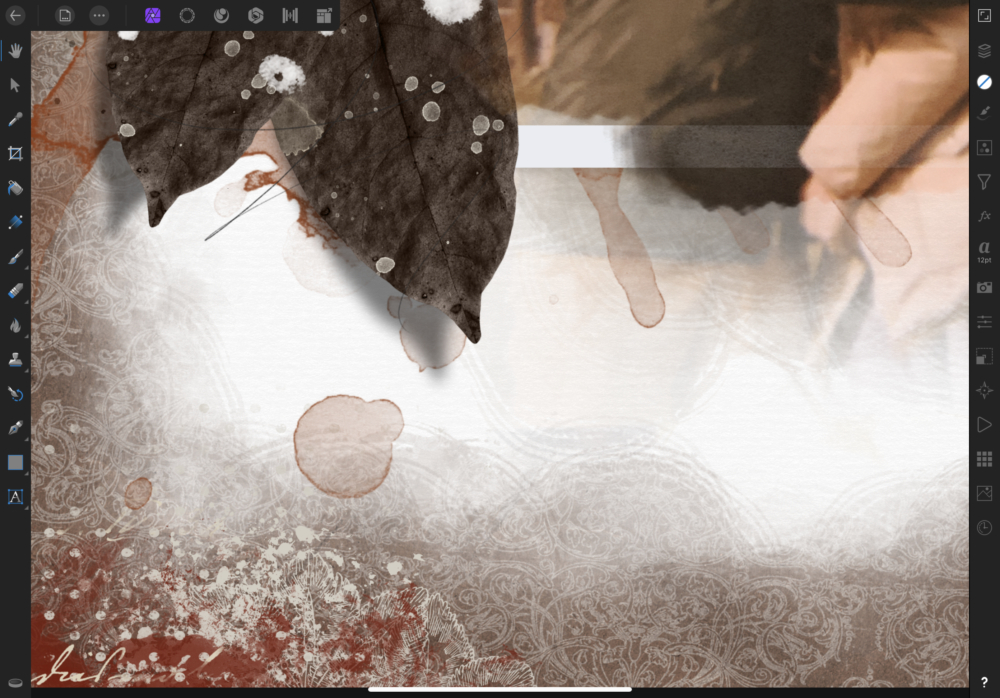
Finally, I used the brush to make a backdrop for the title. by painting over the postcard’s text. To do this, I selected the postcard layer by tapping the Selection Persona (the second icon at the top), then choosing Selection From Layer. With the selection active (marching ant/ dotted outline around the layer), I returned to the Photo persona to use the Brush tool.
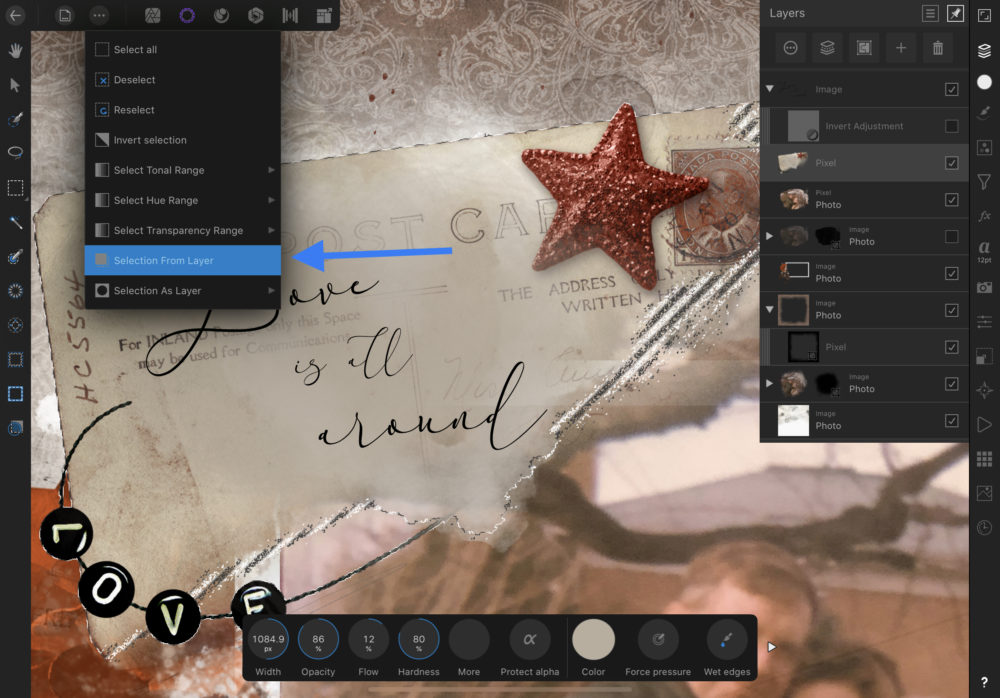
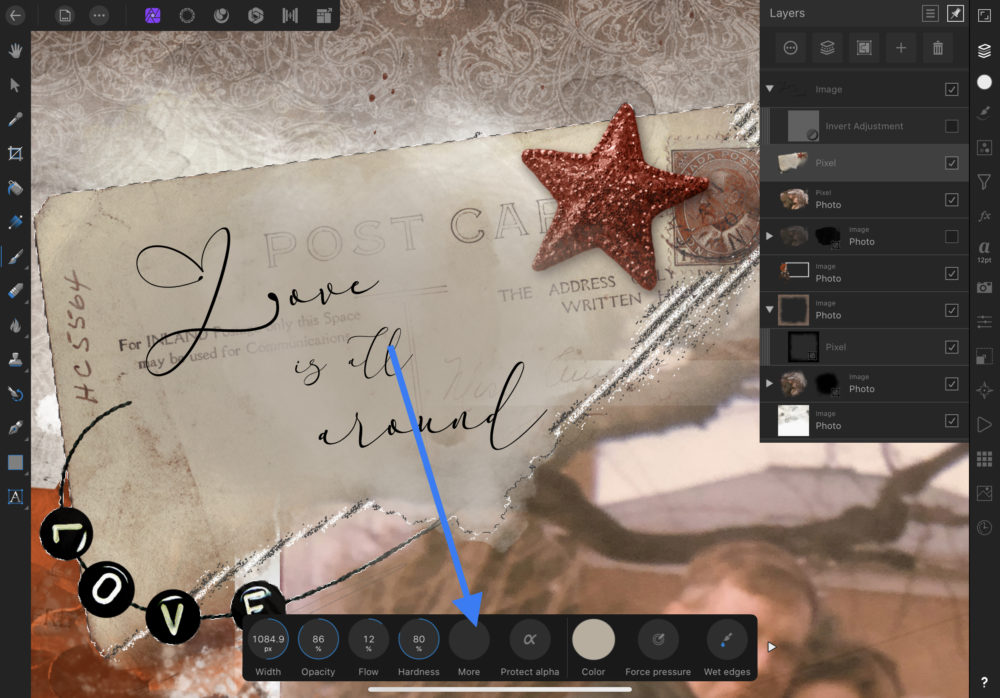
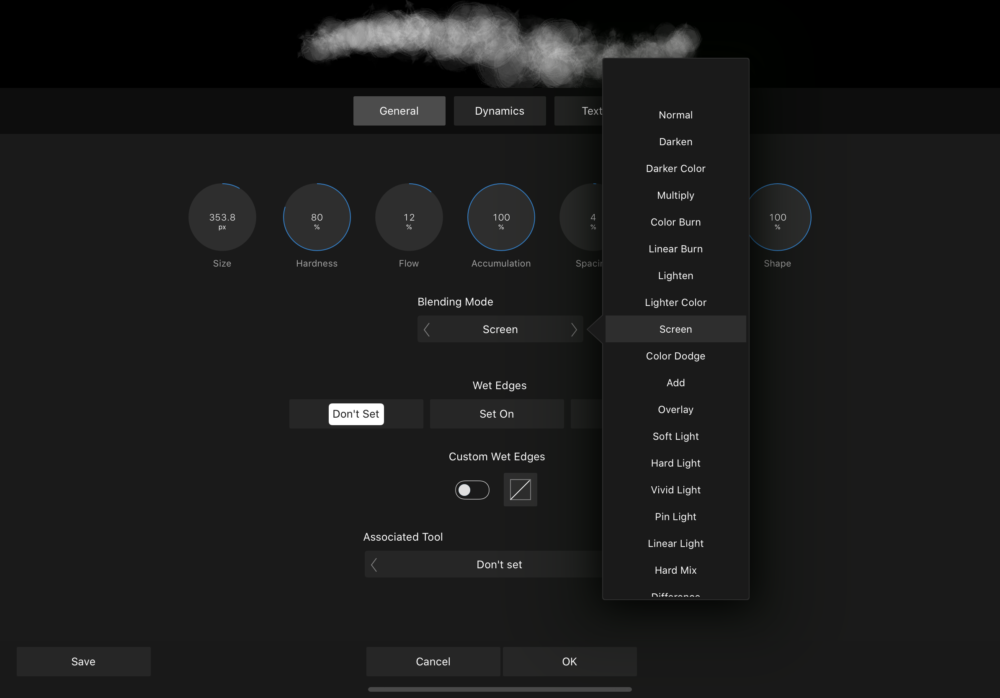
After painting a bit, I edited the brush by tapping the More button. From here, I changed the Blend Mode to Screen to lighten the brushwork. When I finished, I tapped Deselect back in the Selections Persona. Play around with the settings until you find a look that works.
Now over to Procreate… In this next layout, I used a brush to add a frame around the subject. I started in the upper left corner with more pressure, then eased off on the pressure as I drew my lines outward, fading off.
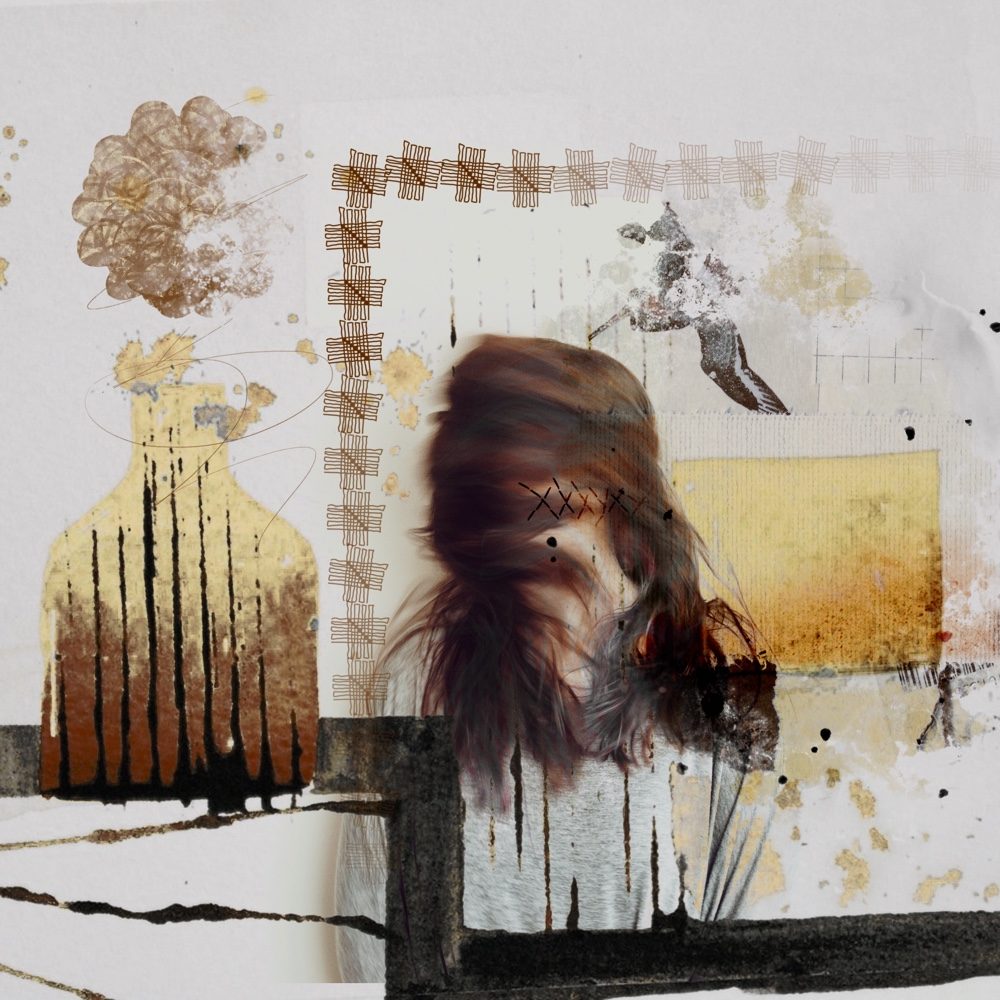
I imported the brush and added a new layer. I painted two lines to frame the image.
Next, I grabbed one of Procreate’s built-in Touchups brushes, Flowing Hair.
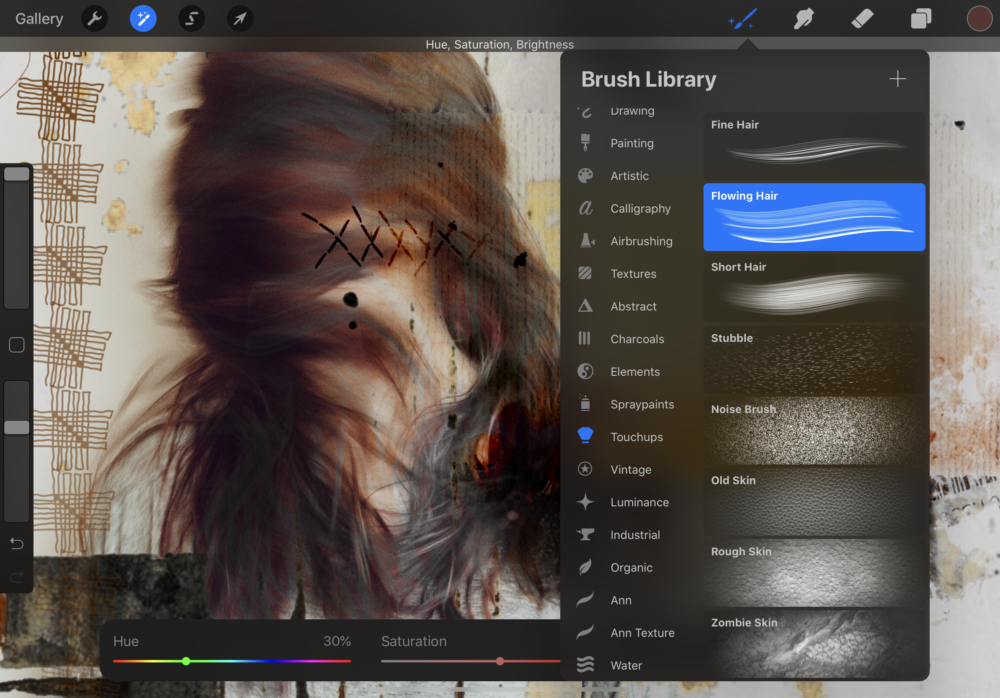
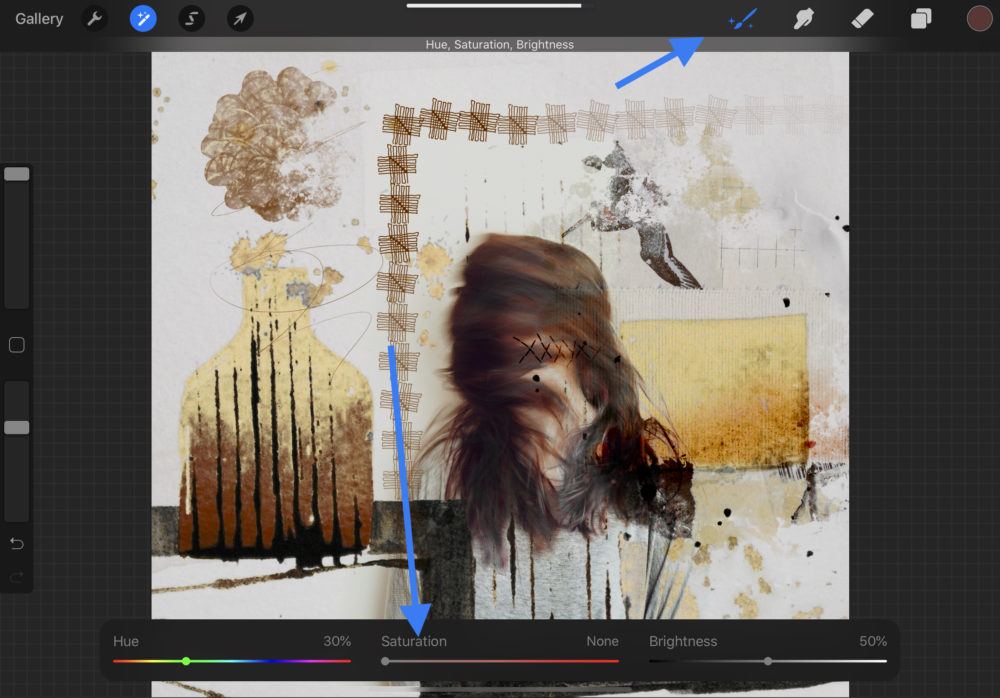
I desaturated areas of the figure’s hair using the Pencil Adjustments Tool, bringing the saturation all the way down. Note the sparkles next to the brush button that tells you you’re in a special filter mode.
Have you tried using dynamic brushes in your art journal or scrapbooking pages? Leave a comment or drop me a message. I’d love to hear what you’re doing.
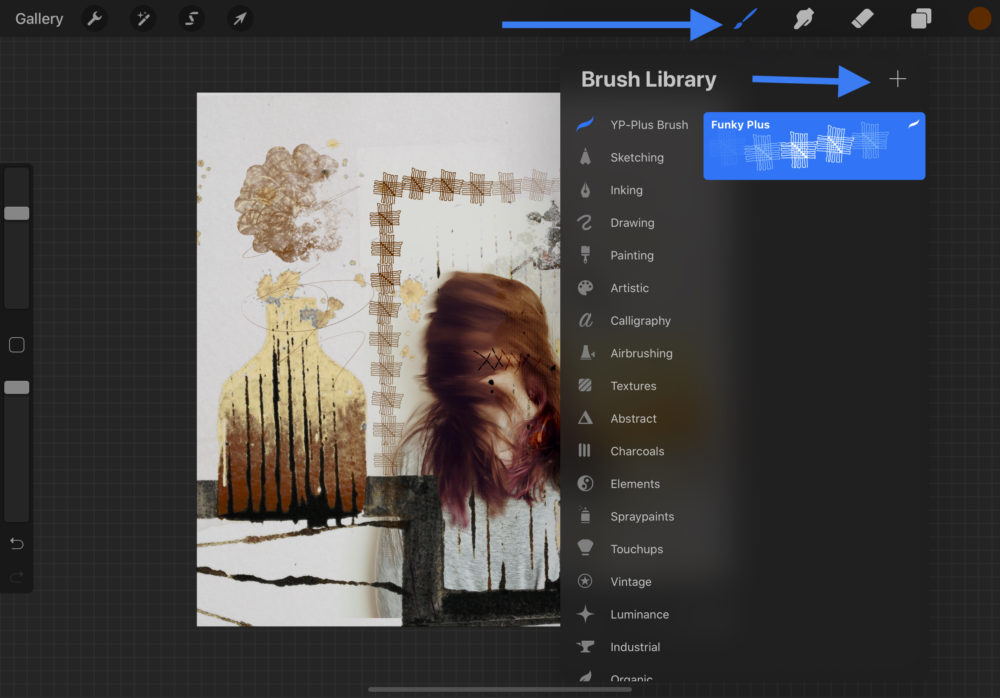
And, as a thank you to readers of my mobile series here, I’m giving away two dynamic brushes – one for Affinity Photo, and one for Procreate. The funky plus brush for Procreate, and the border brush for Affinity Photo. Enjoy!


Leave A Comment