Here’s a fun idea! Draw a quick frame, add a border & shadow and then triple it. Spice it up by adding the same photo three times. Resizing the photo in each frame gives you a very eye-catching centerpiece for your layout. Ready to get started? Let’s do this!
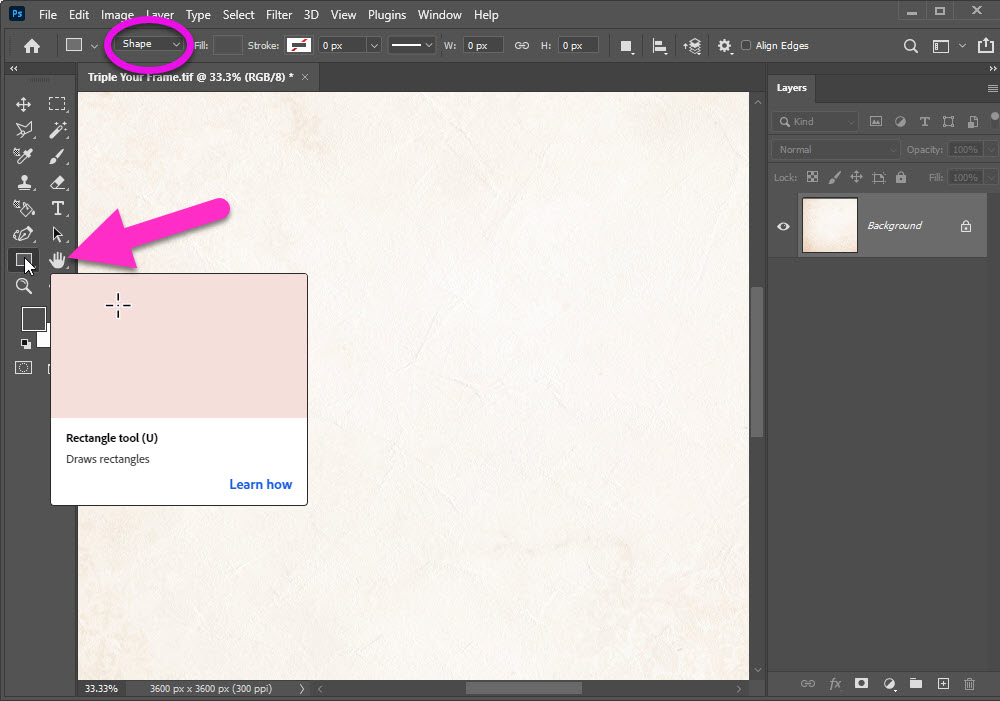
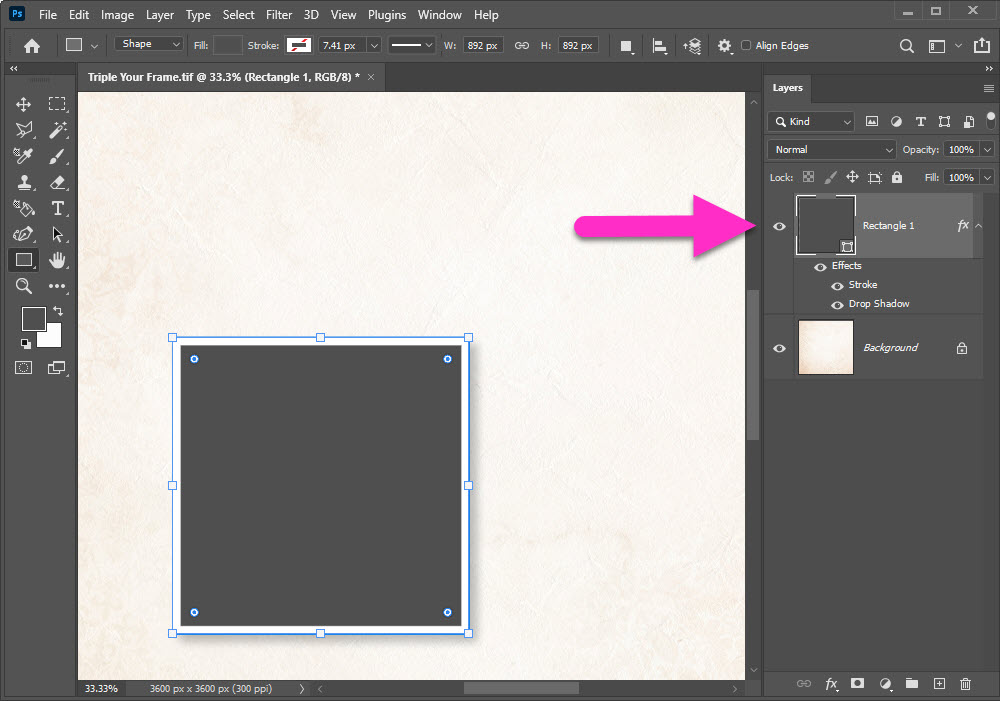
Start by drawing a simple rectangle. I’m drawing in photoshop & my background paper is from the (free) mega Peaches & Cream.
- Hold down the Shift key when drawing your rectangle to get a perfect square
- If you get just a Path; double check Shape is selected in your top menu bar
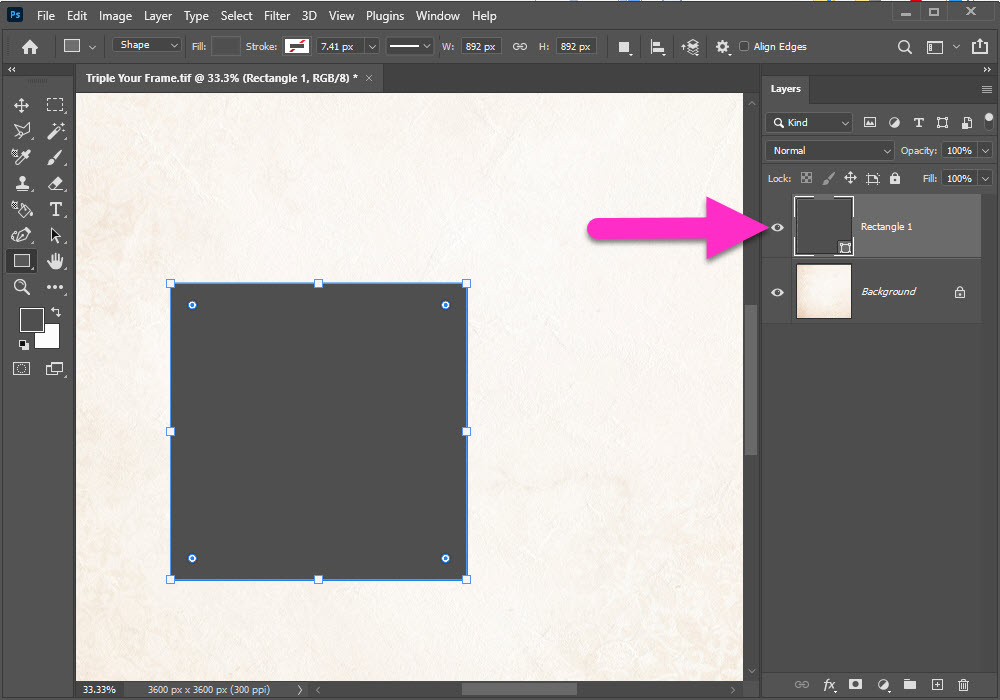
You now have a perfect square (or rectangle, it’s up to you).
Note that the blue lines will disappear, just like marching ants & the white boxes. The blue lines mean it’s a shape and can be stretched without losing integrity.
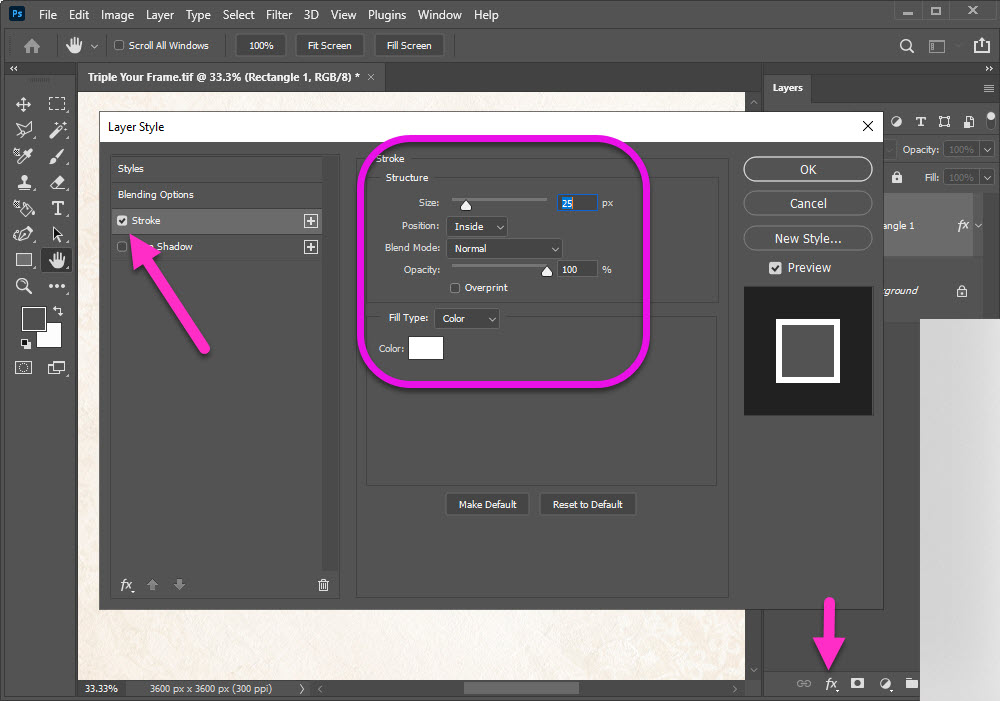
I like to add a quick frame by adding a Stroke style to my rectangle.
- Click on the fx at the bottom of your layers palette to pop open the Layer Style box
- Click on Stroke and set your style, I like a medium width frame but you do you!
- Size = 25 px
- Position = Inside
- Blend Mode = Normal
- Color = White Hex#ffffff
Pop the Layers Palette back open and add a Drop Shadow as well. You can use any settings, these are mine:
- Blend Mode = Linear Burn
- Opacity = 30%
- Angle = 135°
- Distance = 30px
- Size = 30px

That’s it! You know have a perfect square, ready to hold and frame your photo:
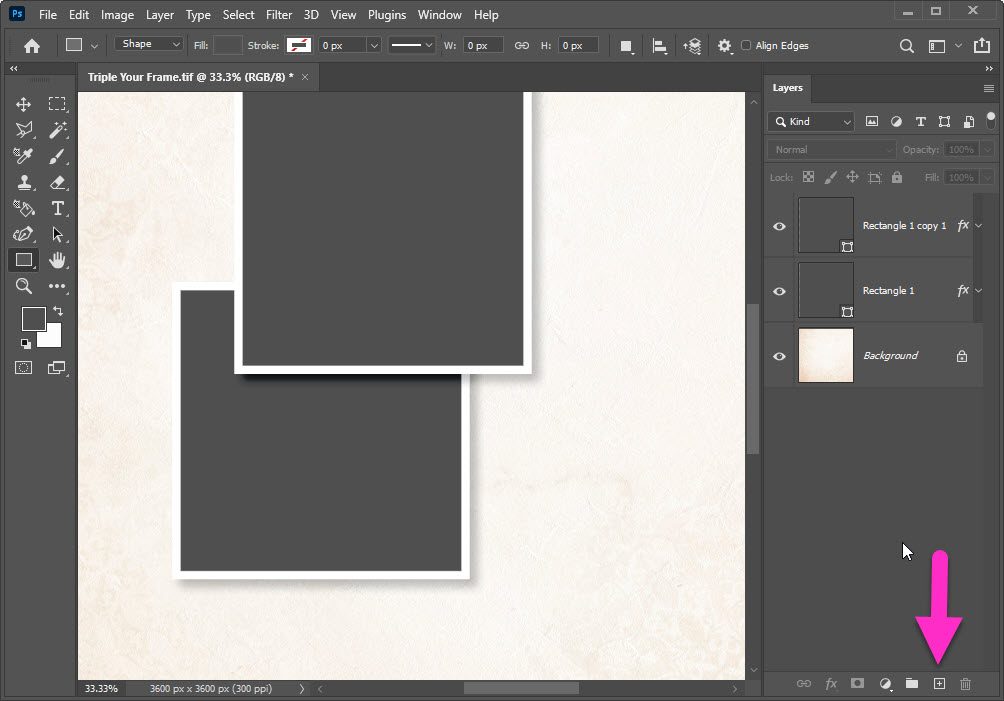
Now for the fun part! Duplicate your square so that you have two ready-to-go framed rectangles.
- Duplicate your Rectangle by Click, Hold, Drag to the Layer Palette Menu
- Release the mouse button when you are hovering over the New Layer icon (the box with the +); or
- Right-Click and choose Duplicate Layer
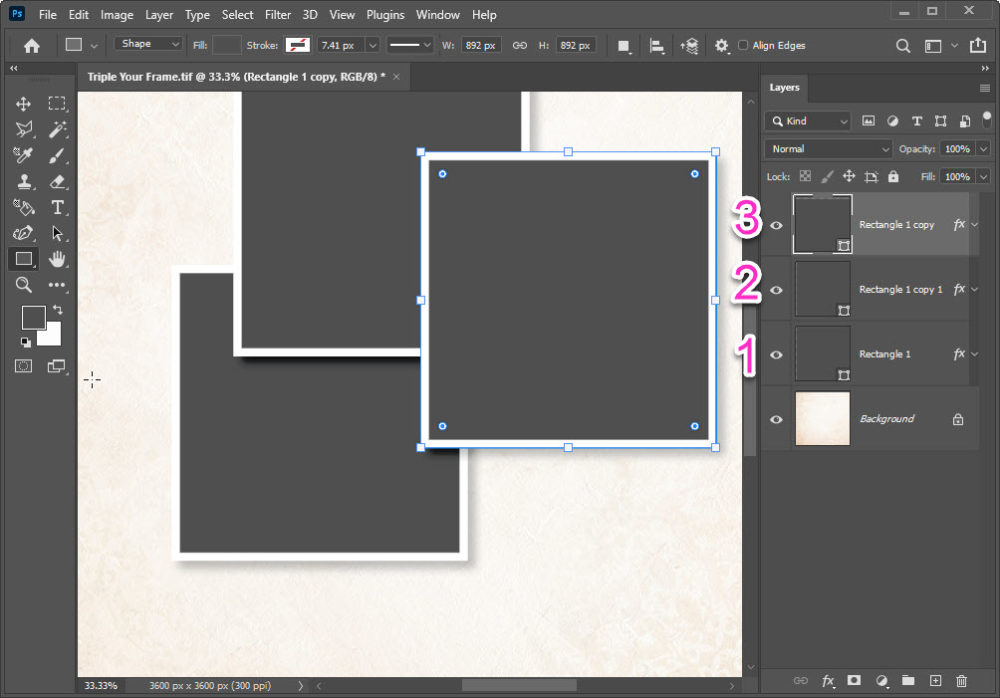
Repeat the steps above to get your third ready-to-go framed rectangle.
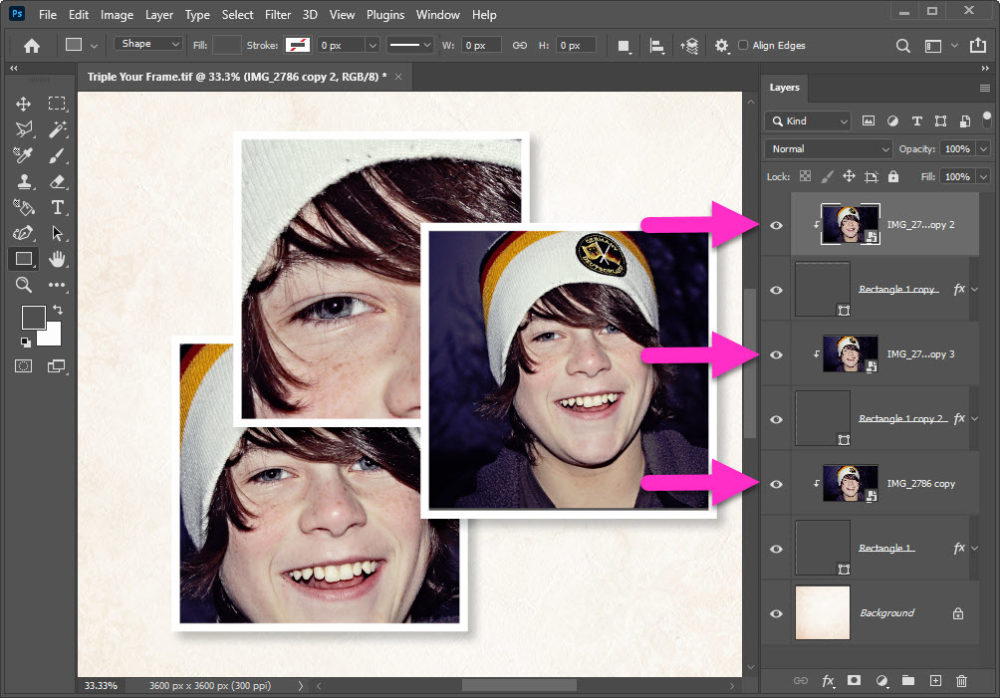
You can, of course, add in three separate photo’s & call it a day. That works. Or you can have a little fun with just one photo. Simply drag in your favorite photo above your rectangle layers.
I’ve picked a photo of Cole from almost 10 years ago! I’ve been meaning to scrap this for a while. A looooooooong while.
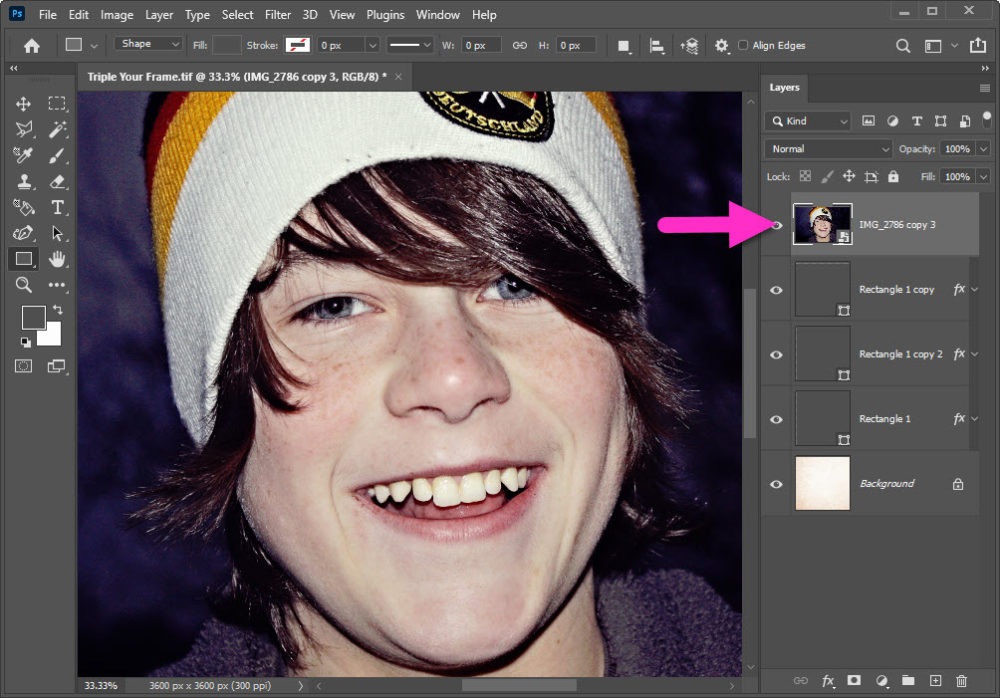
I duplicate the photo three times (same steps as above) and I create clipping masks above each rectangle. You can search the blog for how-to create a clipping mask.
I simply resized & moved each “Cole” photo until I was happy with the result. Be sure you are on the individual photo layer when resizing and/or moving to get the perfect look for you.
I love, love, love how this turned out! I’m off to finish my layout. Give this technique a whirl yourself, and show it off in our gallery.


Leave A Comment