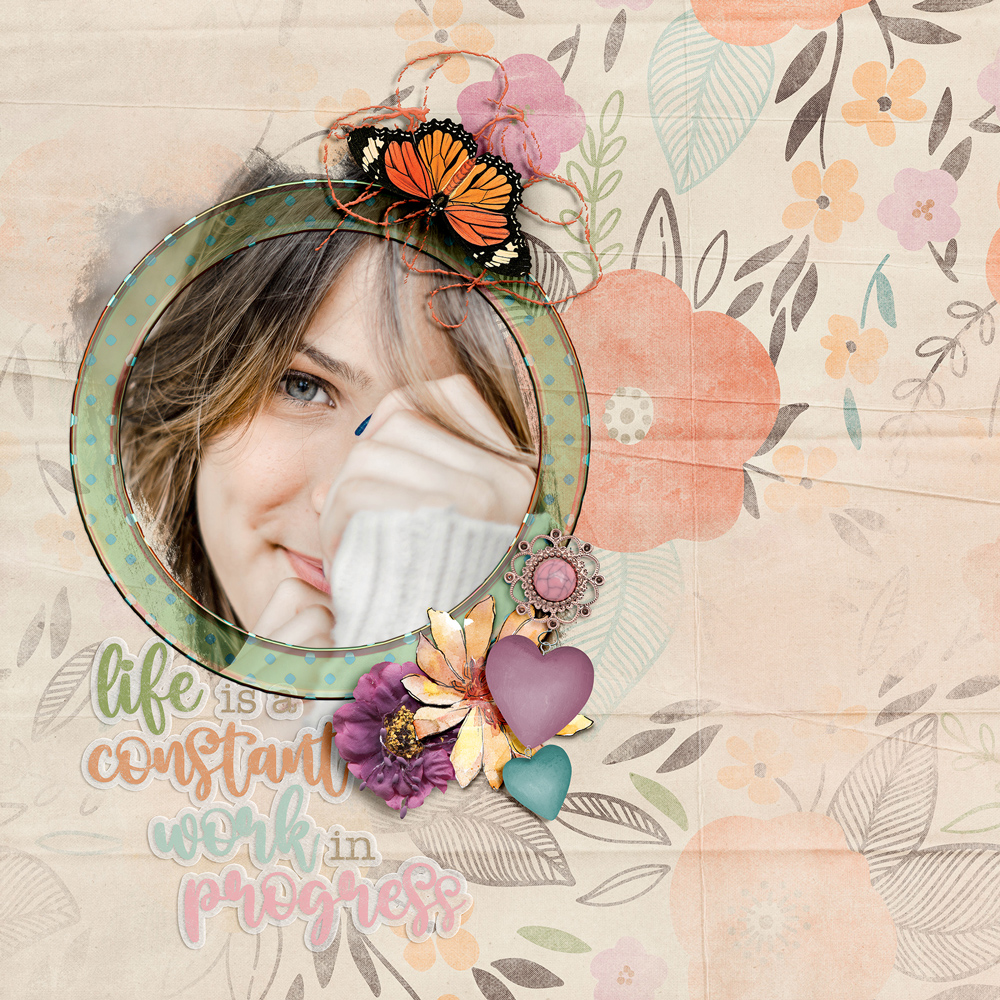
Hey, Everyone! Chere here with a quick tutorial on using clipping masks with your photos to make beautiful pages in a snap! The wonderful thing about clipping your photos to a shape is that the possibilities are endless. You can use a shape like a rectangle or a circle to fit your photo exactly into a frame, or you can use a mask like the one provided below with a softer edge that will blend your photo into your background paper for a more modern, artsy effect. Really, the world is your oyster on this technique – you can experiment with any shape you have in your stash to clip a photo, and you will end up with a fun new photo effect every time! Let’s walk through what I did in my sample below.
I started with a background paper for the LAD: Fusion Supersized that you can collect by participating in the Layout-a-Day event here at The Studio. You don’t want to miss a single day of this beautiful collection, trust me. It’s one of the most stunning collaborations I’ve ever seen!
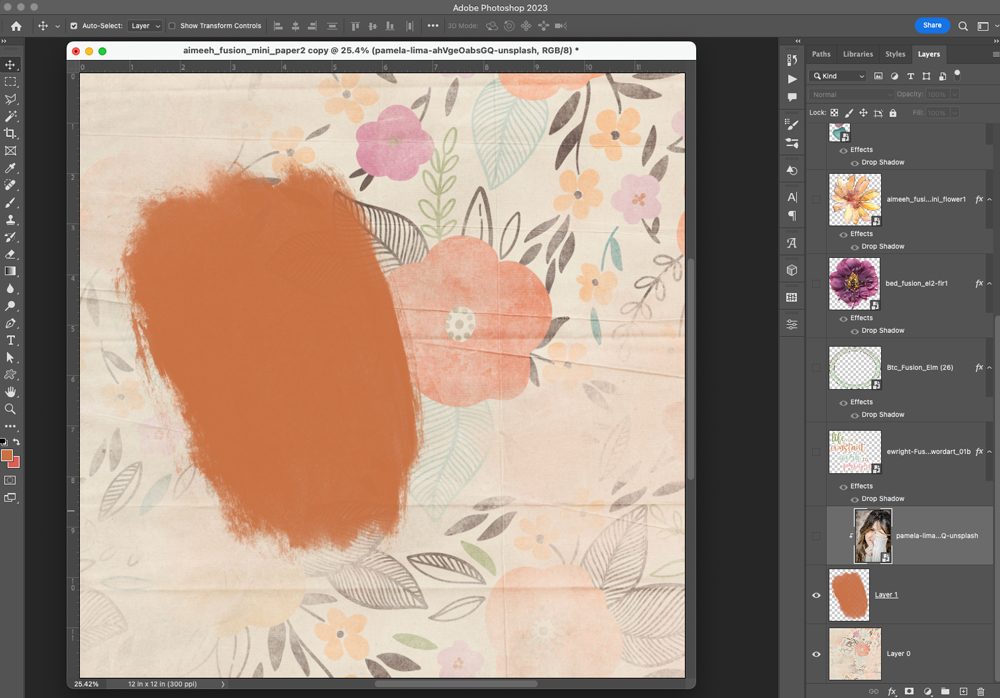
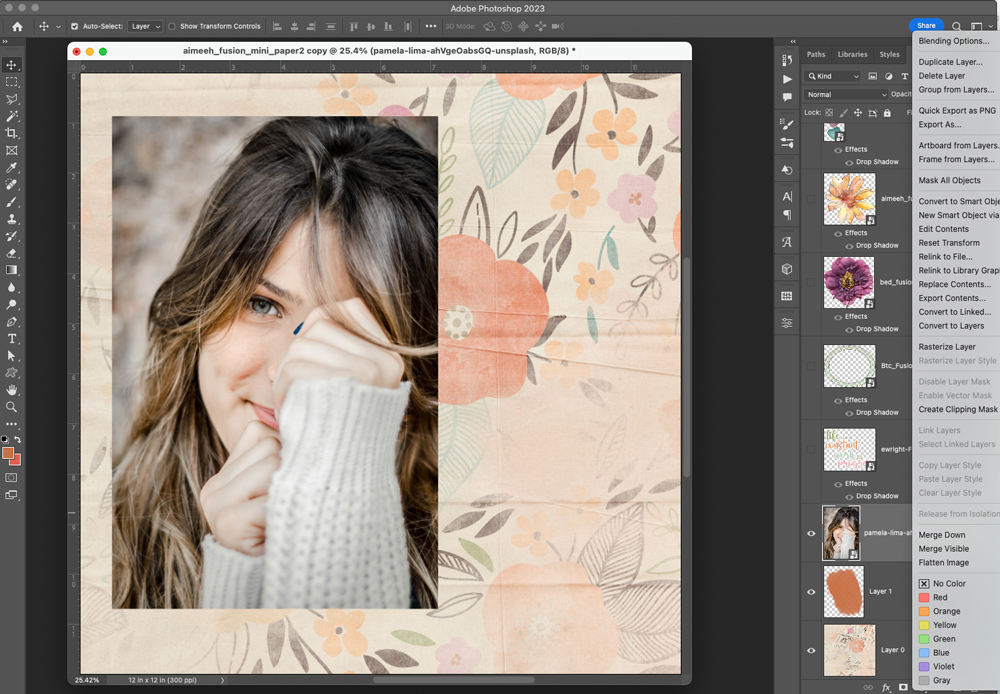
Next I added the free mask (you can grab it in the forum in the LAD: Fusion area) and placed it where I wanted my photo to be on the page. Then, I dragged my photo (it’s a stock image from Unsplash.com) on top of the mask, and resized it so that it would cover the mask completely and not have any of the mask edges showing.
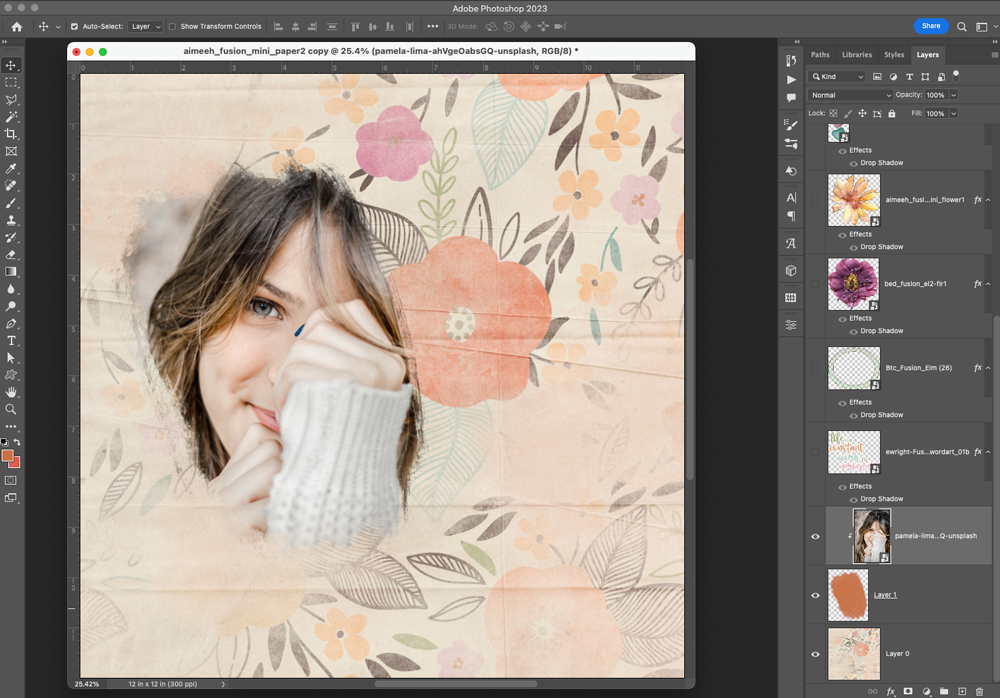
Then in my layers panel, I right clicked on the photo and chose “create clipping mask”. This makes the photo only show on the shape of the layer below it, and in our case makes a soft, blended edge which looks beautiful on our background paper.
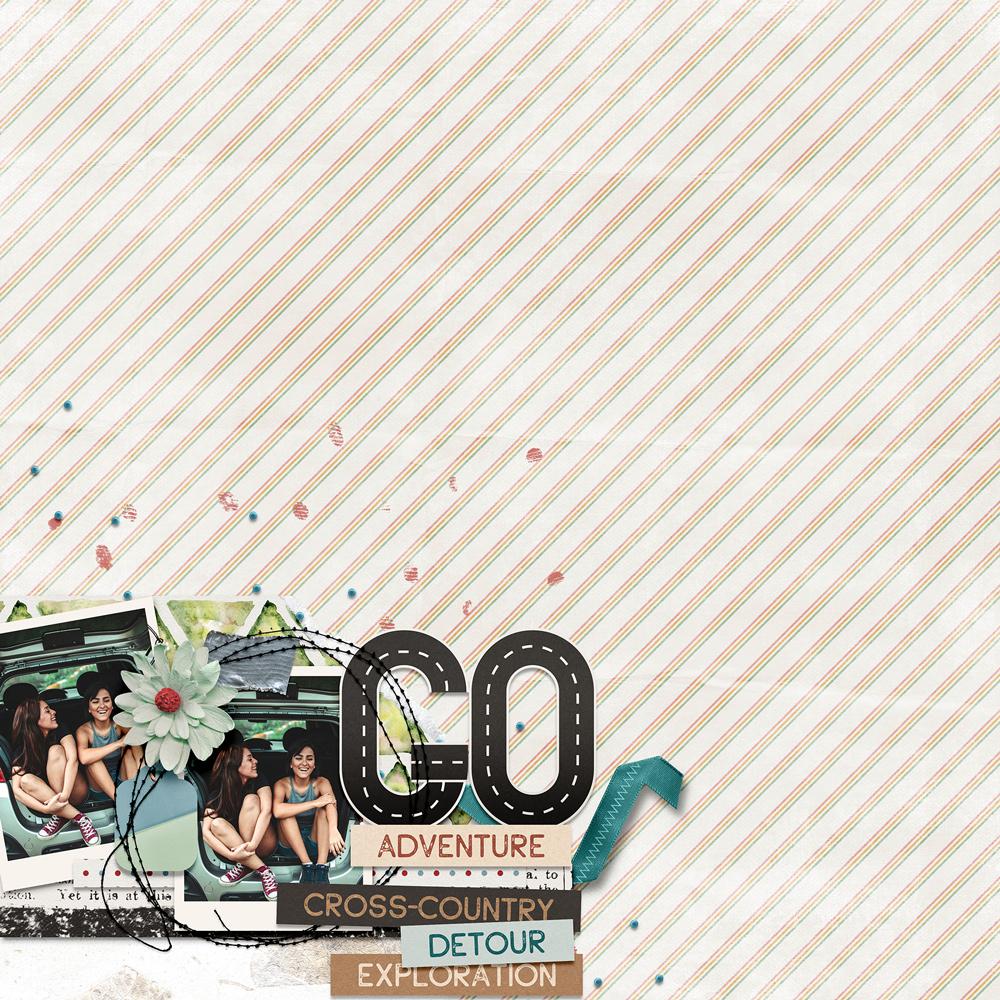
I then continued to build my page with elements from the LAD: Fusion Supersized collection, and carefully shadowed things for an artsy but realistic effect. I loved adding the frame around the lady’s face even though the edges of the photo bleed out from the shape of the frame; it adds interest and a softness to the page that really shows well with the flowers on the background and in my elements. This would also work well with a large soft circle shape instead of this mask shape if you chose. You can experiment with any type of shape that you’d like for your photo mask.
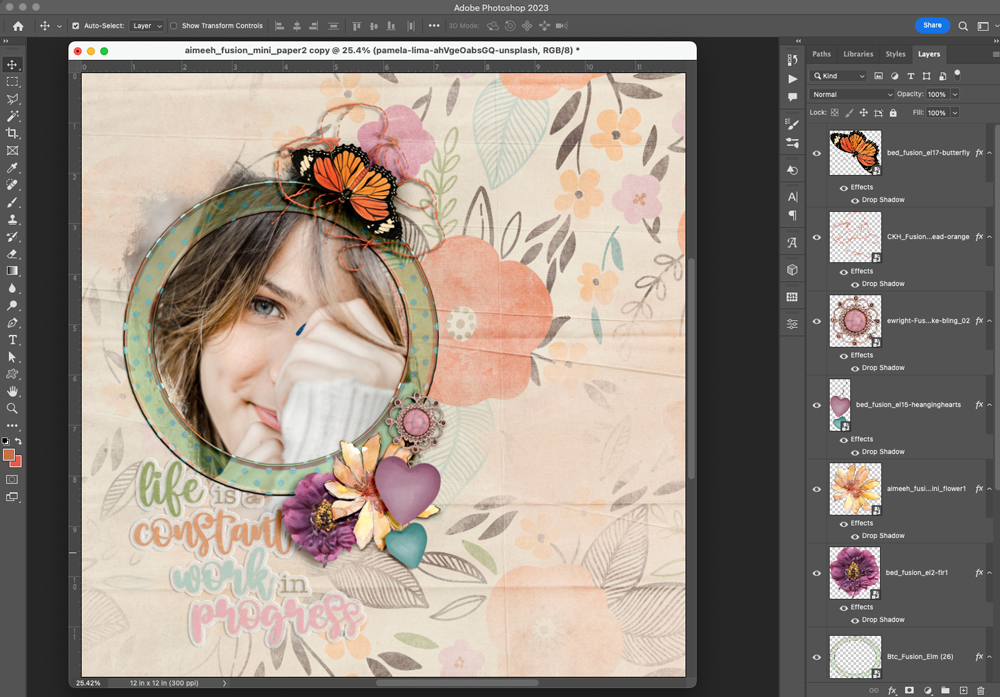
Continue to add your elements until you have the page finished the way you like it. Add your journaling or title, and voila! A beautiful blended photo on a gorgeous page. What a cool and simple technique. We’ll be building on this one all month long during our Fusion event. I can’t wait to see your layouts!


Thank you so much for the tutorial.