
Today kicks off our fantabulous new Medley: Moody Blues! Another amazing hodgepodge of mini kits & coordinating add-ons from the Studio designers. This is a wonderful, color-themed mini collection all around my favorite color blue! Our Design Team has leaned into the blues in as many different moods as we have personalities. You’ll find everything from true moody blues, filled with feelings, to ocean themes filled with fish & whales.
I’ve collected a couple of the mini’s and the add-ons to give this medley a whirl. I’m a little out of practice, after my very long absence, so I leaned heavily on another phenomenal template from Bryony, Heartstrings Scrap Art. I had the perfect set of pictures from my very recent roadtrip to Croatia. Would you like to follow along with how I changed my photo to match & replace the background in Bryony’s template?
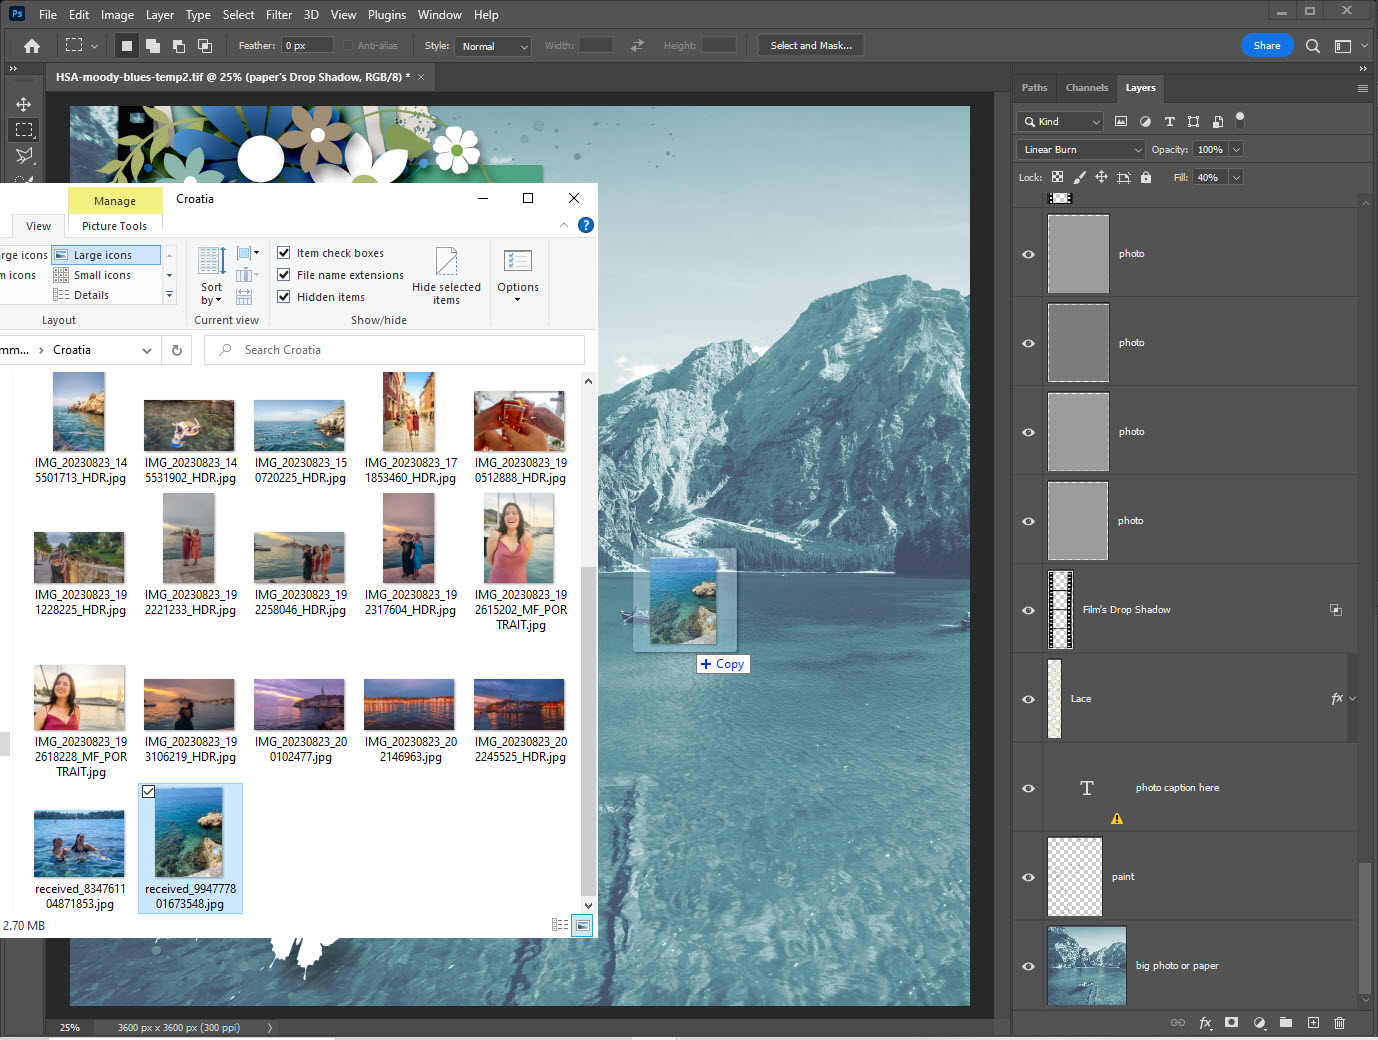
I started with HSA-moody-blues-temp2.tif

To add my photo I minimized my file explorer and opened it above my photoshop, then simply dragged in my photo.
Tip: Hold down the Shift key to center the photo on your workspace
Once your photo is in your photoshop, let go of the mouse button (and the Shift key). Then click on the Check Mark to confirm your action.
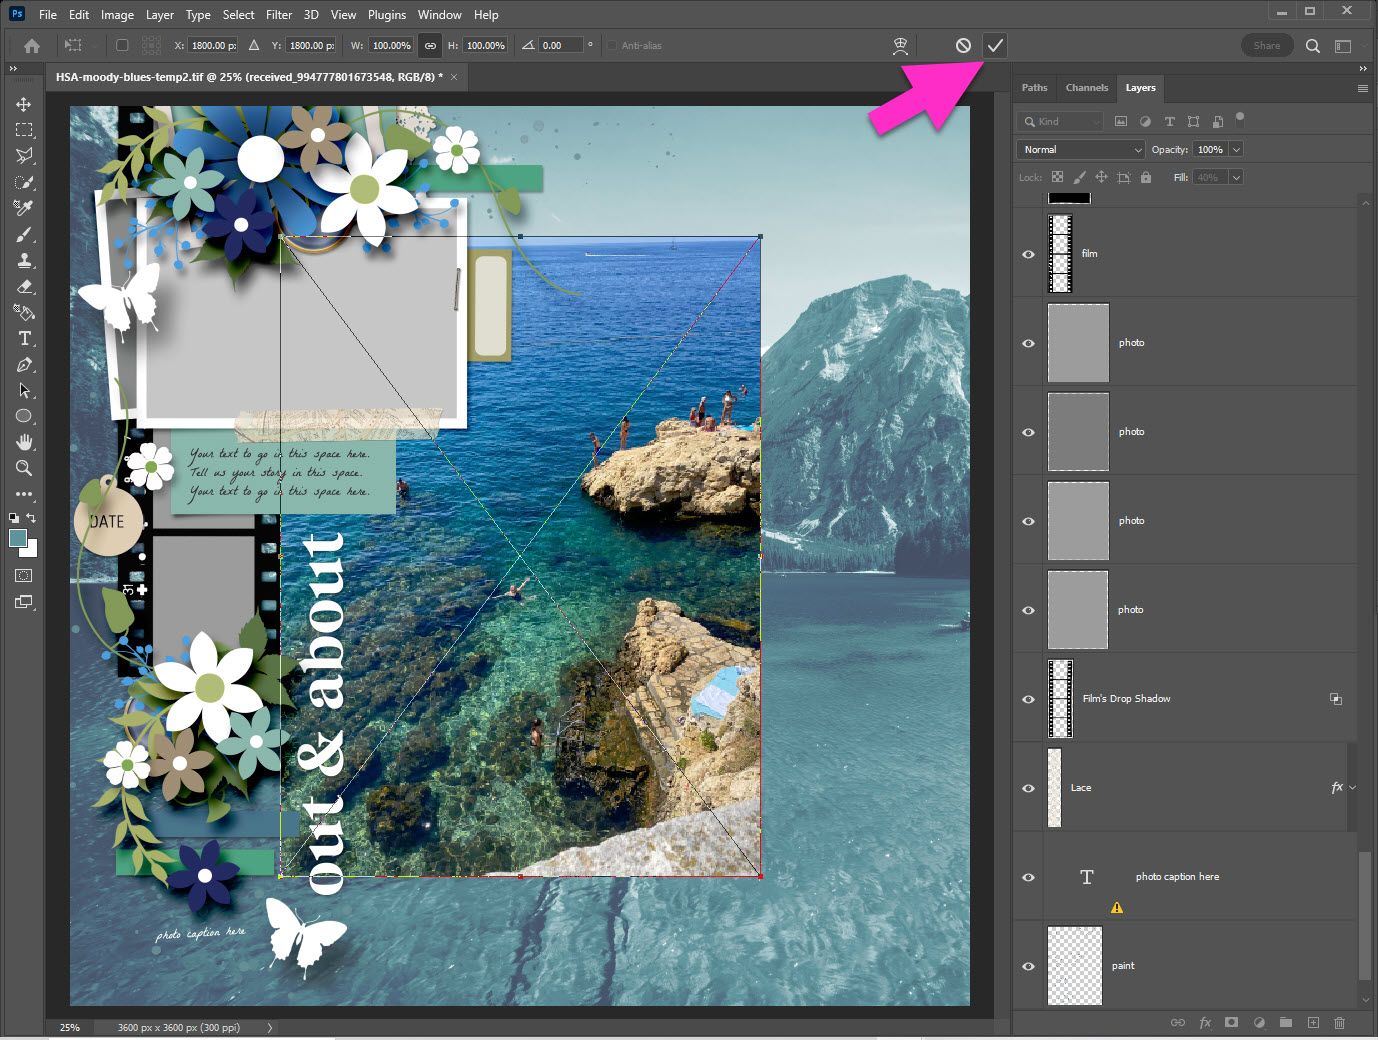
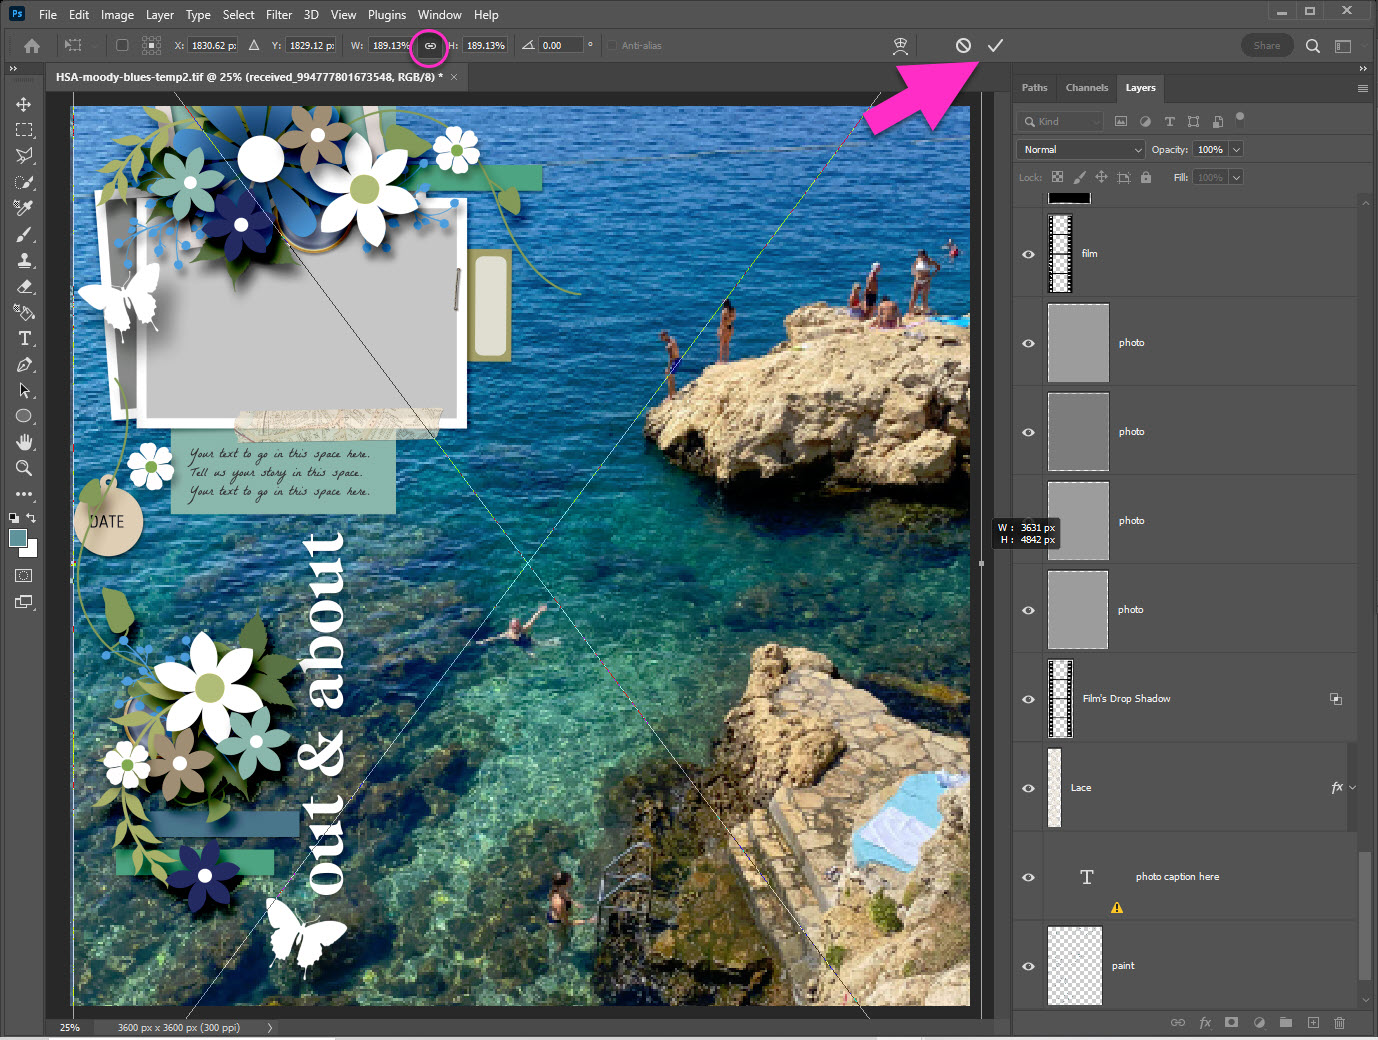
My photo is a cell phone photo, and not as big as the template. You can simply grab a corner and drag the photo until it’s the correct size.
Note: Your photo will be blurry until you click the Check Mark to confirm your action.
Tip: make sure the link 🔗 symbol is selected to keep your photo in perspective.
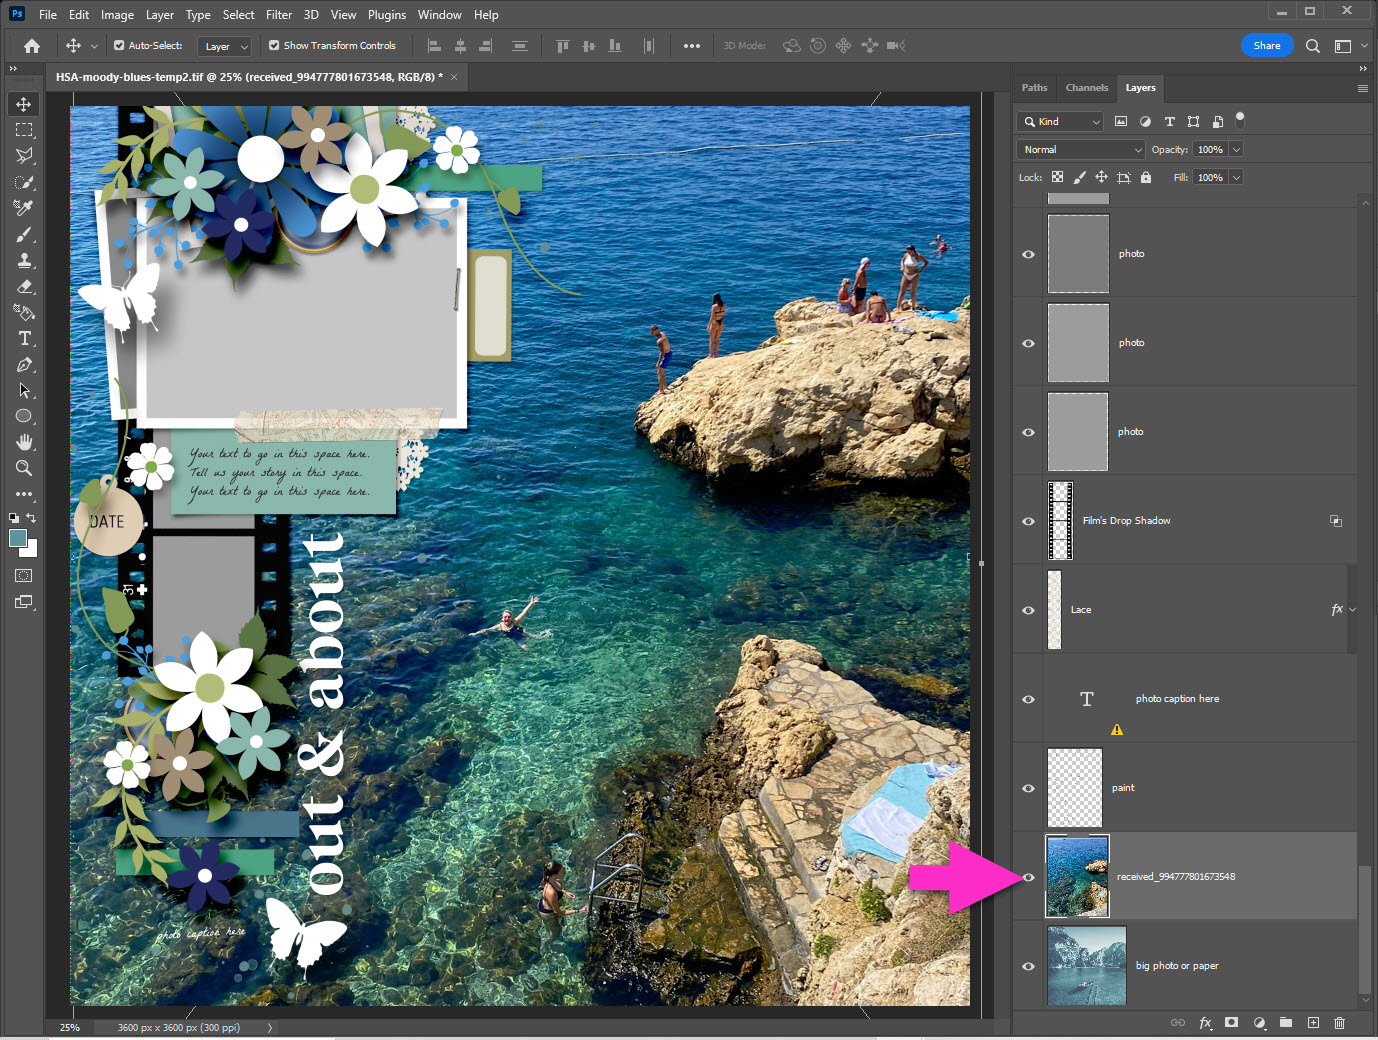
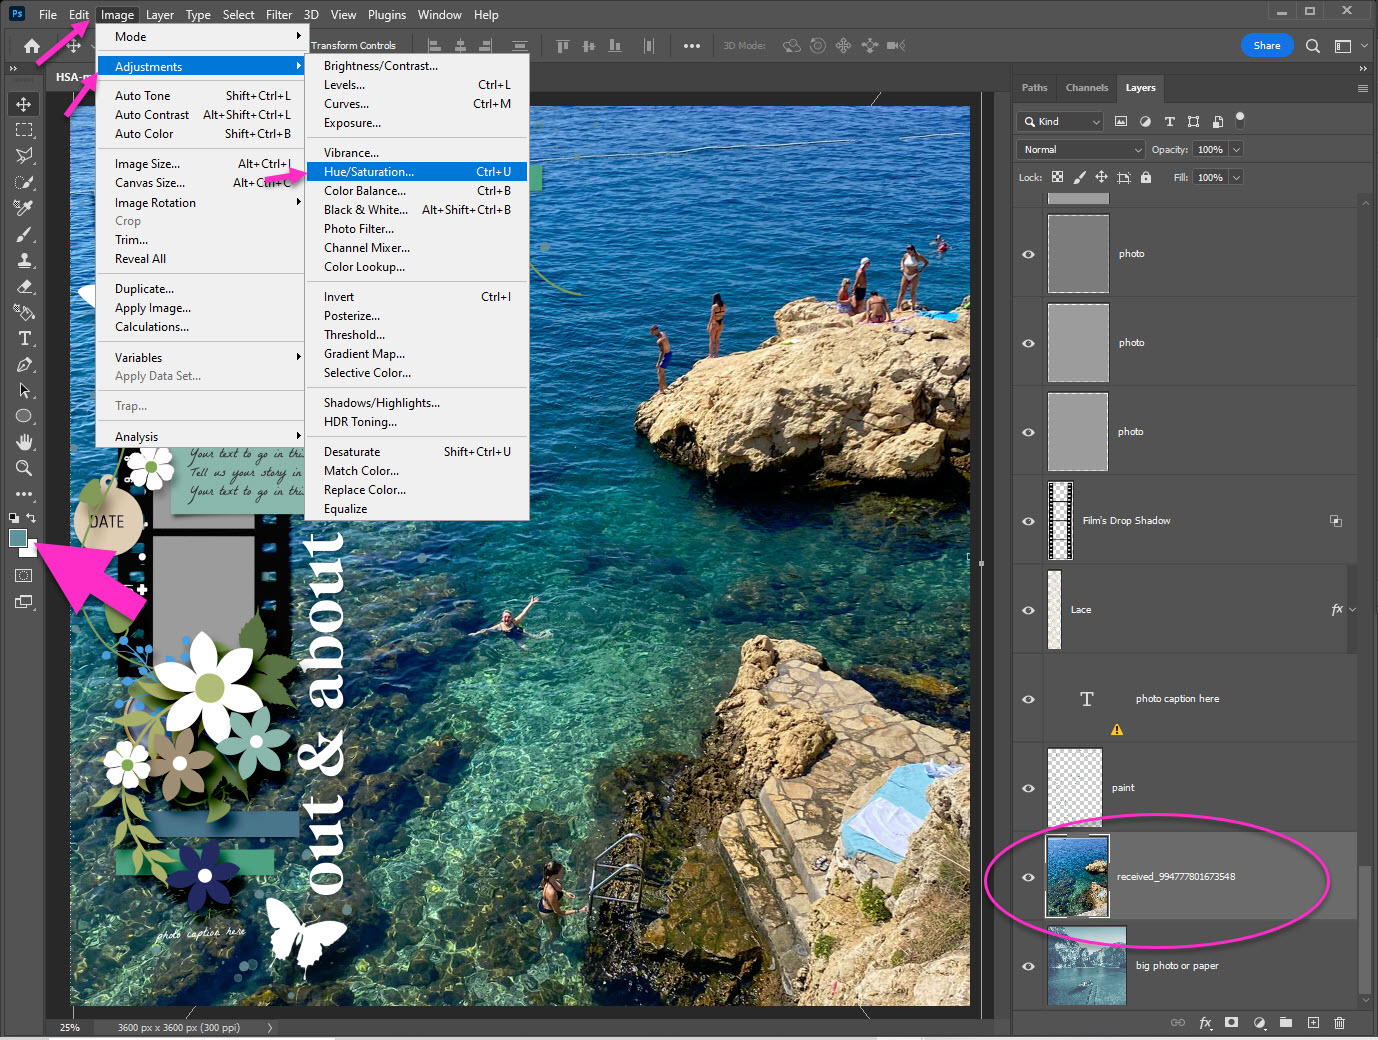
Now that your photo is in place, it’s time to recolor it to set the tone for your layout. Since I’m working with all Medley: Moody Blues, I want the same colors Bryony used in her template. Before you get started, make sure you are on your photo layer in Photoshop. Now:
- Click on the eye to turn off your photo layer visibility
Now click on the color swatch to pop open the Color Picker.

With the Color Picker open, simply click anywhere on the template to get the color you want. Then click OK to close the Color Picker.

Note that the foreground swatch is now your chosen color. Making sure you are still on your photo layer:
- Click on the eye to turn ON your photo layer visibility
- Click on Image in your top menu
- Choose Adjustments from the drop down menu
- Then choose Hue/Saturation from the fly-out menu
The Hue/Saturation pop-up is now visible. To colorize your photo, simply click to turn on the check mark next to Colorize. Then click OK.

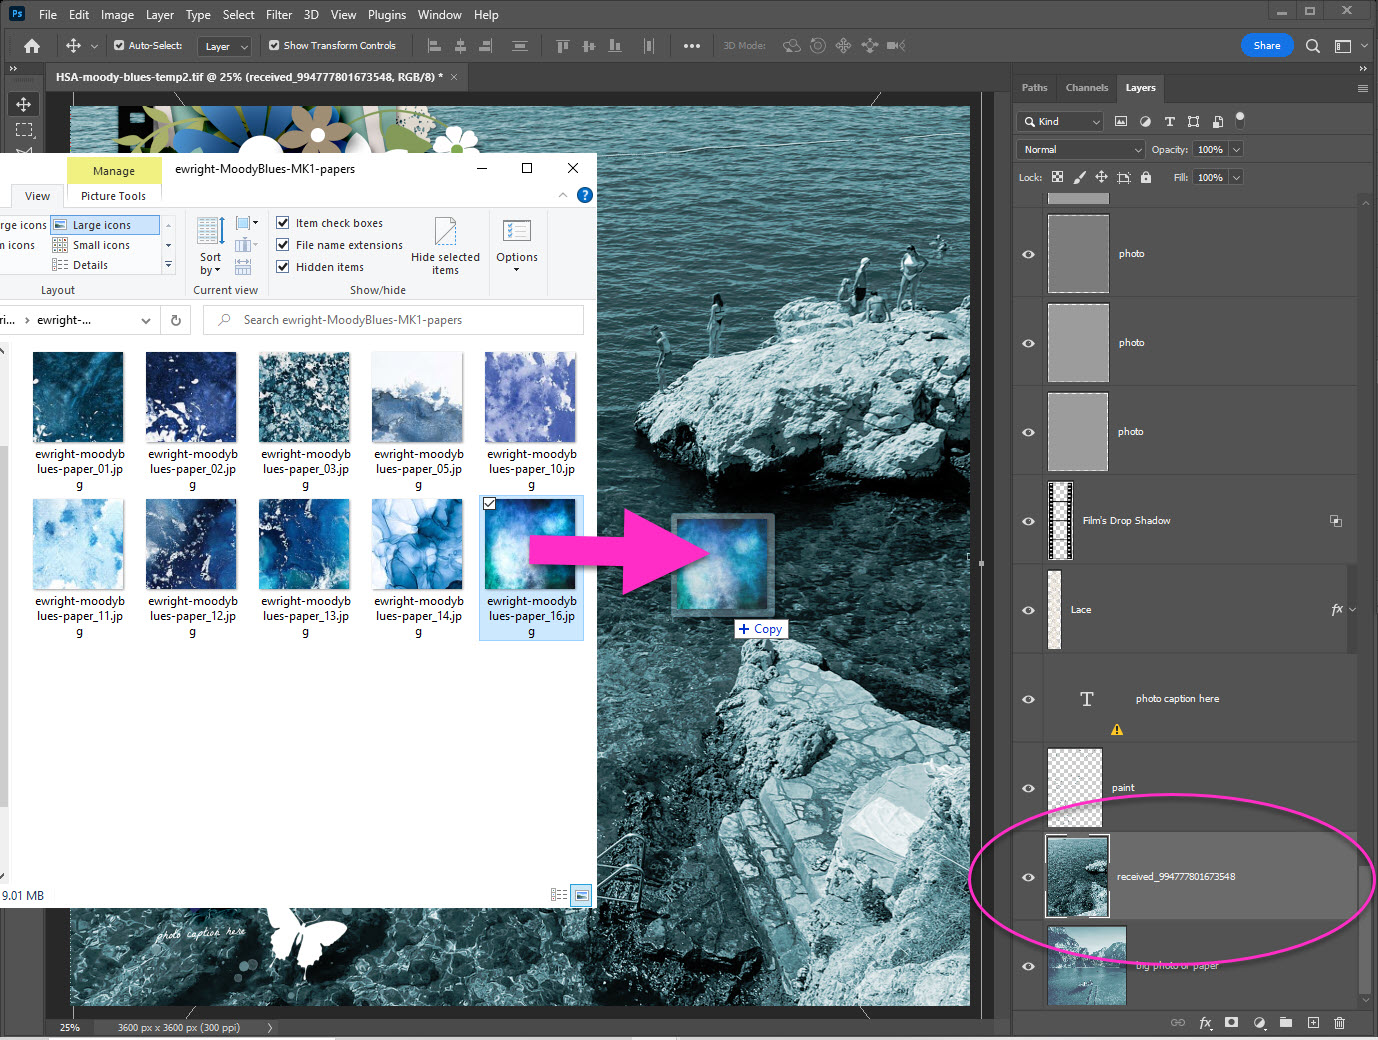
At this point, your layout background looks exactly like Bryony’s original concept except it’s with your photo. You can stop here, or continue to tweak a little as I did. I wanted to add a little texture and variation in color to my photo. The easiest way to do this is to drag in a paper. I choose Erin’s, Mixed Media by Erin, ewright-moodyblues-paper_16.jpg
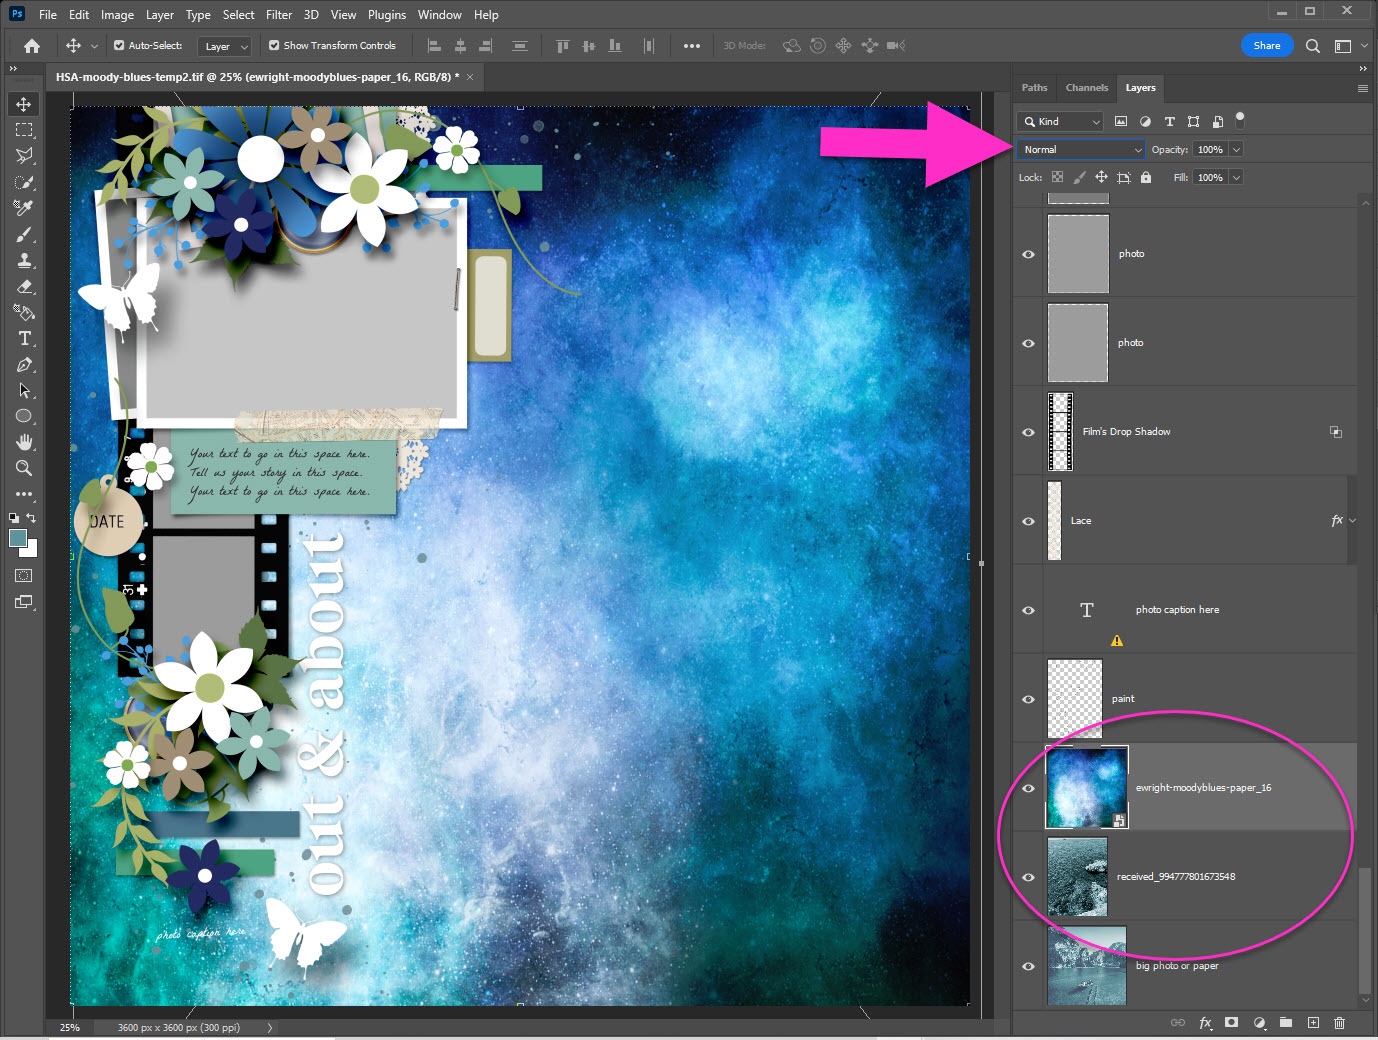
Make sure the new paper layer is above your photo layer. You will only see the new paper, because the Blend Mode is set to Normal. Don’t worry! We’ll fix this quick & easy next.
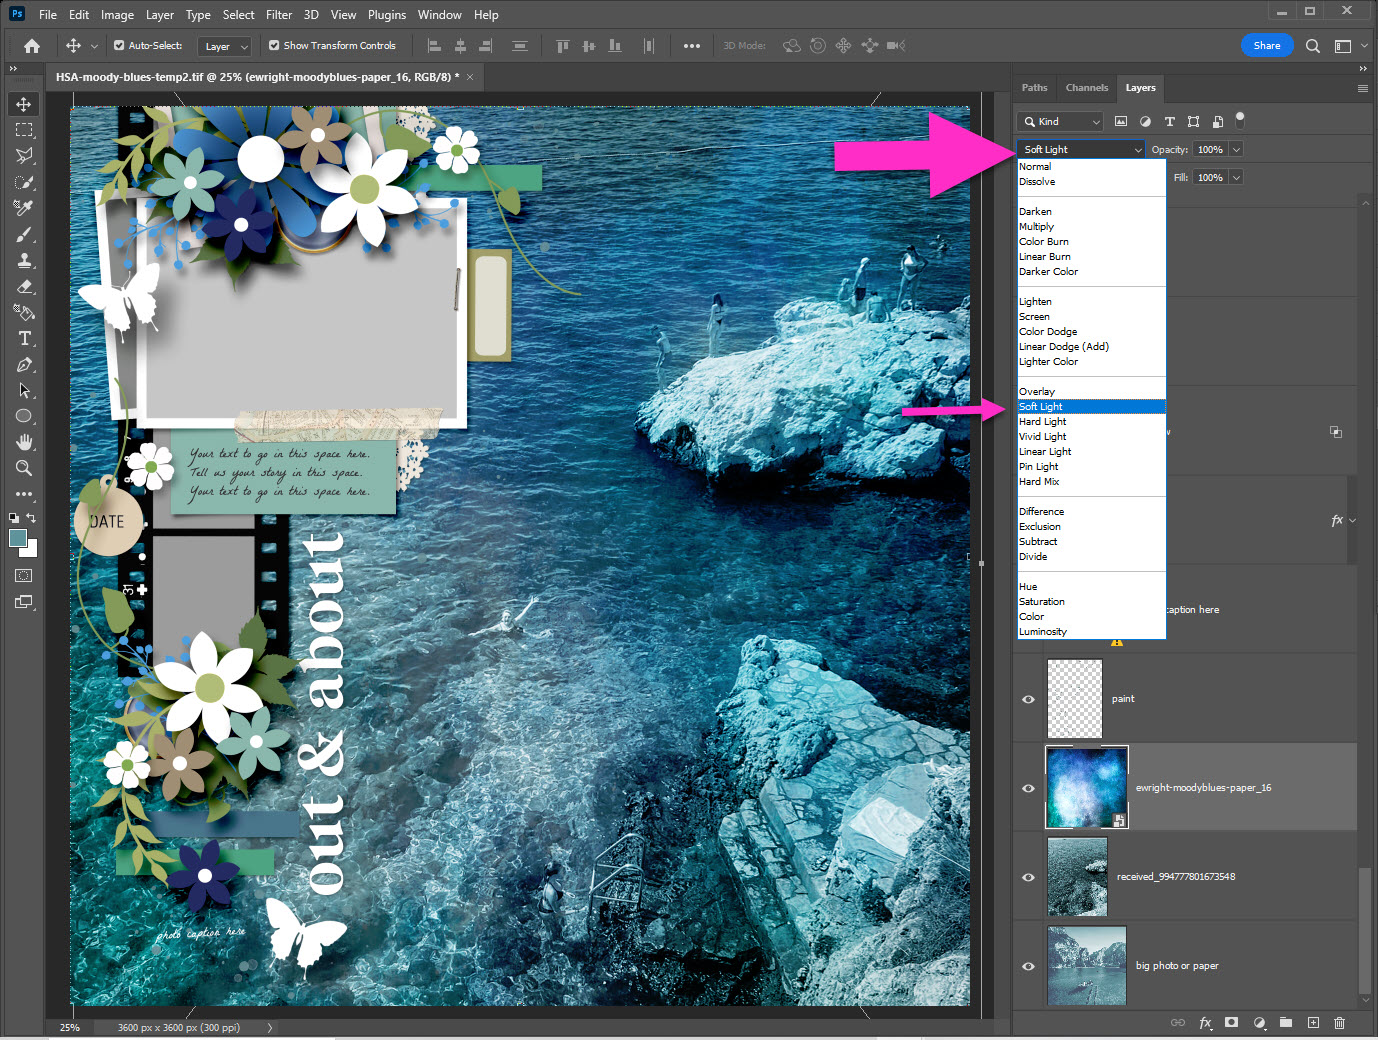
You can choose any Blend Mode you like, I found that the Soft Light gave me exactly the change in texture and color I wanted without making too drastic of a change.
- Click on Blend Mode to see the drop-down menu
- Click on Soft Light to change the blending of your new paper
Note: this affects all layers underneath the new paper layer
I wanted to hide some of the extra people in my photo. I don’t know them, and I prefer not to see them if possible. I thought a fun & easy way to do this is to drag in one of Jen Maddocks Moody Blues Illuminates: jmadd-moodyblues-illuminate-1.png. These are incredibly fun to play with!
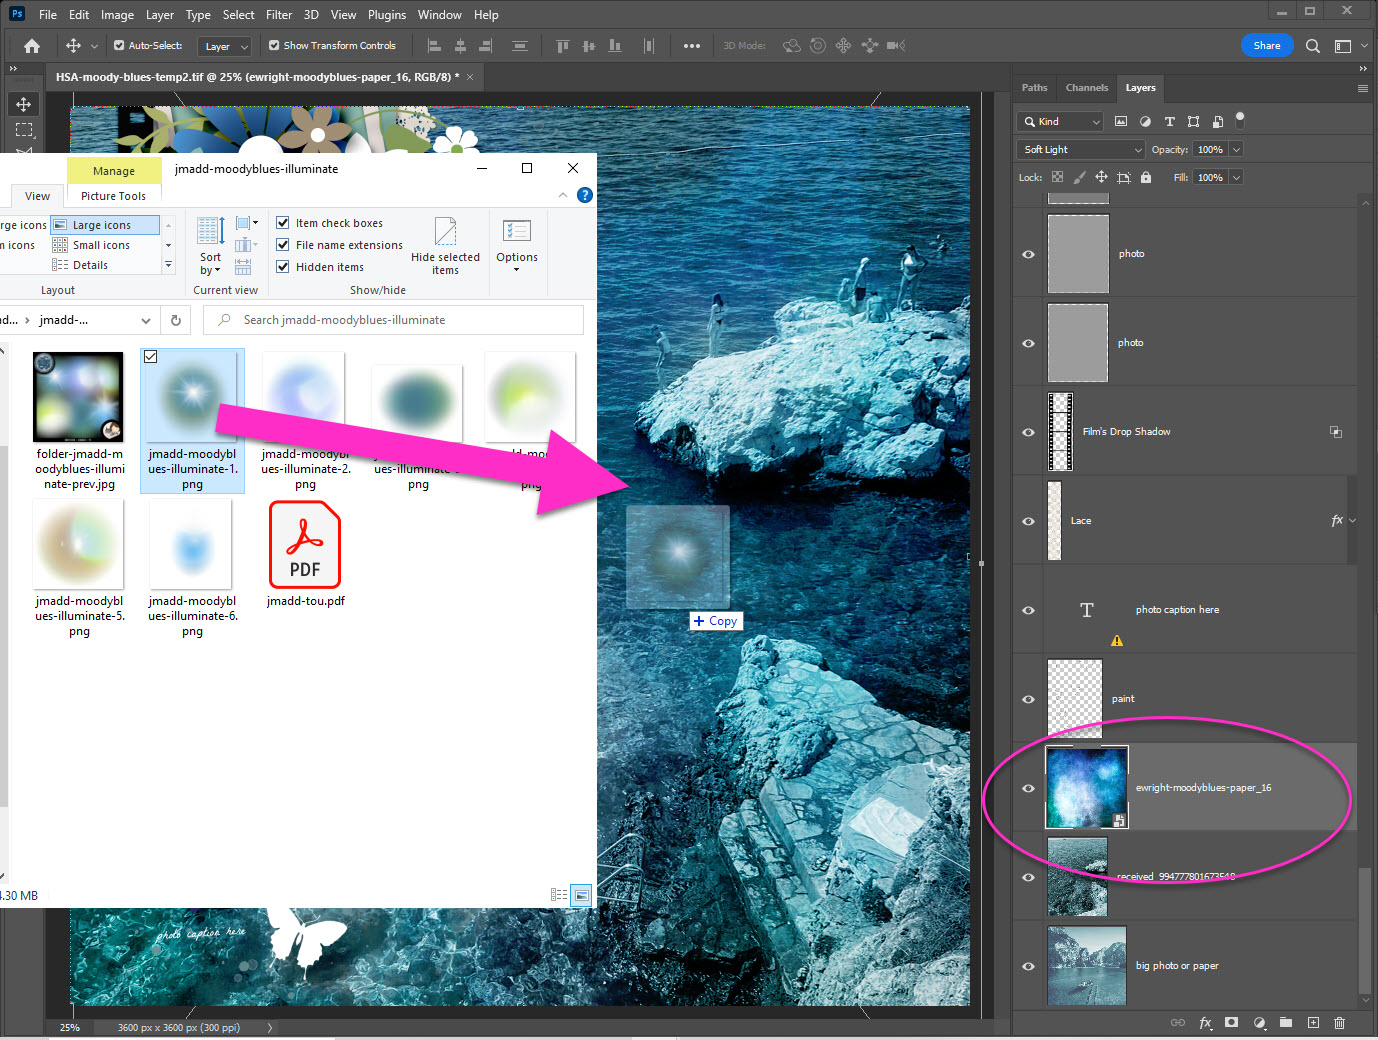
Now normally I change the blend modes of the illuminate itself. This time I moved the layer before changing the blend mode and I was instantly happy with how it looked!
- Click & hold on the jmadd-moodyblues-illuminate-1 layer
- Drag it to just below your new paper (ewright-moodyblues-paper_16) layer

Remember I said that the Blend Mode of your new paper would affect every layer underneath? This is that principle in action! Cool, right?
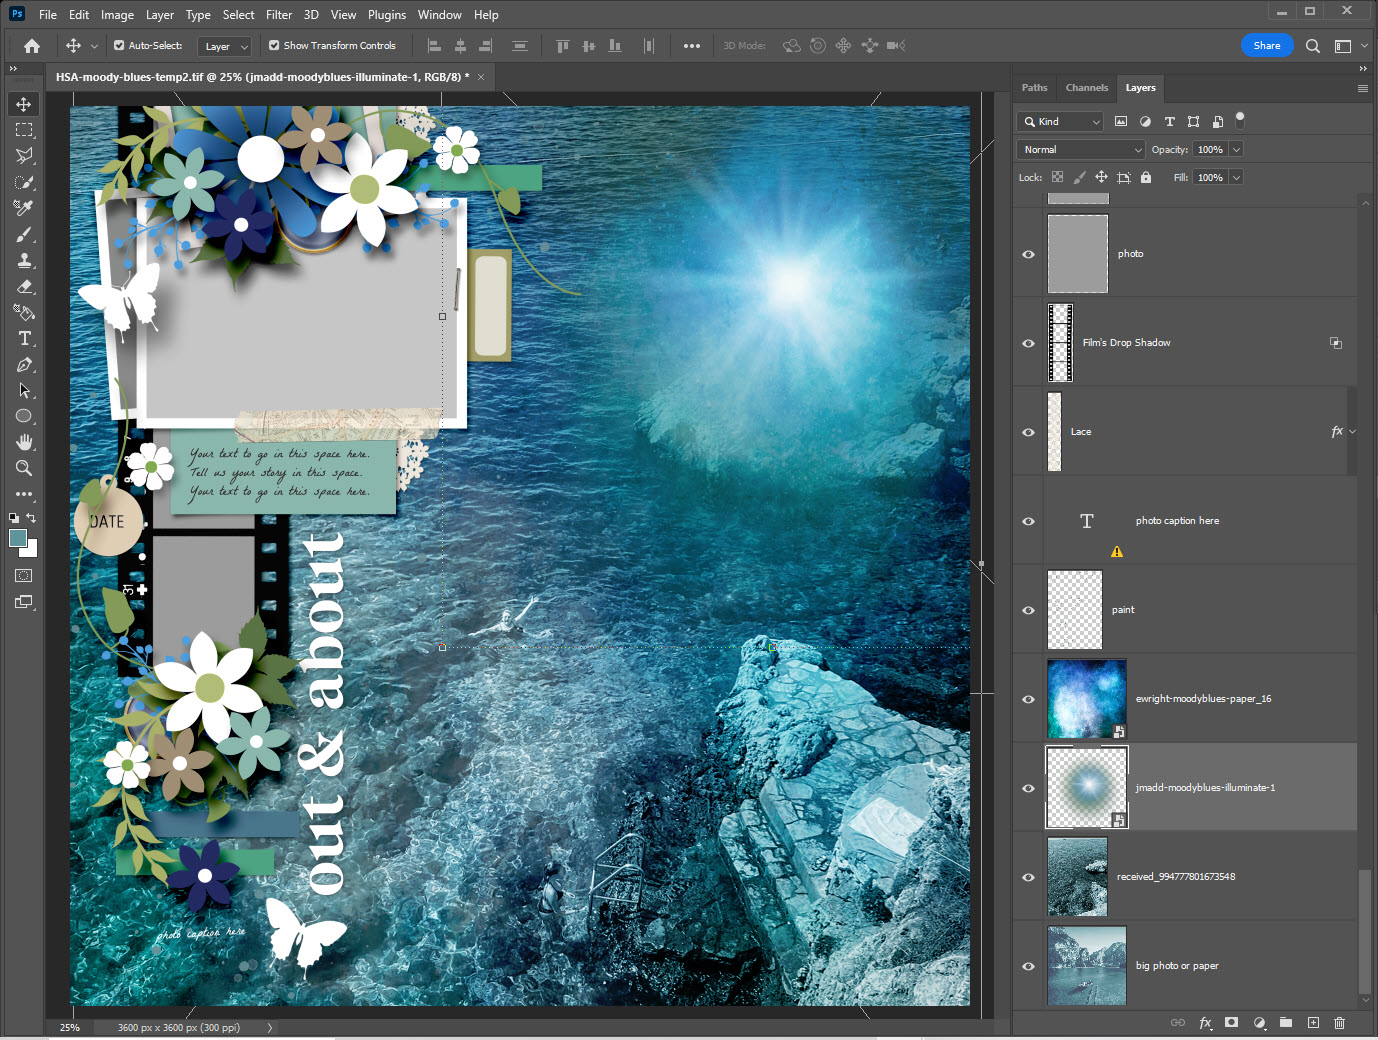
And that was all the tricky stuff in my Medley: Moody Blues layout. After that I just added my photo’s & replaced Bryony’s template elements with elements from the other Moody Blues mini’s & add-ons:

I used various bits & pieces of Medley: Moody Blues from the following Designers:
- Moody Blues Word Strips
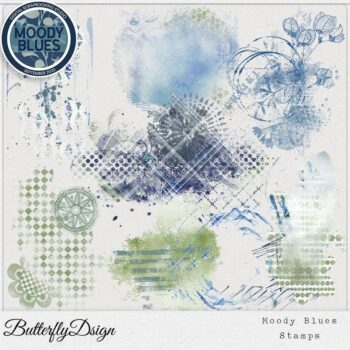
- Moody Blues Stamps
- Moody Blues Mini Kit #1: Life in the Chaos
- Moody Blues: Illuminate
- Moody Blues: Mini Kit #2
- Moody Blues Templates
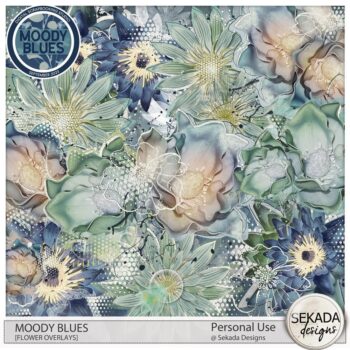
- Moody Blues {Flowered Overlays}
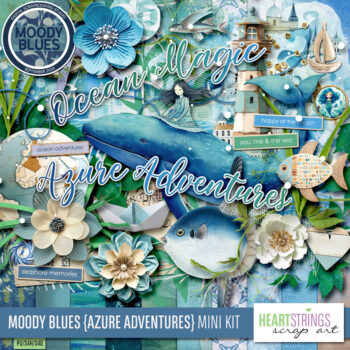
- Moody Blues {Azure Adventures} Mini Kit
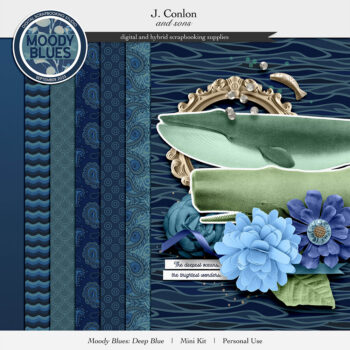
- Moody Blues: Deep Blue


Fantastic page! Love the iluminate effect as a trick to hide parts of your picture!