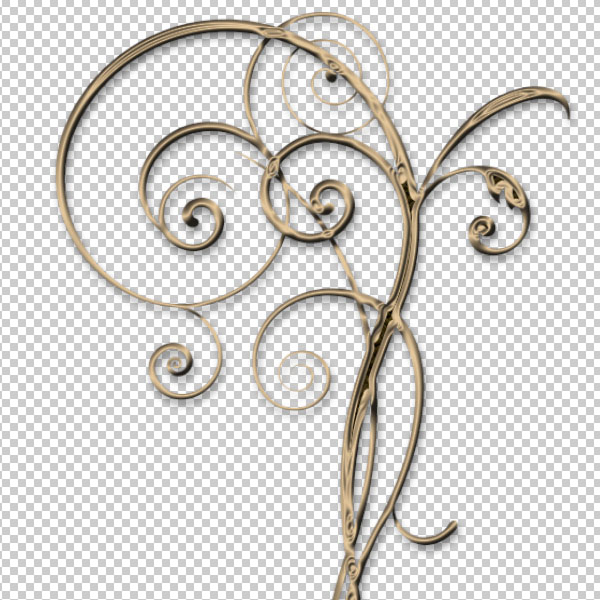
Have you ever seen a Photoshop Layer Style that you just HAD to have? Did you purchase it, excitedly open
Photoshop, find just the right element you wanted to use, apply the Style….and then find that the result was not what you expected at all?
Ugh. That’s terrible, don’t you agree? And so disappointing if you are not getting the expected and desired result.
Not all styles will give you such a different look though. This is a worst-case-scenario!
The look of a style on an element is dependent upon the specific attributes given to the style by the designer and the size and shape of the element to which you are applying the style. Many times the style will look beautiful and you will be happy! But what if it doesn’t? It might need just a small tweak to make it perfect. You can do that very easily yourself!
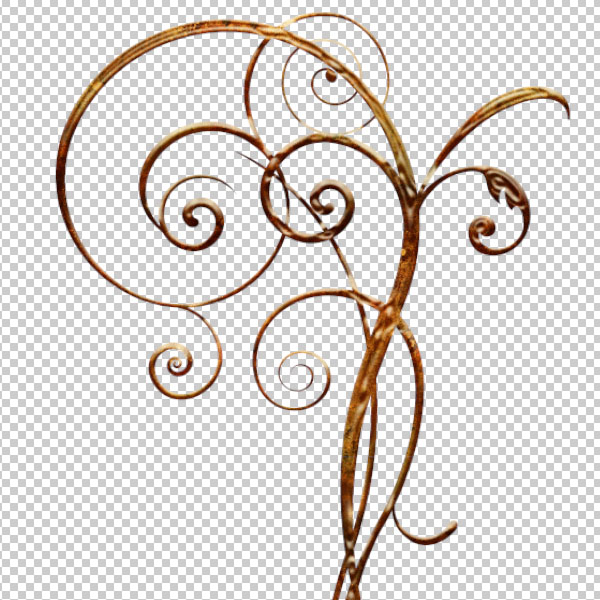
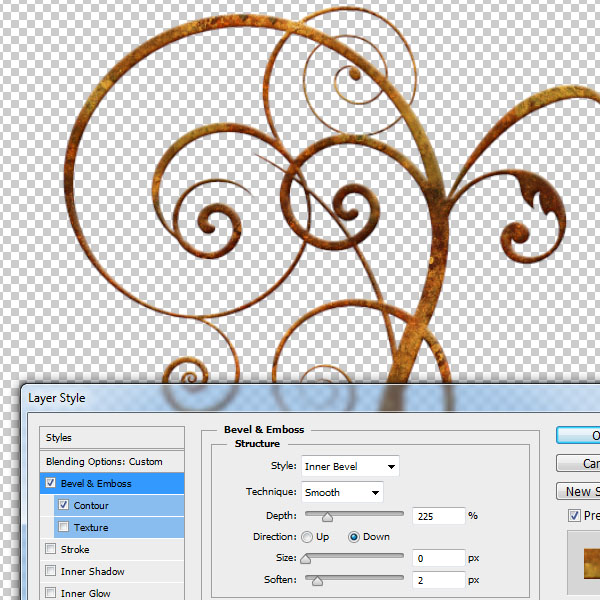
Here is the same element with a different style applied to it. (This is my Rusty Metal Style – look for it in my Commercial Use shop soon.)
Not tooo bad, right? But not perfect either. I don’t like the little bumps in it.
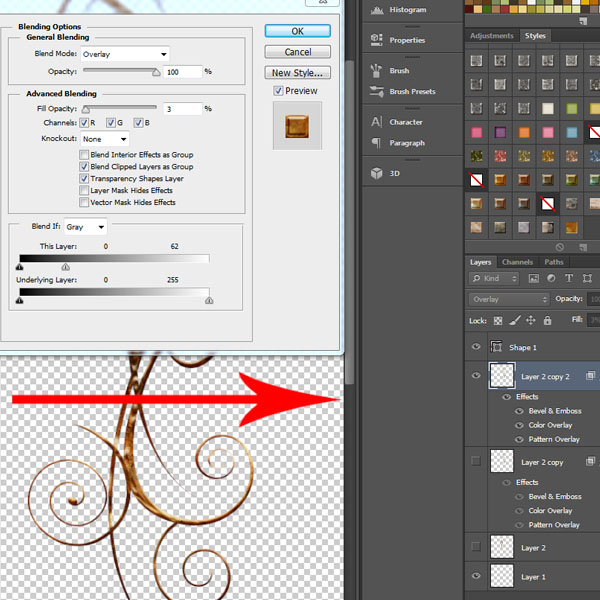
So I am going to make just a slight adjustment in the Bevel & Emboss effect on the Style. Make sure the correct layer is selected, then double click on the Effects Layer to open the Layer Style box.
When the Layer Style box opens, click on the Bevel & Emboss option to make it active.
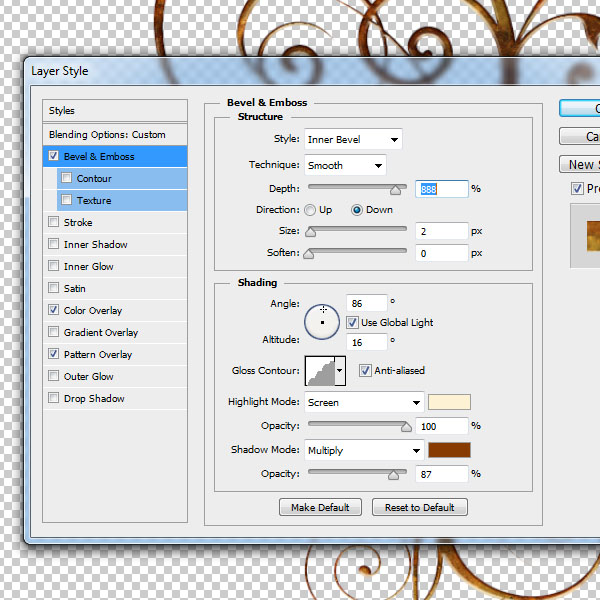
Here you can move the Depth, Size, and Soften sliders around until you get the look you want. Usually just moving the Depth slider down a little will do the trick!
In the example below I changed the Depth of 460 to 225 and the Size of 27 to 0.
And that’s okay. I’m happy with it. Now I simply click OK and I’m done!
Adjusting the Bevel & Emboss and Size of your Styles will make them more versatile as you scrap! So have fun playing with this awesome tool!
Here’s some more good news! You can do this in
Photoshop Elements too! Follow the same procedures; double click on the layer style, and a dialogue box will open. Choose the effect you want to alter by using the sliders, then save, and you’re done!


[…] Quick Tip #10 – Adjusting the Bevel in a Layer Style – 1 freebie(s)? […]
Thanks, great tip. As I read, I kept thinking Oh No, this is only for Photoshop. And then when I got to the end and saw it could work in PSE, I was delighted.
I’m glad this is helpful for you!!! Yes! PSE too! 🙂