I love using borders on scrapbook pages. They can add a lovely accent to a page, while still allowing photos to take the main stage. Borders can be designed using elements from a kit, using brushes, shapes, gradients, or any number of tools that we find in Photoshop. Borders can be as simple or as complex as you would like them to be. I love their versatility!
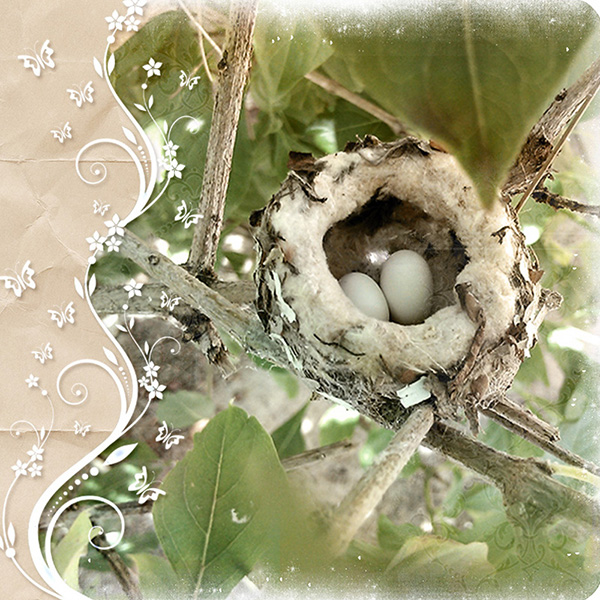
In May of this year, I noticed a hummingbird’s nest outside the window of a nearby building. I was so excited to see not 1 but 2 hummingbird eggs in the nest! Every day I checked on the eggs, and couldn’t wait to see them hatch. Unfortunately, the owner of the building did not tell the gardeners about the nest. One day, when I went to check on the eggs, the bushes had been trimmed, and the nest was gone. I felt such a loss! I had only one picture of the nest, and wanted to scrap it. I knew I wanted the photo to be the main focus of the page, and that I would use an opposing page to journal the complete story. I decided a simple border would be perfect for this photo, and thus the first Border Buddy was conceived.
I so enjoyed creating and using the border that I launched a Border Buddy product line. Today I would like to share with you some simple tips on how to use Border Buddies, show you some beautiful examples, and offer you a few samples.
Border Buddies come in PSD, TIFF, and PNG format. The layered format allows you to customize the Buddies as much or as little as you like. They usually contain between 2-6 layers, depending upon their complexity. The Buddy in the image above is from Border Buddy Set 1, and is 2 layers. I clipped a brown paper to the background layer, and clipped a white paper to the border design. I put a shadow on the border design, dropped my picture into the document, and I was finished. The entire layout took approximately 1 minute.
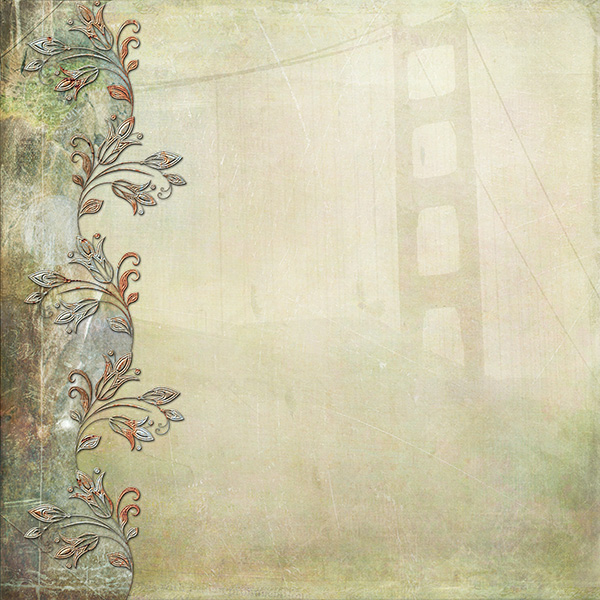
The image below is of a scrapbook paper created using a border from Border Buddies Set 3 and the kit Scenic Route. This border also has only 2 layers. I clipped a paper from Scenic Route to the Buddy Background, and applied a Photoshop Style to the Border itself. A very simple technique with a lot of versatility. You will find a 2 part tutorial on using Styles on theStudio’s blog: Photoshop Layer Effects: Bevel and Emboss and Photoshop Layer Effects: Bevel and Emboss, Part 2. This is a great way to utilize those Styles you have in your digi-stash.
Kabra, a member of my creative team, created the layout below. She was rewarded with the well-deserved Layout-of-the-Day recognition at DigiShopTalk. Kabra used a border from Border Buddies Set 5. It is a gorgeous layout and definitely worthy of the recognition she received. Let’s look at just the border for a minute. This border consists of 4 layers: the top snowflake design, the bottom snowflake design, the sparkles at the top of the border and the rectangle border.

Kabra clipped a paper to the top snowflake design. She applied a vellum style to the snowflakes below. She chose to place a green ribbon from a kit over the rectangular border, and then added some colorful zig-zag to top it off. I like that Kabra added her own touch to the Buddy by adding the extra zig-zag. This is a great way to utilize kit elements. I love that she then duplicated the border and used it both as a top and a bottom border.
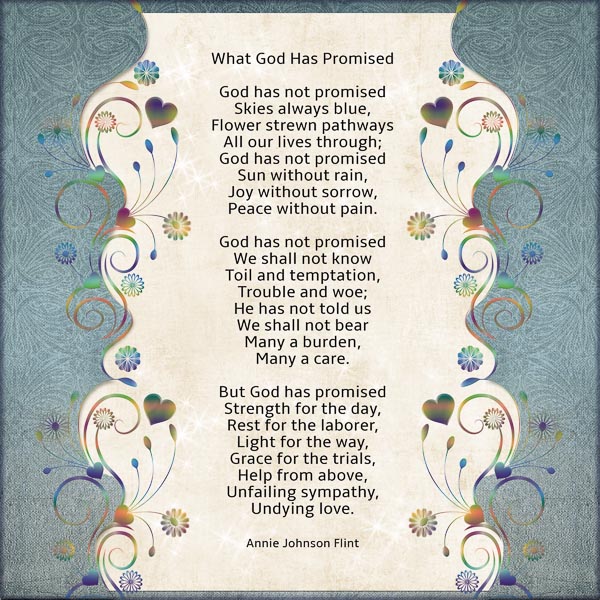
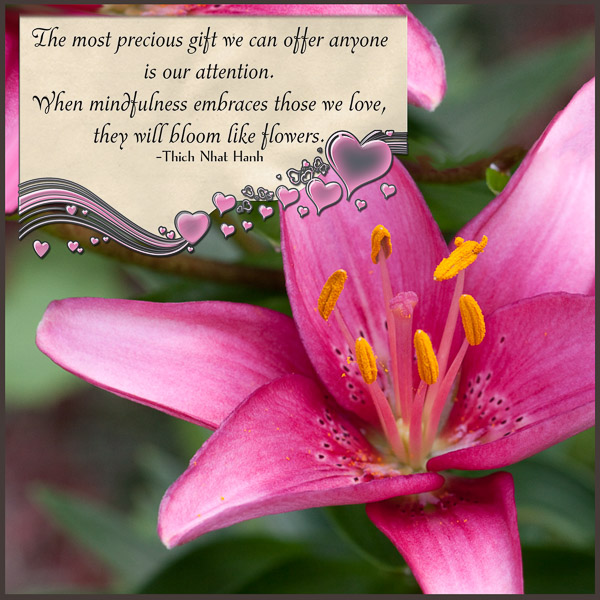
Here’s another example of a duplicated border. This layout was created by Renee (6grand). In her layout Renee duplicated a border from Border Buddies 8, and applied a gradient to the Border. She clipped a paper (Long Road Home) to the Border Background, then placed the Buddies over her journaling. I really like how the Buddies add a decorative element to Renee’s page and serve to highlight the poem. This is a great use of the Buddies when you have a full page of journaling.
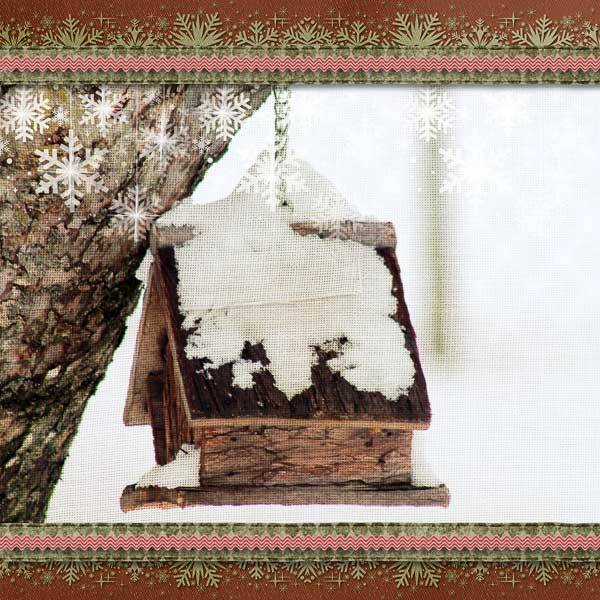
For the layout below, Kabra used a design from Border Buddy 6. This is a 3-layer Buddy, which consists of the Background, the Border Design, and the Christmas ball ornament.
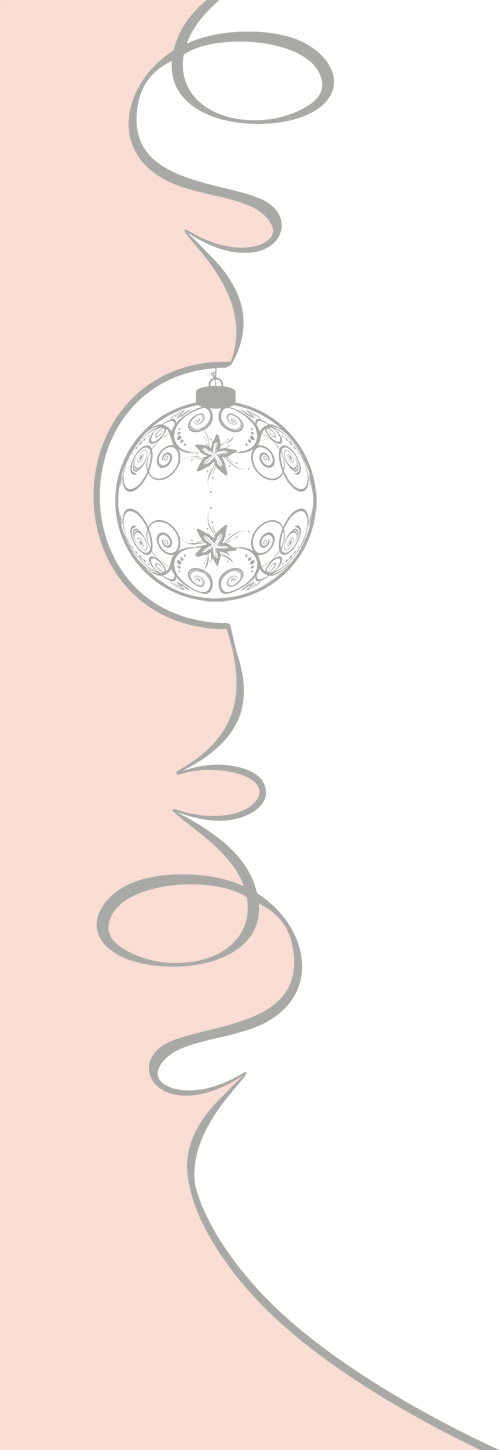
Kabra created this beautiful page below in just minutes. Using the All Wrapped Up Kit, she clipped a paper to both the Background and the Border Design. She replaced the Buddy ornament with a Christmas ornament from the kit, and then placed one of the Add-On Clusters on top of the Border (and another pre-made cluster in the lower left corner). This is a great way to utilize those Add-On packs, and once again, she had a gorgeous page in mere minutes.

Border Buddies are designed to be easy to use, allowing you to create quick layouts when you need to, or providing just enough inspiration for you to linger over them if you wish.
Renee lingered on this one. Isn’t it beautiful? She used a Border from Border Buddy 8 and the kit, Sweetums. This Border is only 3 layers: the Border Design, the Border Background, and a thin stroke around the Border Background. Renee clipped a paper to the Border Background, applied a red glitter style to the stroke, and a pink glitter style to the floral/heart Border Design. Renee then expertly placed selected kit elements under the Border and wove in the greenery. It’s just stunning.

Border Buddies don’t HAVE to be used as only Borders! In the layout below, Pat used a Border (Border Buddies 7), and adjusted it to meet her needs. This Buddy is 12 inches wide. Pat clipped off part of the Buddy, applied a style to the Border Design, clipped a paper to the Border Background, and used it as a journaling piece. Great creativity!
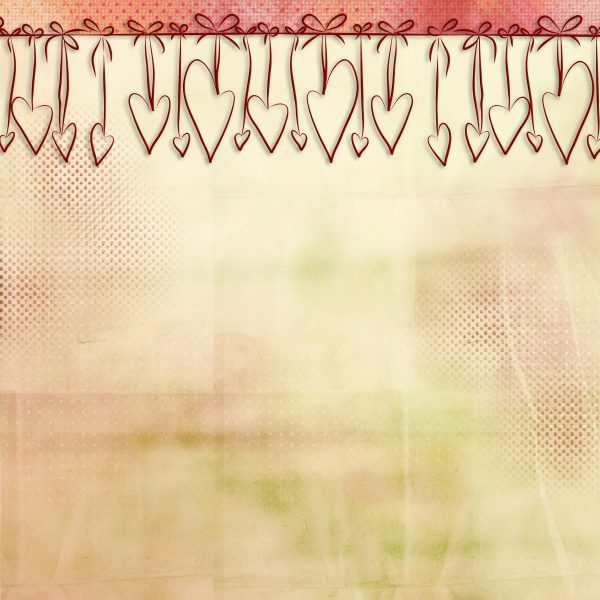
If you haven’t had a chance to try out a Border Buddy yet, I have some goodies for you! The paper below was created using a Border Buddy Sample and the kit Sweetums. You may download both the scrapbook paper below and the Border Buddy Sampler used to create the layout by clicking HERE or on the image below.
***Download No Longer Available***
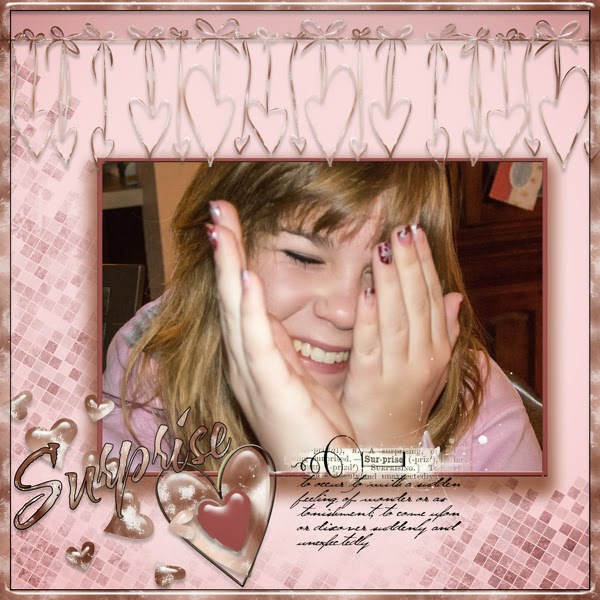
Here is a sample layout, created by a dear friend of mine, Priss, using the same Sampler. She used Snowy Ice Styles for the Border, and other kit elements by Julie Mead.
I host a monthly Surprise Me Border Challenge here at theStudio. In our September Challenge, I offered a Border Sample for the Challenge Participants. That Sample is still available HERE in the September Challenge Thread. Take a few minutes to scroll through the thread and see the different ways in which scrap artists have used the Border. It’s so interesting to see the various uses of the same design! Then download that second sample and give it a try!
I have just released Border Buddies Set 7 and 8, and they are being offered at 20% savings on the individual products, and a 33% savings on the Duo Pack. While they are perfect for Valentine’s Day, they can also be used in so many other ways! How about trying them out with some of the amazingly gorgeous Winter Wedding Collection products? Engagement photos? Dance recitals?


I have also put my entire Border Buddy Product line on sale for 20% (33% for Duo Packs), through January 20, 2014.

I hope this post has inspired you to try something new with any Buddies you may own, or to give them a try if they are new to you!
*Any kits mentioned in this blog post will be on sale for your convenience, 40% off through January 20th!


[…] Border Buddies and How to use them – 2 freebie(s) […]
Love how the border buddies were used here. Thanks for showing us various ways to use them. Thanks also for the free sample. I think I will have to bookmark this page so I can return for a refresher on just how great they can be.