Last week we talked about using the In-Image feature on a Hue / Saturation Adjustment layer to easily affect the saturation of an image. (Easy Saturation Adjustment). Today, let’s look at how to adjust the hue, using this same feature.
As a quick review, to saturate or desaturate a color in Photoshop using the In-Image feature:
- Add a Hue/Saturation Adjustment Layer.
- Click on the index finger-pointer in the Properties Box. (Make sure you have “Properties” checked in the Window menu in the top Menu Bar.).
- Move your cursor into your image and click on the color you would like saturate or desaturate. (I clicked on yellow).
- Drag your cursor to the right or left, depending upon the effect you would like to achieve.
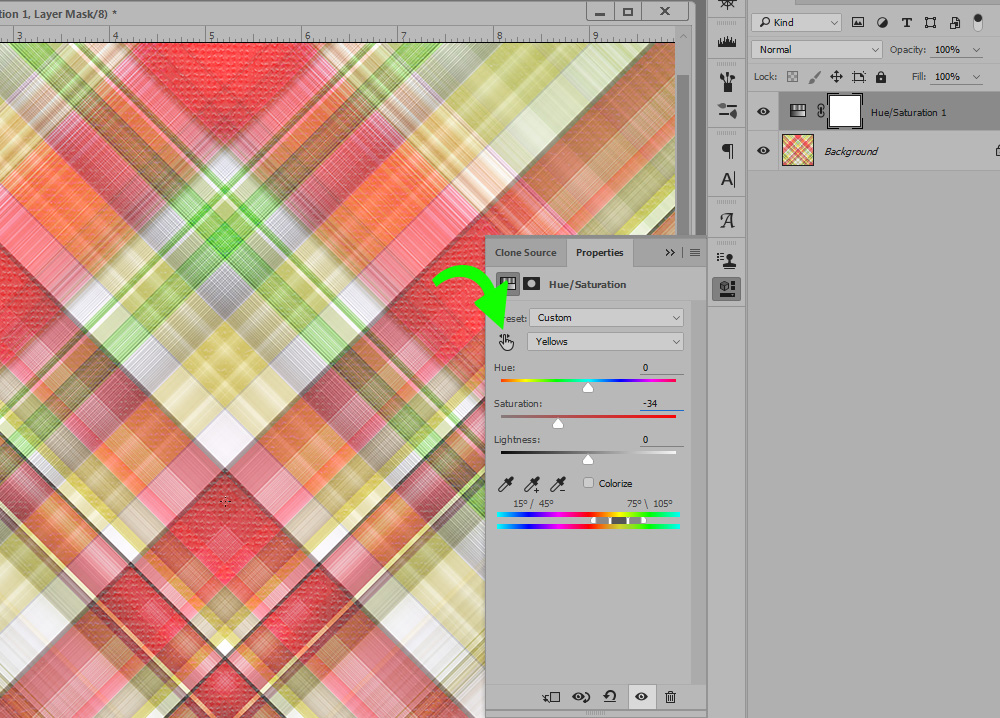
To adjust the Hue only, we follow the same procedure with ONE addition.
- Add a Hue/Saturation Adjustment Layer.
- Click on the index finger-pointer in the Properties Box. (Make sure you have “Properties” checked in the Window menu in the top Menu Bar.).
- Press and hold down the CTRL key.
- Move your cursor into your image and click on the color you would like to change.
- Drag your cursor to the right or left, until you achieve the desired result.
You will remember from last week’s tutorial, you can achieve the same saturation result if you utilize the drop-down box and select the color you want to desaturate. The same is true when changing the hue, or color, using the In-Image adjustment feature.
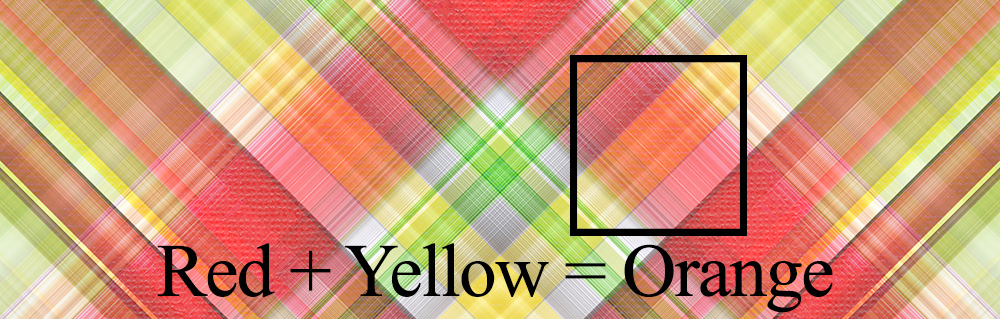
However, here is what makes the In-Image feature adjustment feature helpful when working with multi-colored images, such as this plaid. Red and yellow mixed together create orange. So if we wanted to adjust the orange in this plaid, what color would we choose from the drop-down box? Yellow? Or Red?
By using the In-Image feature, we can target the orange with our cursor, and the most predominant color will be selected. (If you are curious what color was selected, you could check the drop-down box.)
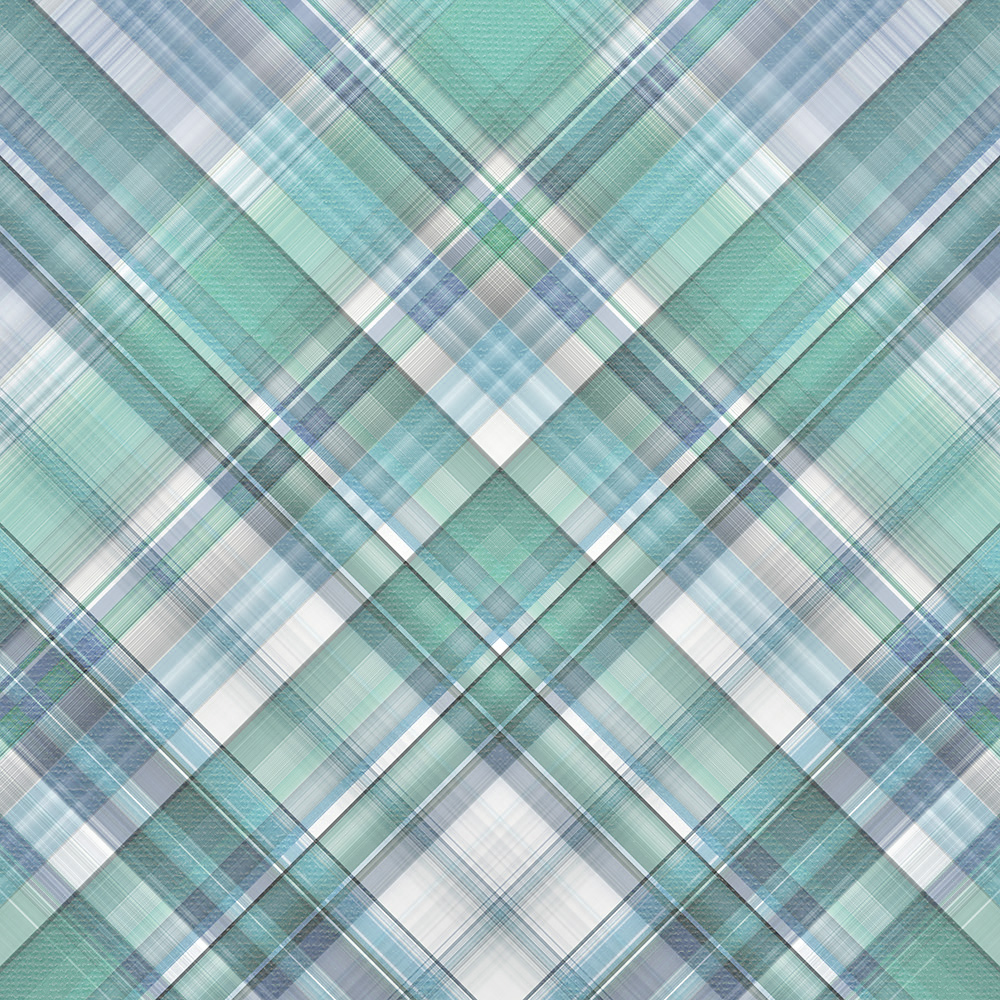
By using this method, and targeting different colors, I have changed the cheerful, bright red, yellow, and green plaid to this subtle, soft blue and green plaid in about 30 seconds.
Using this feature is a great way to stretch the papers in your digi-stash!
The original paper in this tutorial is from my newest Collection, Strawberry Lemonade. It is currently offered at an Introductory savings of 30%, or maximize your savings with the Collection, which is your best value and offers a 57% savings.
The paper in this tutorial was created using Jilbert’s Bits of Bytes awesome action, Plaid Maker Action. Jill has put this, and all of her paper-making tools on sale for you! Check them out. They are tons of fun, and great to practice your hue-changing skills upon.
If you would like to download a PDF of this tutorial, you may do so here: Hue Adjustment Changes in Multi-Colored Images


WOW!!! I learned something new … great tut!!!
Super tip! Thank you!
You make your tutorials so easy to understand, thank you so much for this one, I’m sure it will be VERY handy. So glad of the PDF save facility, I often go into my files to see what I can add or take away from an image or paper.
Thanks, ladies! So glad you enjoyed this one! Thanks for letting me know!