A few days ago, I ran across some old pictures of a pair of frisky foxes playing in our yard. I took a several photos that day. All shot through the window. Two were ok at best. One, the one I wanted most, the single image with the two foxes… blurry. Of course. Oh well. Still, it’s a memory I wanted to record!
In this post, I’ll show you how simple it is to make photo pockets with custom drop shadows in Procreate on iPad. And, I’ll show you how I used the Clone tool to stretch my pitiful, two-fox photo beyond its borders to fit the photo mask. Just a note, these steps are pretty adaptable to other image-editing apps, mobile or desktop! Hope you’ll follow along.
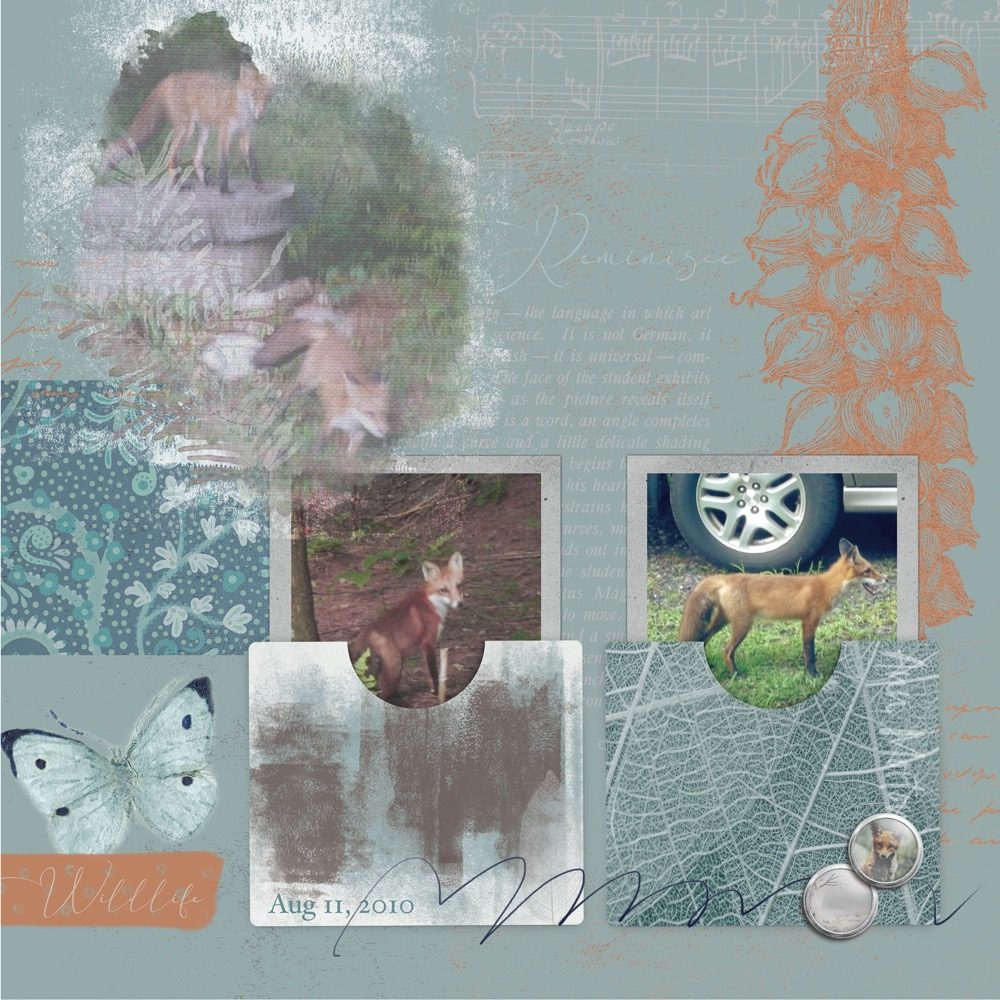
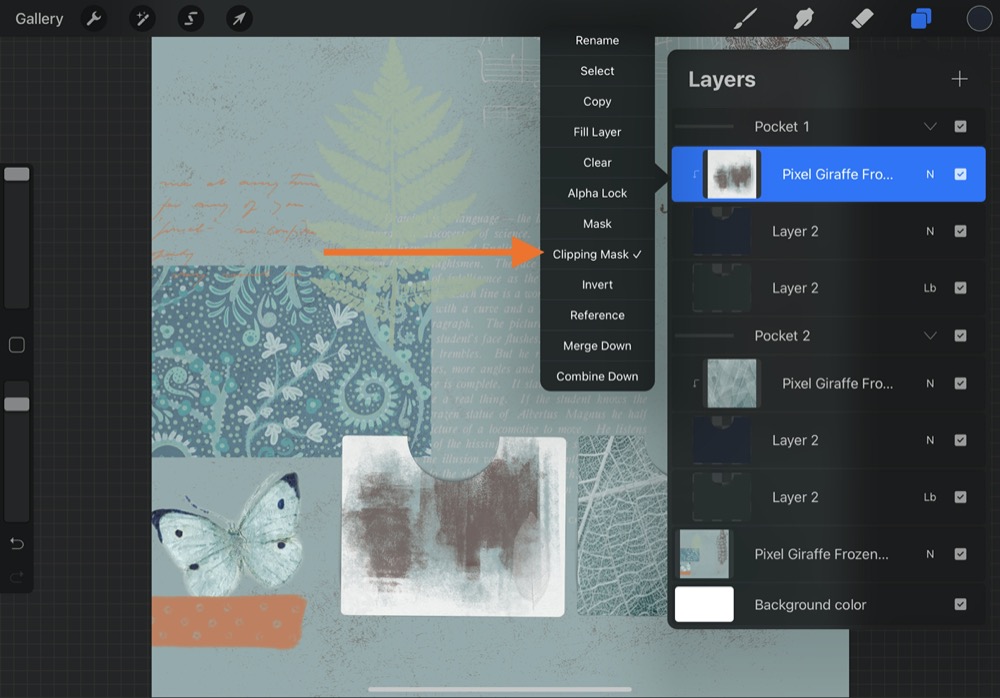
I used Pixel Giraffe’s Frozen Lake collection for this layout. I couldn’t resist those fox elements.

First, I created a blank 12×12 document. I browsed Files to find a background and drag it onto the canvas.
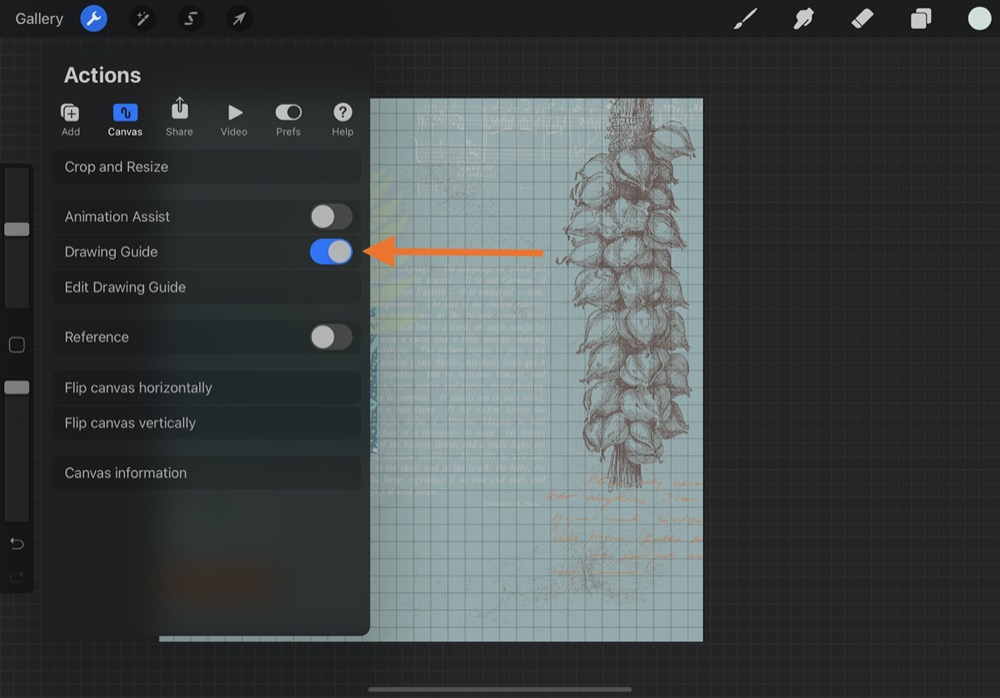
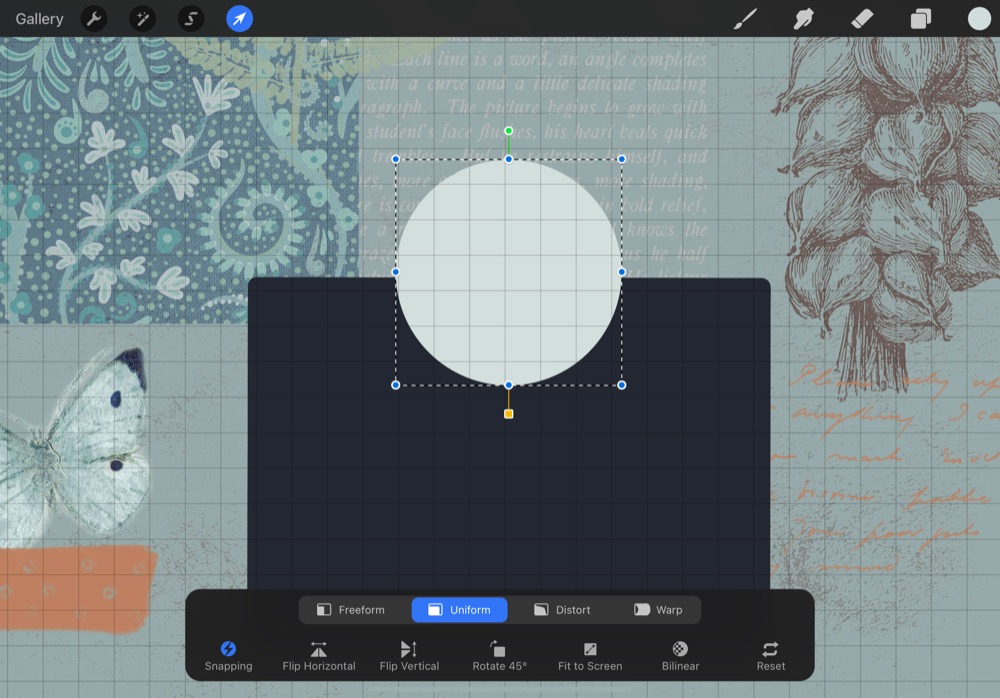
I added a new layer and drew a rectangle shape and filled it.
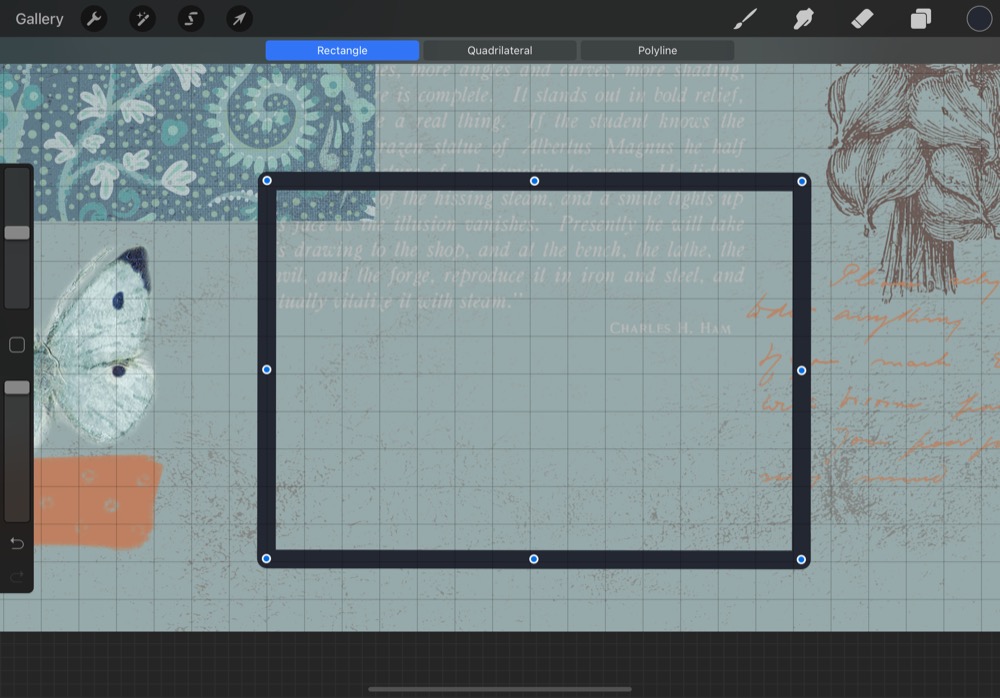
Quick Tip: Turning on the Drawing Guide helps me draw rectangles.
I added another layer, and drew a circle. I turned on Magnetics in Snapping and positioned the circle over the upper edge of the rectangle.
From the Layers menu, I tapped on the thumbnail of the circle layer, and tapped Select.
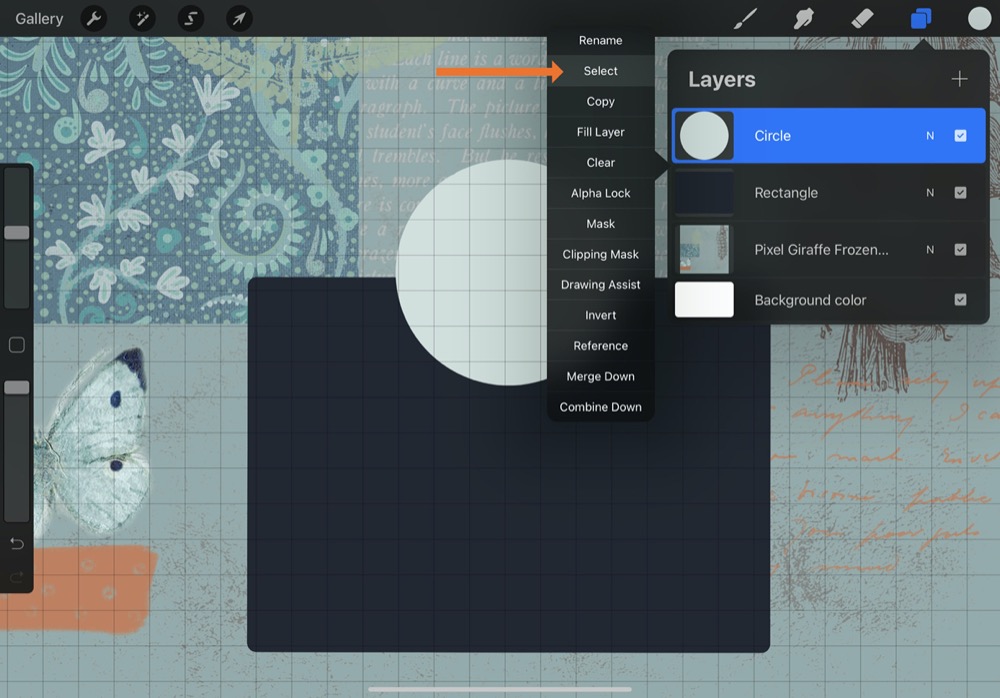
Then I hid the circle and tapped the rectangle layer. With the selection still active (see the faint, diagonal stripes, below?), I tapped on the Rectangle’s thumbnail and selected Clear.
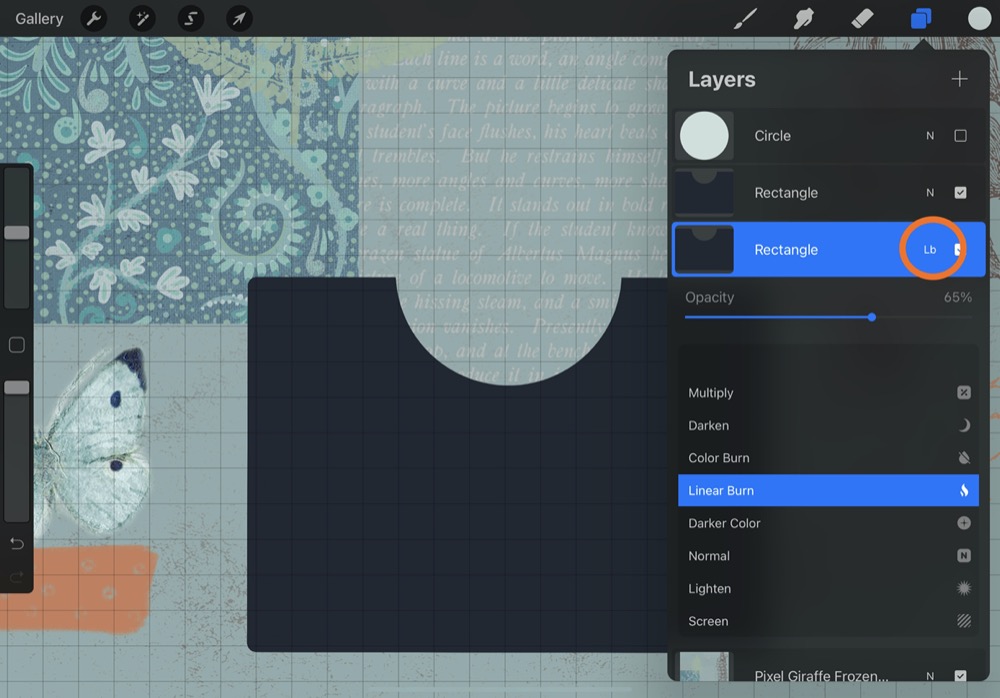
Here’s how I made the shadows. I swiped left to duplicate the little notched pocket then dragged it one layer below the original rectangle layer.
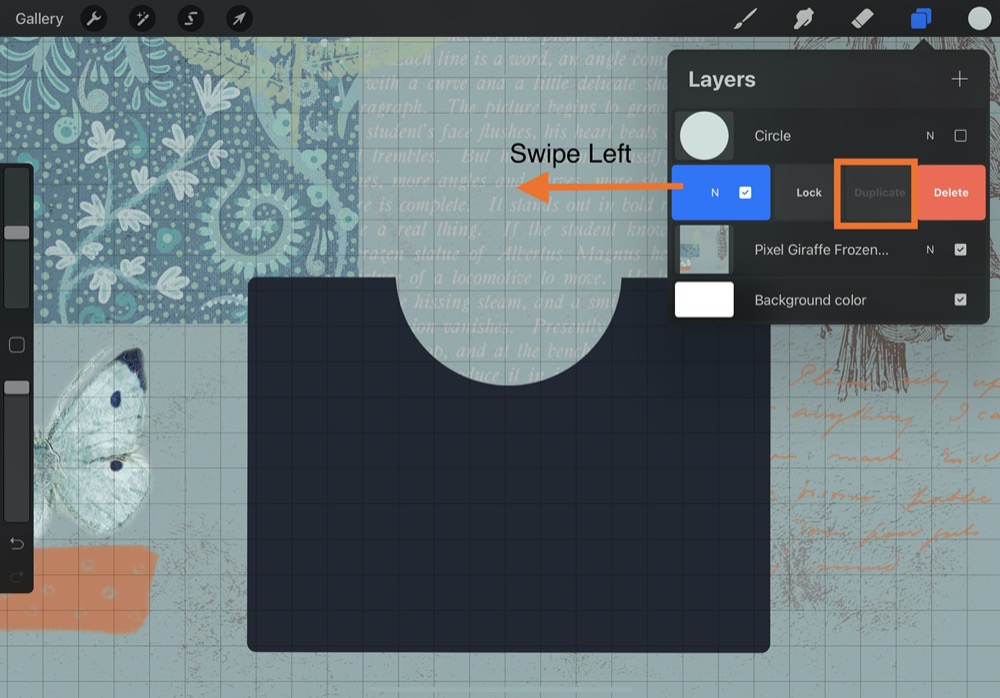
I changed the opacity to 65% and used a Linear Burn blend mode for the shadow layer.
To make the shadow easier to see, I imported a background and clipped to the pocket using the layer’s fly-out menu.
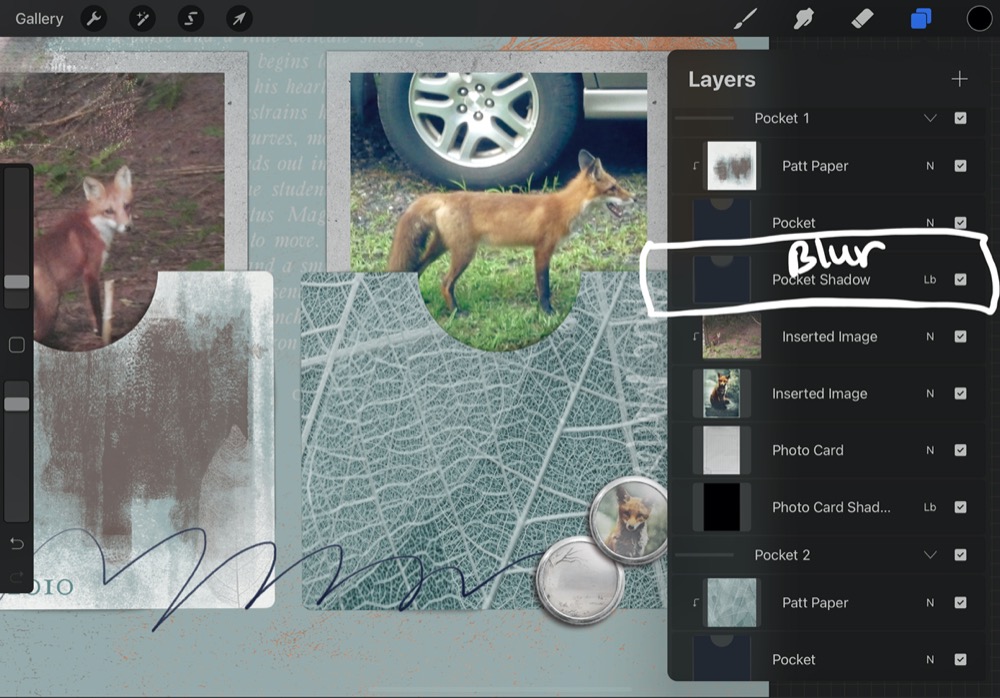
I’m editing to add this image showing the layer order and where the blur goes.
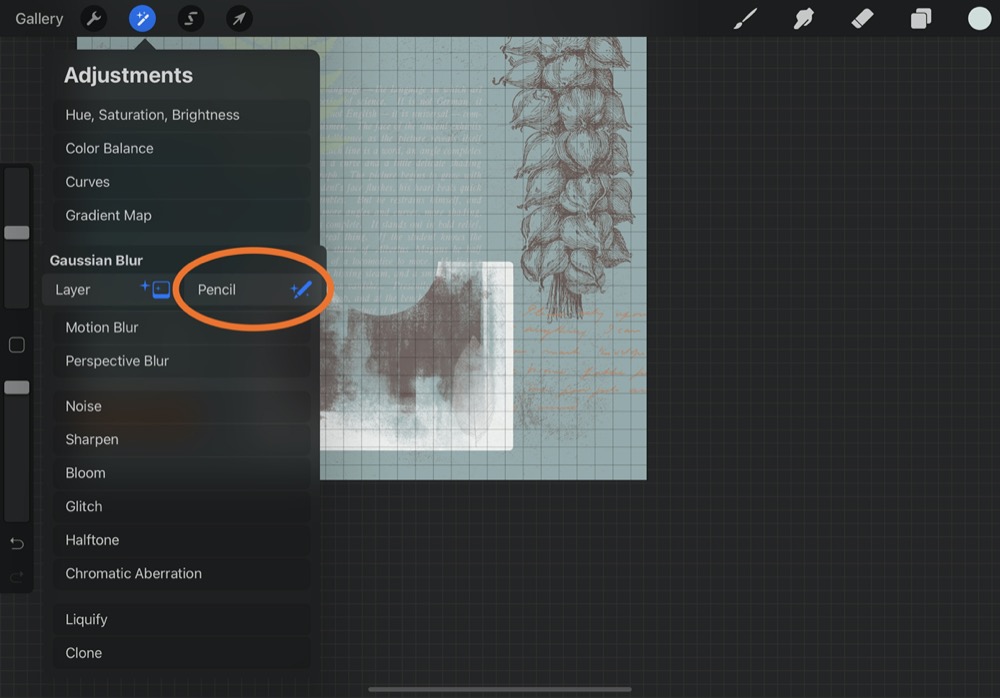
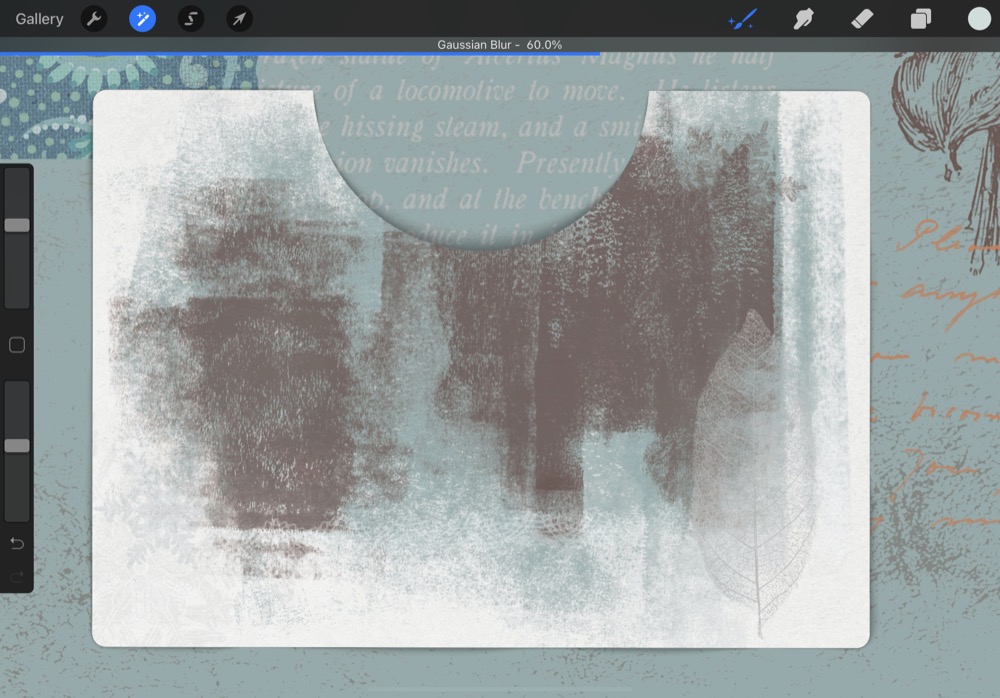
From the Actions menu, I tapped Gaussian blur – Pencil.
I used a soft airbrush, enlarged to about 50%.
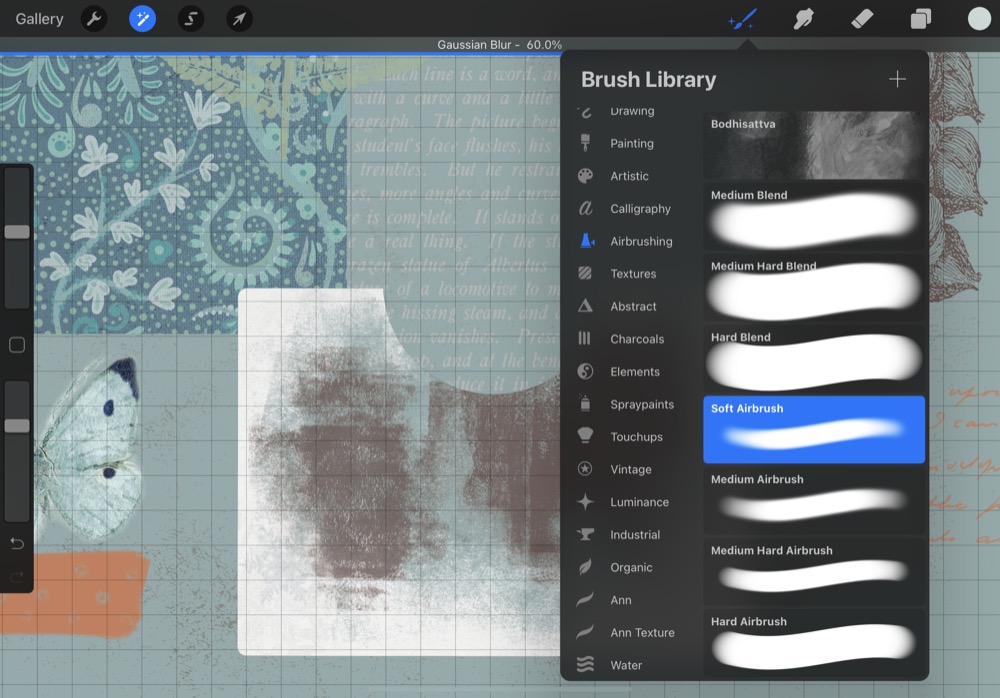
I painted a swoop along the circular notch. Decreasing the brush size a little, I also painted around the edges of the pocket to give it a custom, irregular drop shadow.
Here’s a look at my two filled pockets.

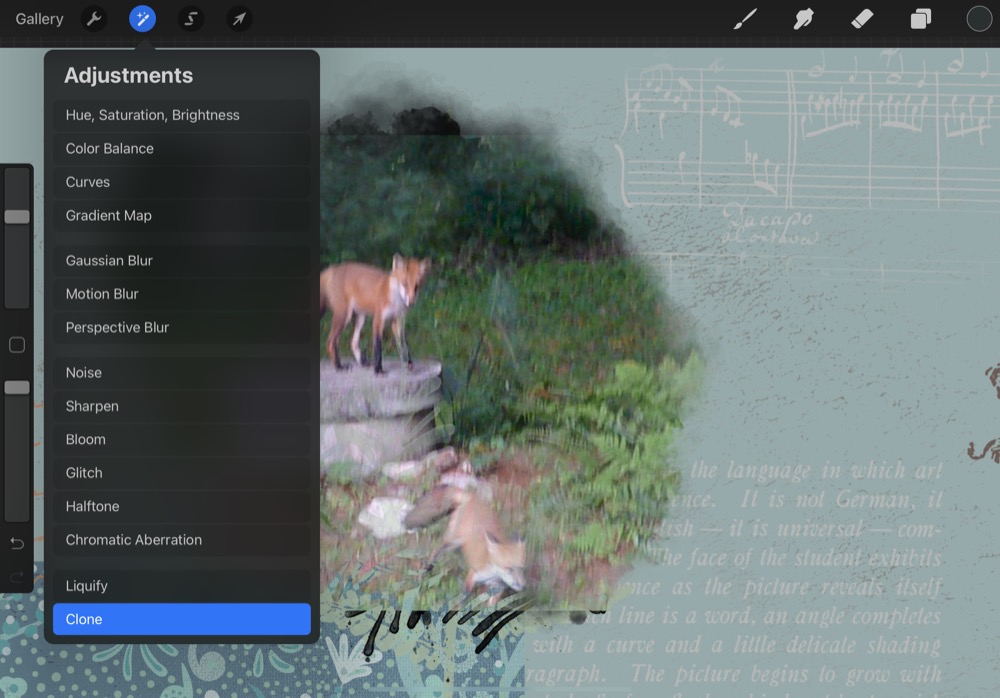
I had to include the picture of the two foxes, but it was a bit too small for the mask (again). I needed to enlarge the photo but not up-size and degrade my already-pixelated photo. My solution was the Clone tool.
Clone tools need a source and a destination. The dark circle is the clone source. With your finger inside the circle, drag around on the canvas to set the source area. The light circle is the destination where you will paint.
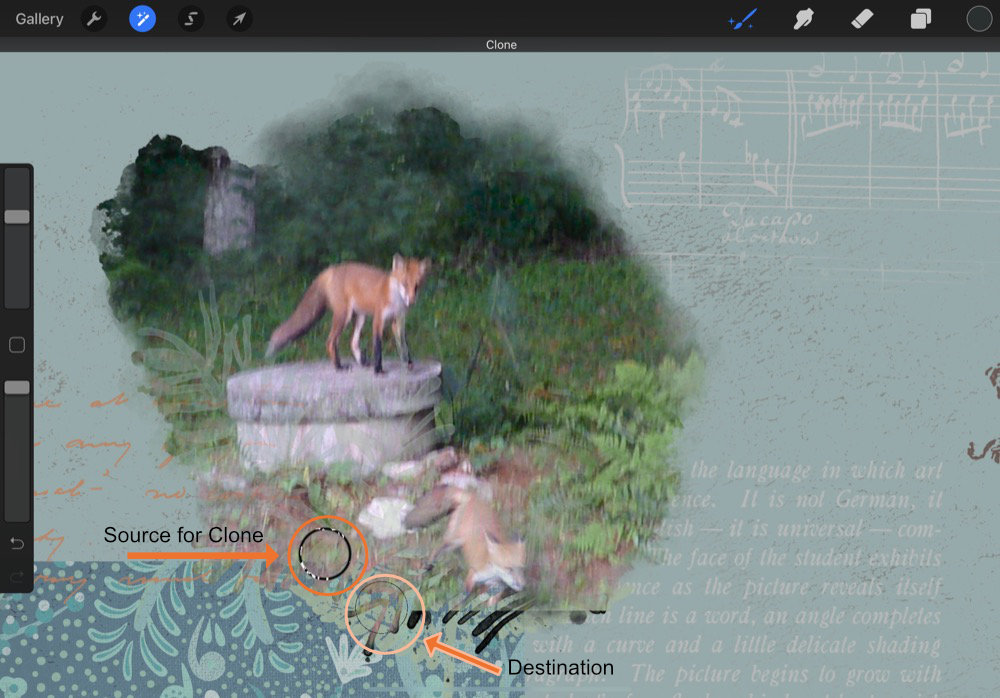
I recommend starting with a medium airbrush with this tool, painting where the black areas of the mask are visible. Adjust your source position as you need, moving around the canvas.
So, the little fox card didn’t make it into this layout, but I’ve got my thinking cap on for a way to use it in another page…
The month’s almost over, but there are still a few days left to join the January Mobile Challenge – creating a wallpaper for your mobile device. It’s open to anyone with a mobile device, created on any device (tablet?? ). Hope you’ll stop by.
2-10-21 Edited to clarify pocket shape and shadow layer order + blur. This wasn’t clear before!


I had great difficulty drawing a rectangle in Procreate and couldn’t get it straight even using the grid. Is there a secret to this? How did you get the rounded corners on your photo pockets? I’ve still got a long to way to go with Procreate! (cabelcat)
Hi Carol, thanks for your feedback! Shapes are a different animal in Procreate, for sure! Is Draw and Hold turned on? ( Action > Pref’s > Gesture Controls > QuickShape. For rounded corners, try using the hard-edged brush from the Airbrushes category. Did you try drawing with both finger and Pencil? One might work easier than the other. Sometimes finger touches can be more deliberate. If these don’t work, let me know. I’ll help if I can!
[…] the blend mode of the shadow to Multiply or Linear Burn, and reduce the opacity to 50-75%. Read this post for a few tips on how to create uneven, wavy shadows in […]