Hey all! I’m sure you saw Ann’s wonderful blog post on Using Clipping Masks in Procreate yesterday. It’s a little bit different in Photoshop (and Elements), this post will help you use Clipping Masks in Photoshop.
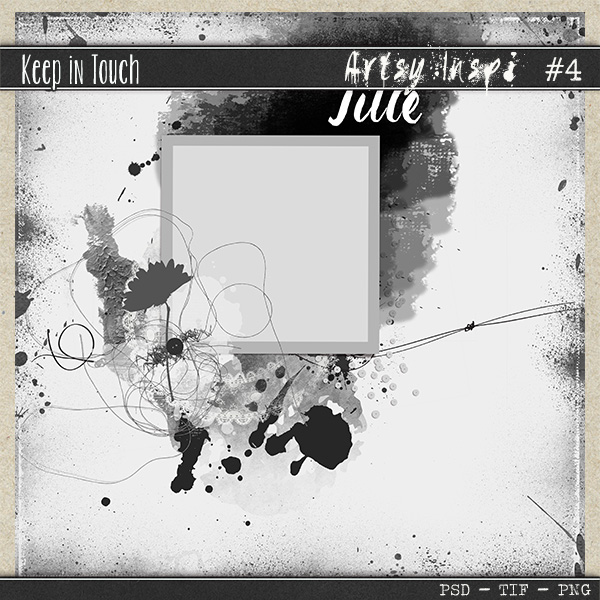
I’m going to start with a template. My scrapping time is at a premium, and templates are my go-to inspiration starters. I’m loving Sophie’s, Keep in Touch Designs, Artsy Inspi templates. I love that I can get just one. It’s a lower price & I’m sure to get exact one I want.
Note: All our templates are on 30% sale through the end of October
Once the template is open, drag in any background papers. I’m using two, both from Pumpkin Palooza.
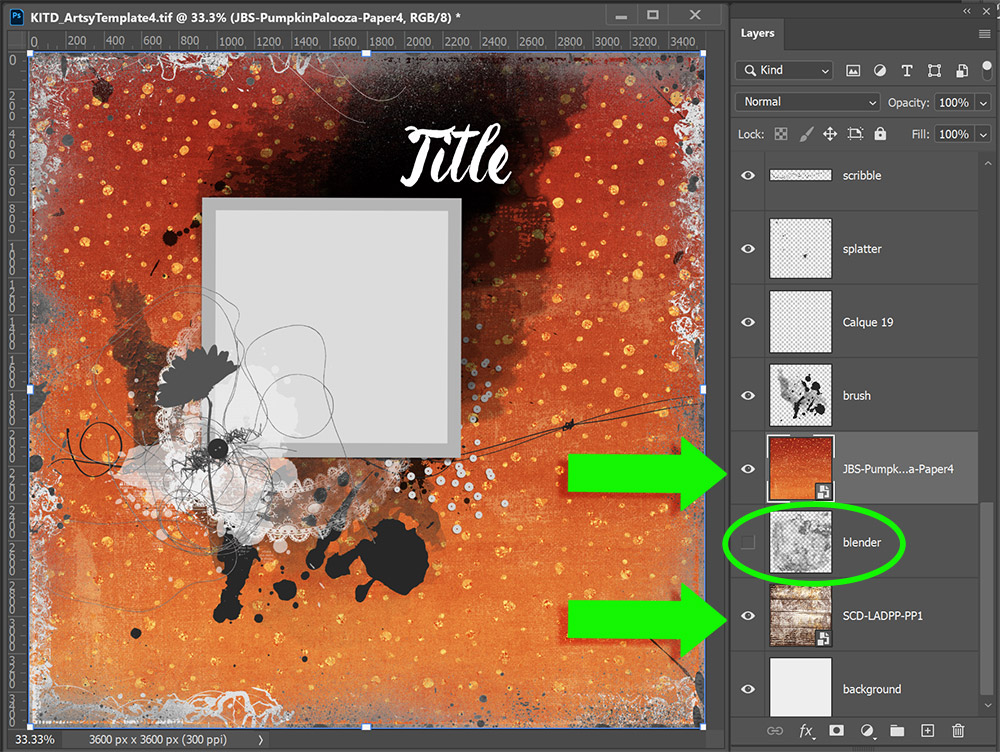
There is an optional Blender included in Sophie’s template. I’m going to clip my second paper to this Blender:
- Turn on Blender layer by clicking the “eye” next to the thumbnail in your Layers Palette
- Click on the paper layer above the Blender layer, still in the Layers Palette
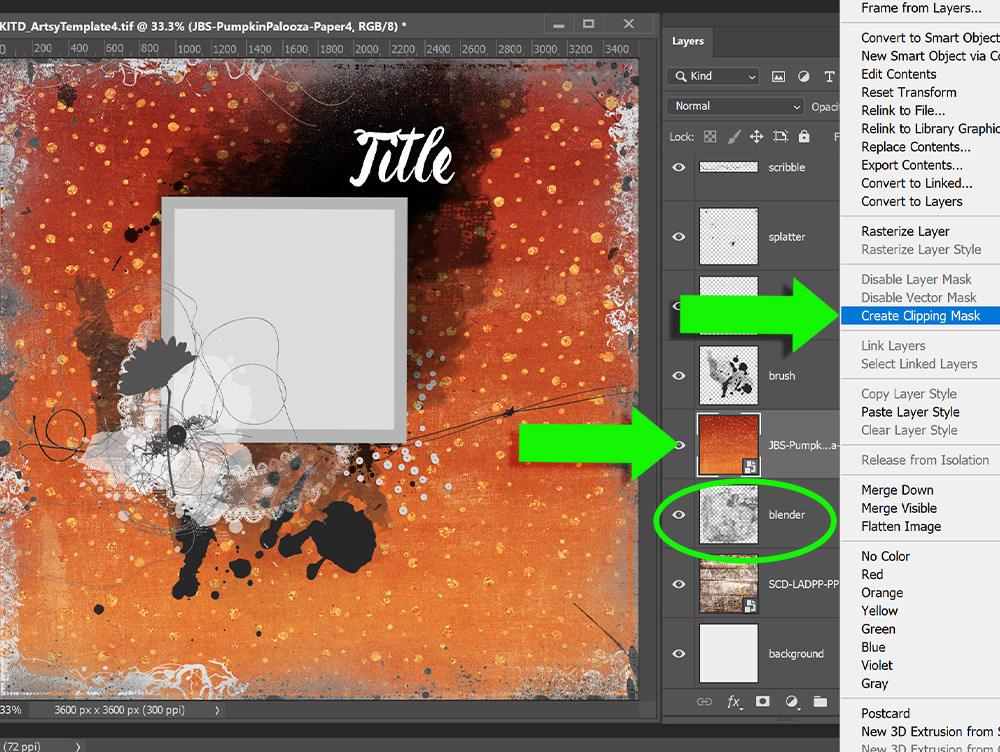
- Right-click on the paper in the Layers Palette
- A Pop-up menu magically appears
- Scroll & click on Create Clipping Mask
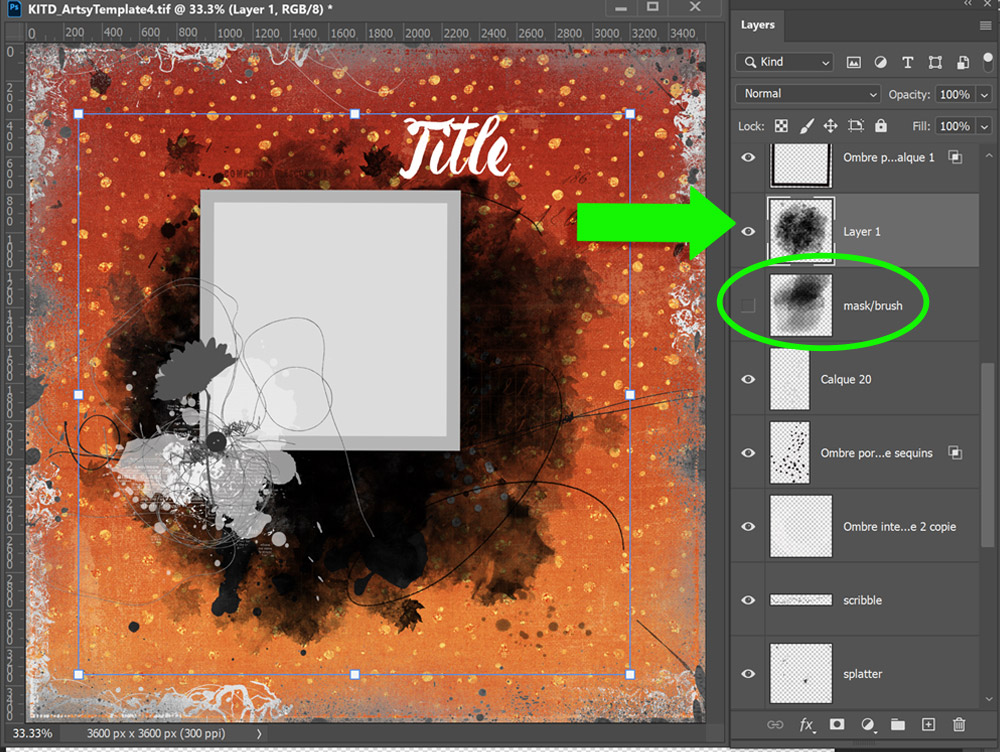
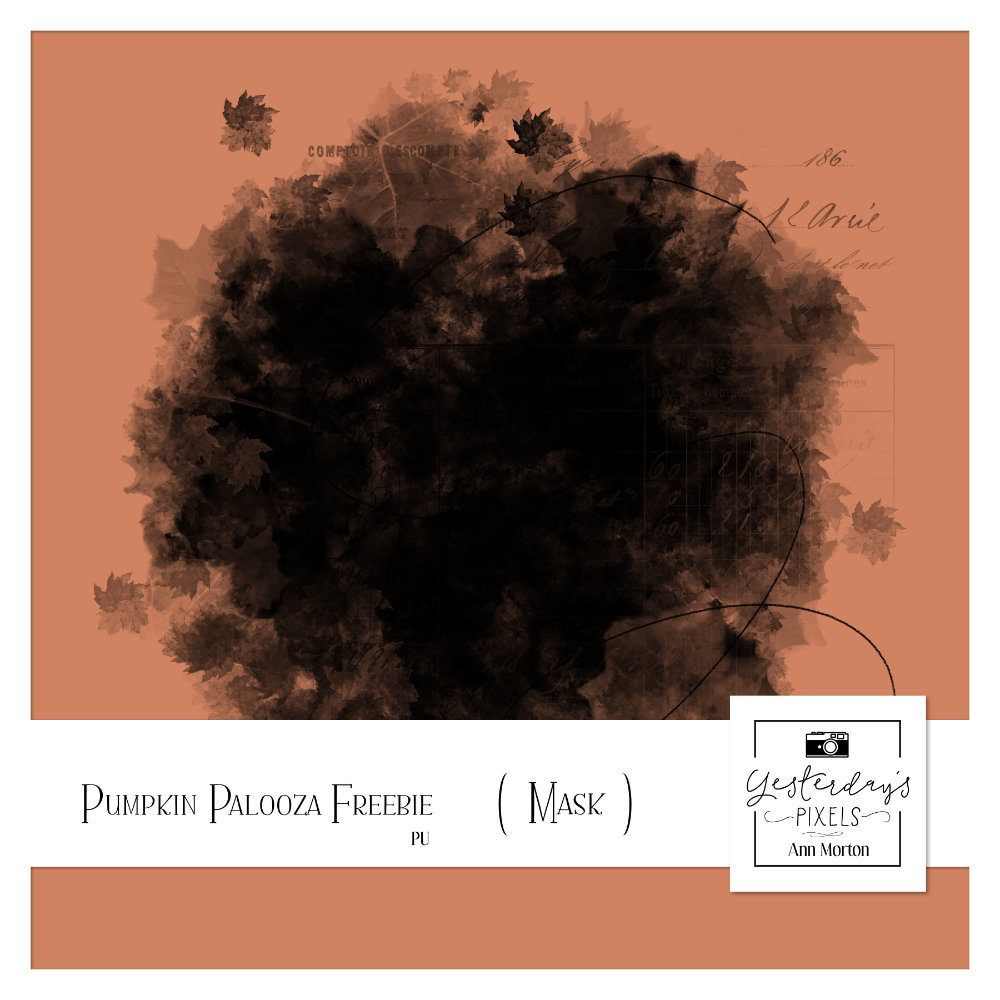
Repeat this process with either the included Mask from Sophie or a brandnew fabulous FREE mask from Ann, Yesterday’s Pixels (see below).
- I’m dragging Ann’s mask exactly above Sophie’s mask in her template
- I turned off Sophie’s mask, however;
- You can keep it on & use TWO masks
After I move everything around, using multiple clipping masks (very common when using Artsy type templates), I have a layout I love:
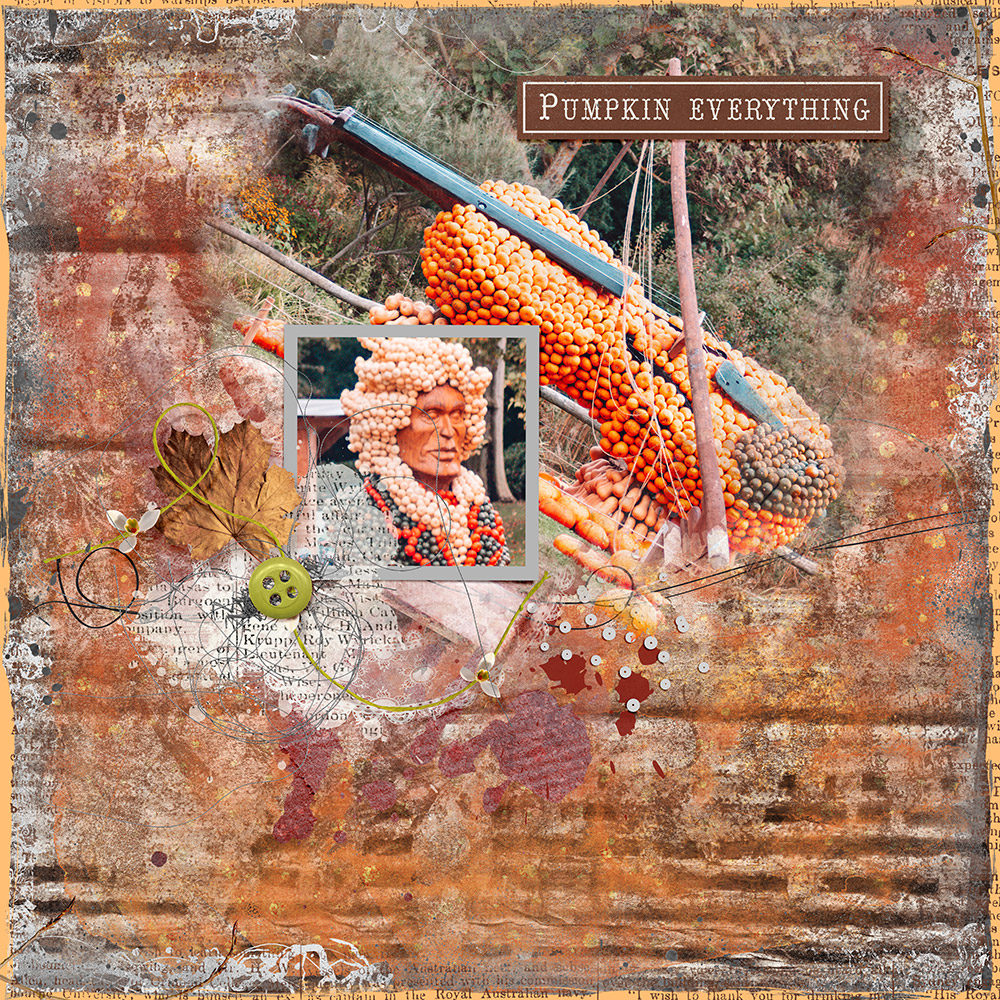
The photo’s are mine from last year’s Pumpkin Festival in Ludwigsburg. All papers & elements are from Pumpkin Palooza or Artsy Inspi [Template 4].
You can download Ann’s free mask from her blog post: Using Clipping Masks in Procreate or click the image below.


What a beautiful mask.
Thank you so much
Thank you for the mask.
Thanks for the mask. I also bought the template you are using and just wanted to note that the blender layer is not in the .psd version, however, I copied it from the .tif version.
Thanks. Trying to catch up what I have lost on my crash of my external drives.
[…] Quick Tip: Clipping Masks in Photoshop […]