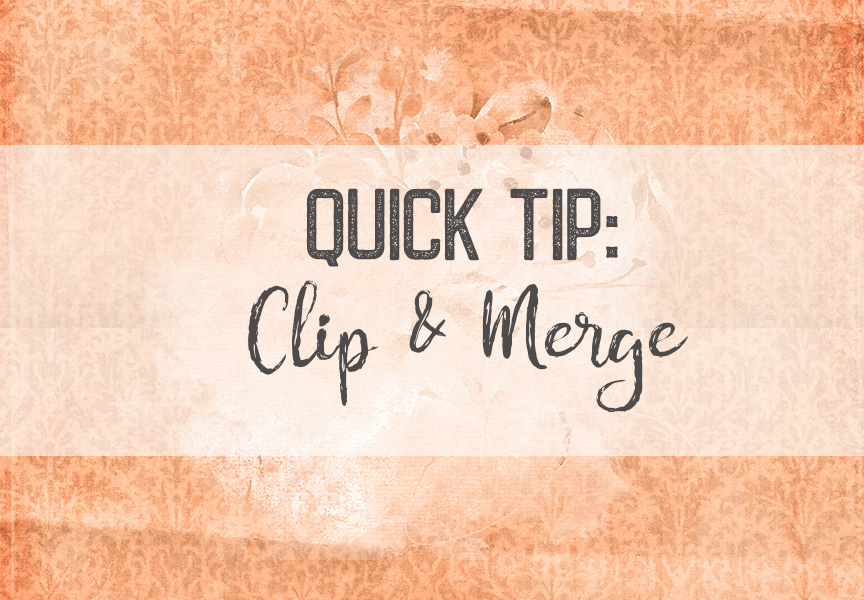
We’ve done a lot of learning & playing the last couple of weeks, primarily on masks & transfers. Today we are going to merge a couple of techniques, using parts of our wonderful Pumpkin Palooza, to create yet another look.
I’m starting with a Pumpkin Palooza paper by PrelestnayaP Designs and a white paint by Keep in Touch Designs:
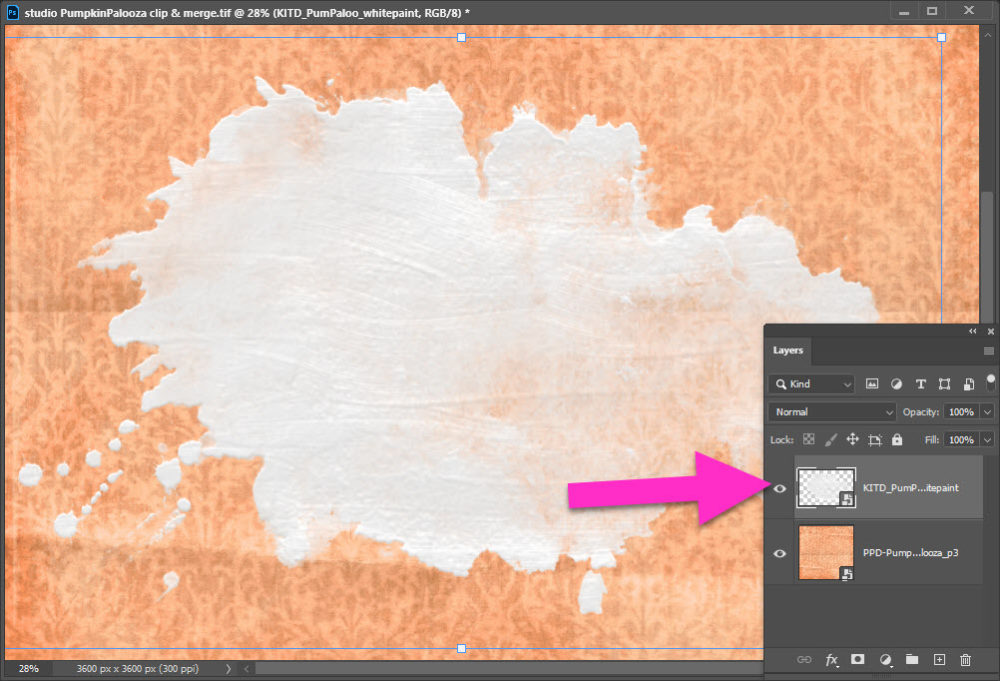
I then drag in another paper by Keep in Touch Designs & use a clipping mask to create a new look on my page:
You can read more about clipping masks on our blog:
- Quick Tip: Clipping Masks in Photoshop
- Using Clipping Masks in Procreate
- Using Mask Layers in Affinity Photo for iPad
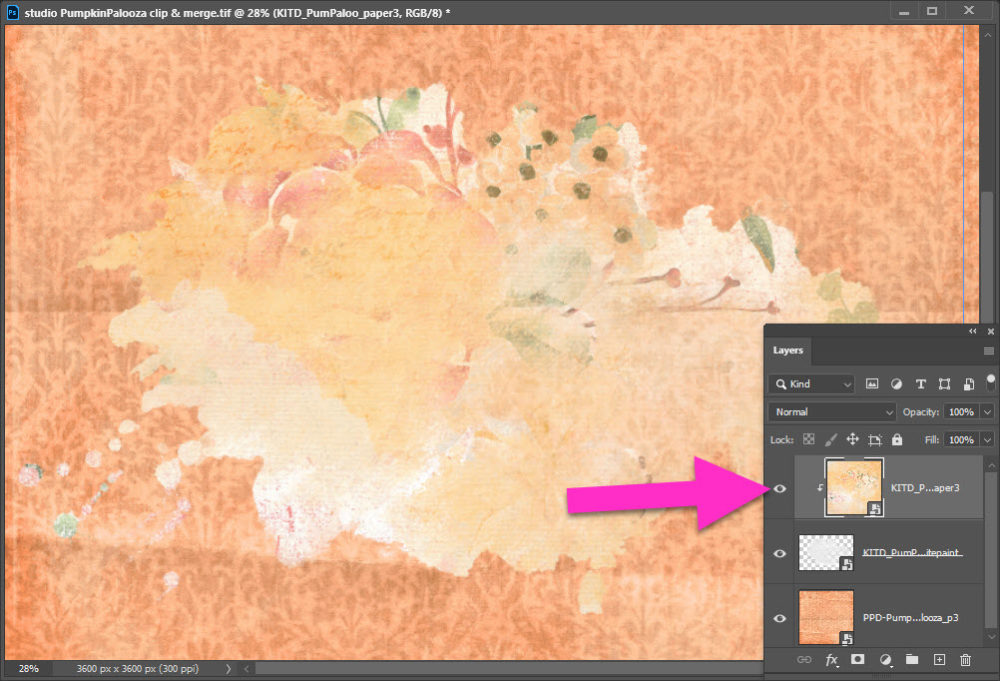
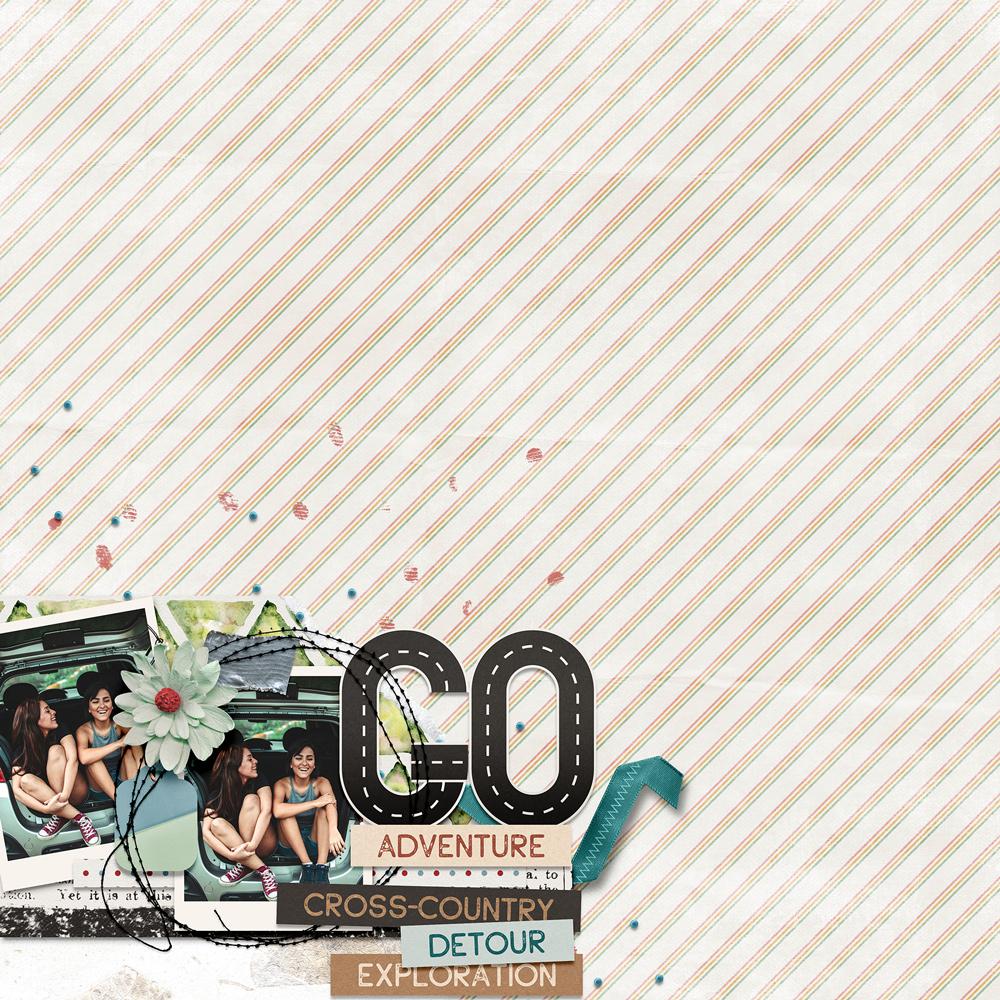
Alternatively, you can also use a photo mask to create your new look. I’m using the free mask provided by Ann, Yesterday’s Pixels on our blog. Simply turn off, or delete, your paint layer and drag in your mask:
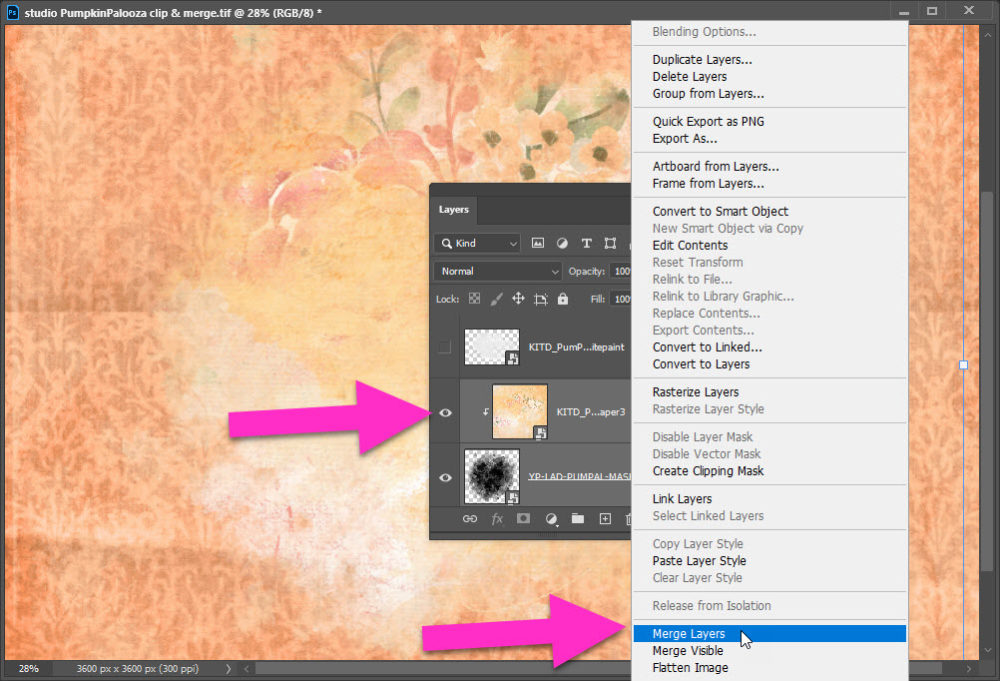
I want to blend my transfer into the background paper, a quick way to do this is to Merge your clipped paper & mask.
- Select both layers in your layers palette
- Ctrl + click; or
- Shift + click
- You will see a lighter gray shading on each layer you have selected in your layers palette
- Then right-click and choose Merge Layers
With the layers merged, you can change the Blending Mode.
- Go to the top of your Layers Palette
- It will say Normal, with a tiny drop down arrow to the right
- Click the drop down arrow & scroll through the choices
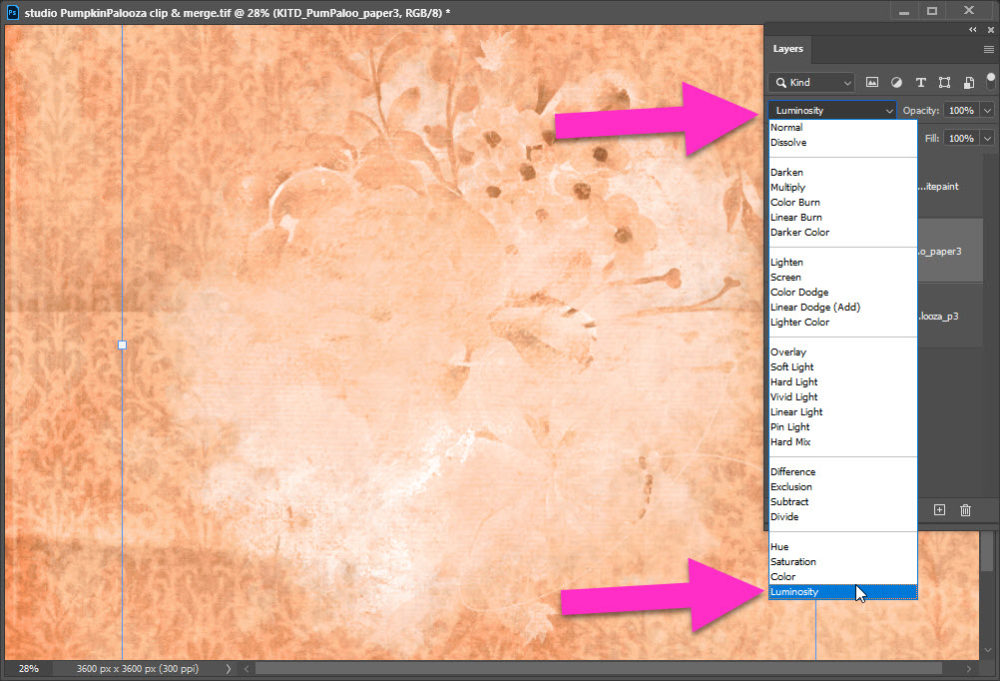
I’ve chosen the underrated Luminosity to give my page a tone-on-tone look. You can choose any blending mode that suits your fancy! Try duplicating your newly merged transfer & using two different Blend Modes. Or adjusting the Opacity for a more subtle look.


Leave A Comment