I have been asked by several of you to write a tutorial on how to type text on a path. I think you’ll be surprised at how easy it is!
Today I am using Photoshop CC2014. I believe this works similarly in most versions of Photoshop.
The image below shows the text circle we will be creating today. Let’s get started.
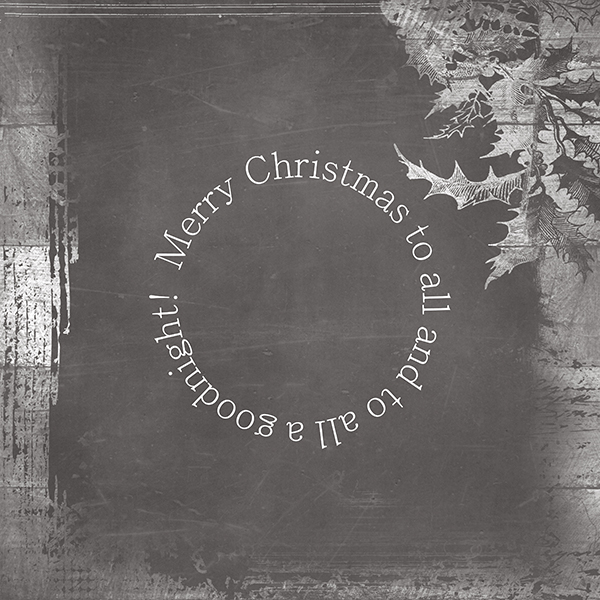
1. Place a blank layer above your background document. Using the Ellipse Shape Tool, create a circle. (Holding down the Shift key while dragging the Ellipse Tool will create a perfect circle.)
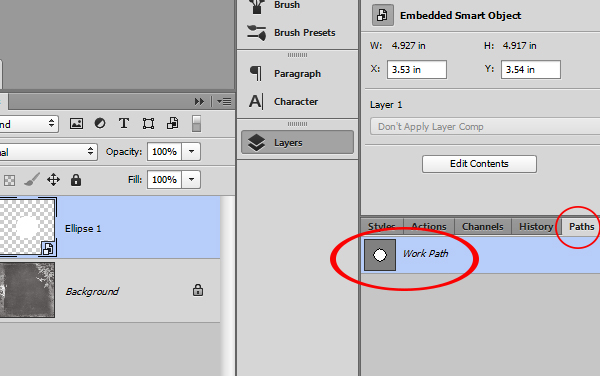
2. In you do not see your Paths Panel, go to the top Menu Bar: Windows > Paths to access the panel.
3. Click on the Paths tab to open the panel. Here you will see a “Work Path” that was automatically added when you created your circle.
4. We need to “select” our circle and can do this one of two ways:
a. Click the thumbnail of the circle in the Layers Panel.
b. In the Paths Panel, click on the icon at the bottom of the panel that is a light gray circle with black dotted lines around it. (Third icon from left in CC2014). If you hover your mouse over this icon you will receive the prompt “Load Path as a Selection.”
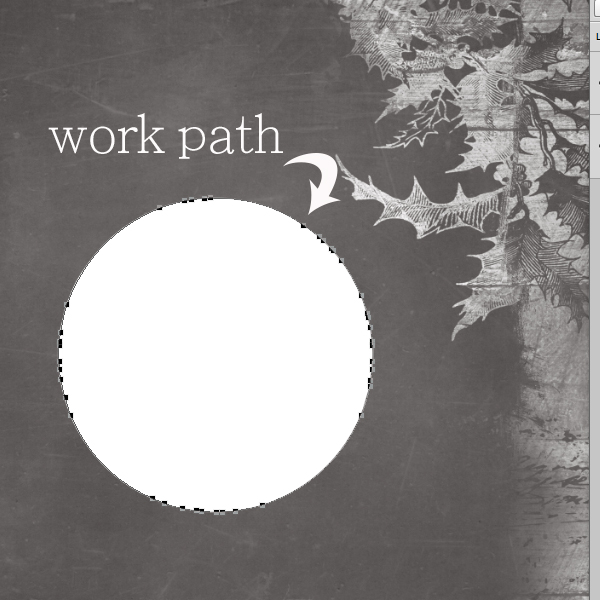
5. Once you have selected the circle, you will see “marching ants” around it. Next, still in the Paths Panel, click on the icon at the bottom of the panel that is a circle with 4 tiny squares around the outside of it (4th icon from the left in CC2014.) If you hover your mouse over this icon you will receive the prompt “Make Work Path from Selection.” You will now see a line (work path) around the circle on your document. (The tiny black rectangles along the edges of the work path are anchor points. We don’t need to pay attention to those in this tutorial.)
6. In the Layers Panel, create a blank layer above your circle. We will type on this layer.
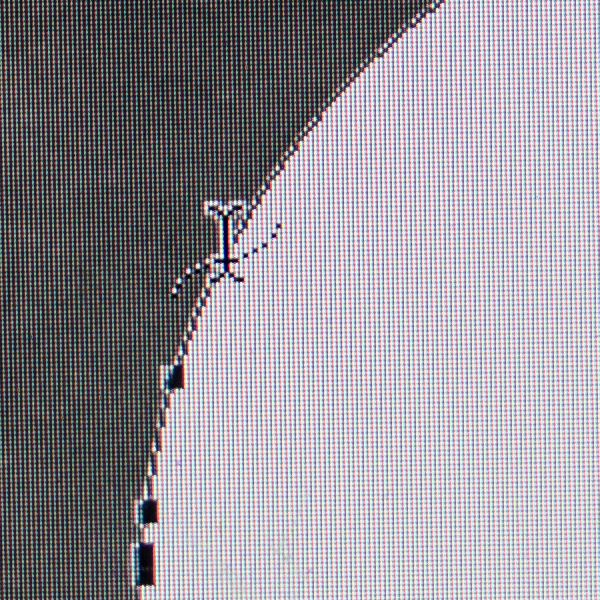
7. Click on the Type Tool to activate it. Move your cursor to the edge of the work path around the circle. The cursor will change from the “I” symbol to an “I” symbol with a wavy line through it. Click once on the work path and you will see the type tool initialize. You are now ready to type your phrase.
8. Once you have finished typing, click the check mark in the top menu bar, or click on your type layer in the Layers Panel, to commit your text.
9. You can click Control + H to hide the work path; or, if you are sure you are finished with it, go to the Paths Panel and drag the Work Path to the trash.
10. Decide what you would like to do with your circle. You can drag it to the trash, click on the eyeball icon to make it invisible, or use it in your page design however you like. One of my favorite things to do is to make the circle a little smaller, and embellish the edges of it in different ways. Here I have added some stitches around the circle.

Photoshop Elements Users: You can type text around a shape also. Let me know if you need help with this!
Credit: The paper in this tutorial is from my soon-to-be-released kit, “Deck the Halls.” The model is my grandson, Owen. Although he just turned one year old (!), this is still one of my favorite pictures!
You may download a PDF of this tutorial here: Text on a Path in Photoshop
You may view this tutorial on SnickerdoodleDesigns YouTube Channel and on theStudio’s YouTube Channel.
Please head over to You Tube and take a minute to Follow both channels. TheStudio will have videos that will be exclusive to their site, as will I. By following both channels, you will be sure not to miss a thing! Thank you!!


OK, this way too cool! A video and a pdf. The perfect match for me. Thanks a bunch!
Great tutorial Karen………precise and easy to understand. Love having the video as well as the pdf. THANK YOU for taking the time to do this and share.
Thanks for this great tutorial and the pdf. I really like having the pdf right at hand when I need it.
Thank you!! I have learned this once before, but, the ol’ noggin is like a sieve, so, a refresher is always a welcome thing!
Su