
Phew! I’m back. Sometimes computers just get the best of me. Especially this awful new Windows 11. Don’t do it! I finally have all my programs playing nice & I’m so excited to show you how to perspective crop in Lightroom.
For this tutorial, I’m using Lightroom on the web. It’s a great way to access your programs without installing them on every device you own. You still need a subscription, but you can open & edit your photo’s anywhere you can login. It’s a little bit different to access & use but Adobe has a tutorial for using Lightroom on the Web.
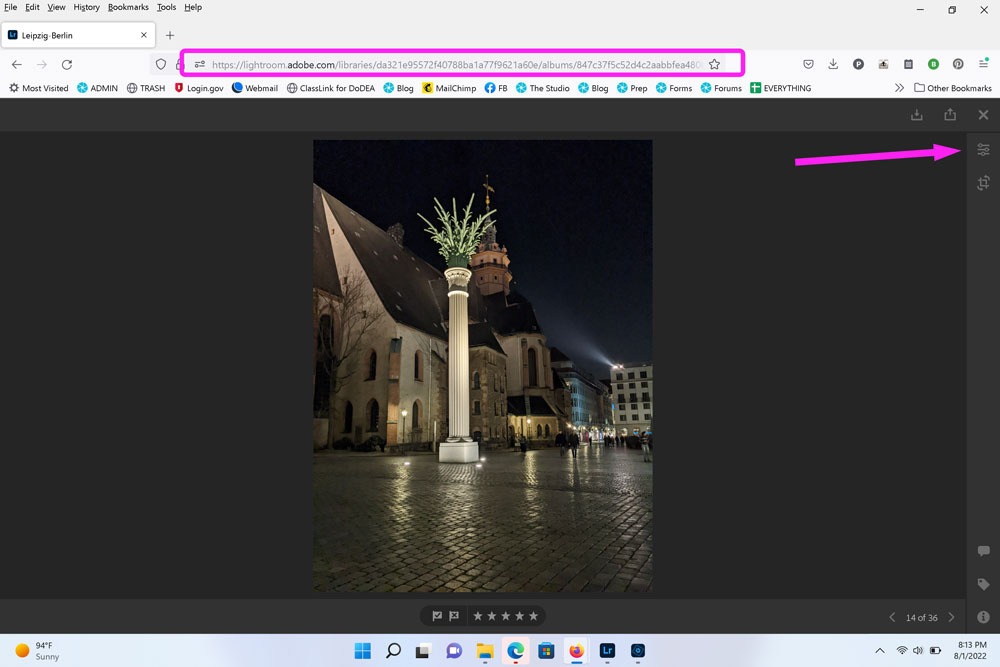
You can see by my URL that I’m on Lightroom on the web. As in my previous tutorials, click on the Edit icon to open up the Edit menu.
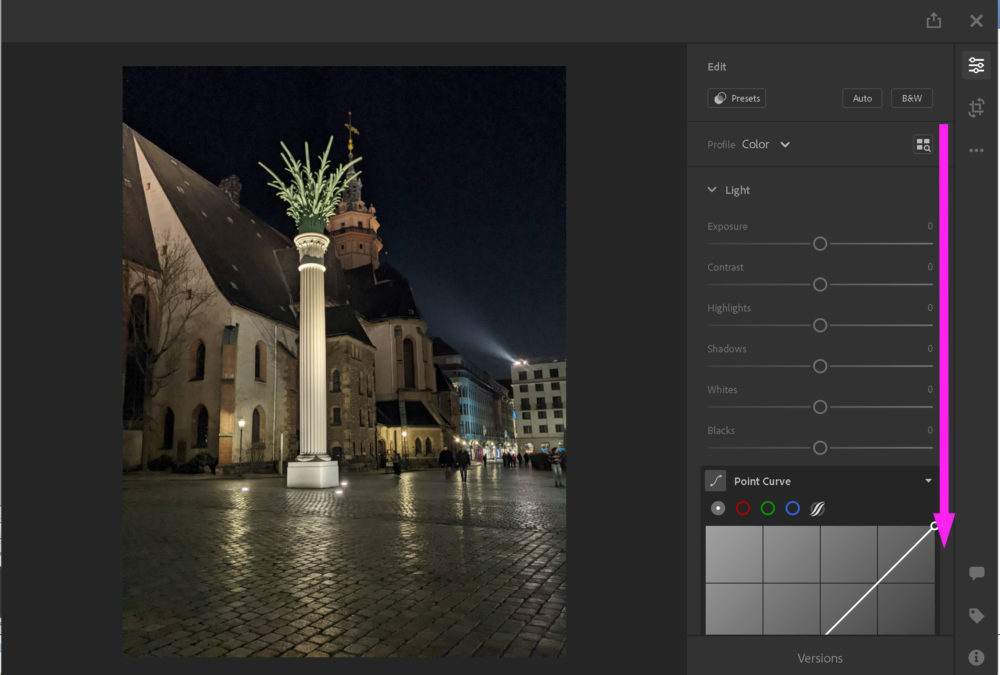
I’ve now trimmed my screenshot window, so that everything is a little bit easier to see. Click on the screenshots to get an even bigger view. If that doesn’t work, right click to “view image in new tab”.
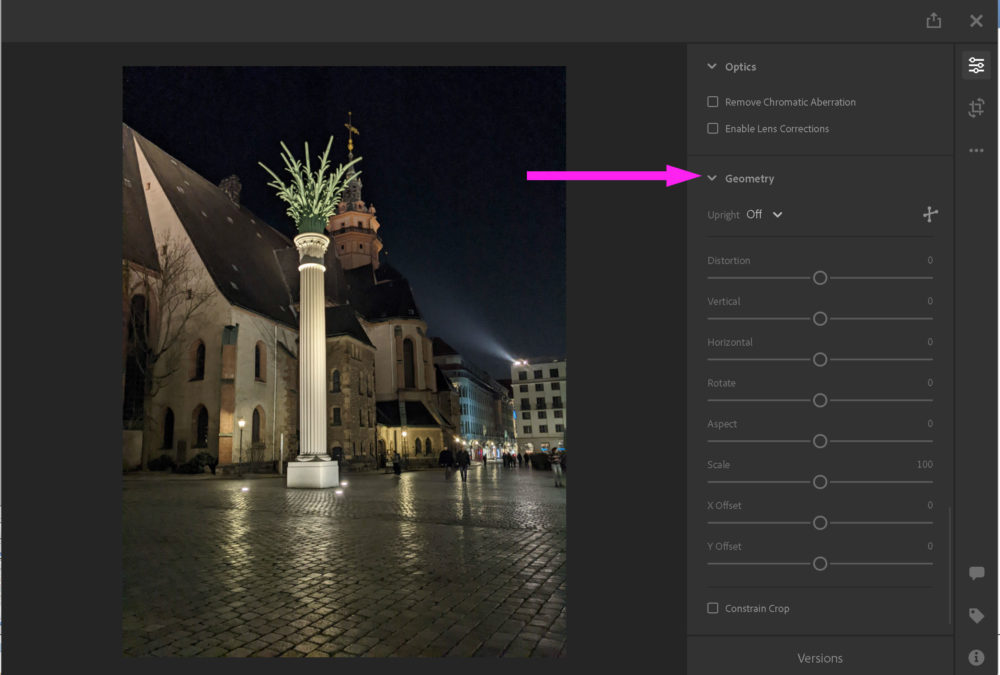
- Scroll down the Menu options until you find Geometry
When you get to Geometry, it may/may not be expanded.
- Click on the tiny drop down arrow next to Geometry to expand or collapse the submenu
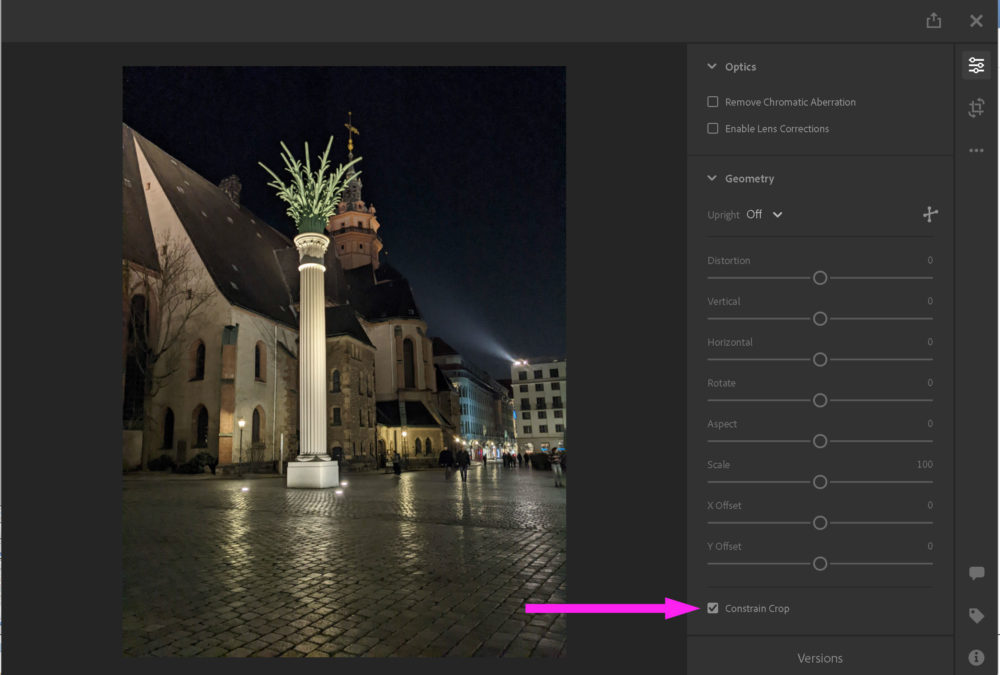
At the very bottom of the Geometry submenu there is a little box next to Constrain Crop.
- Click on the Constrain Crop box to checkmark it
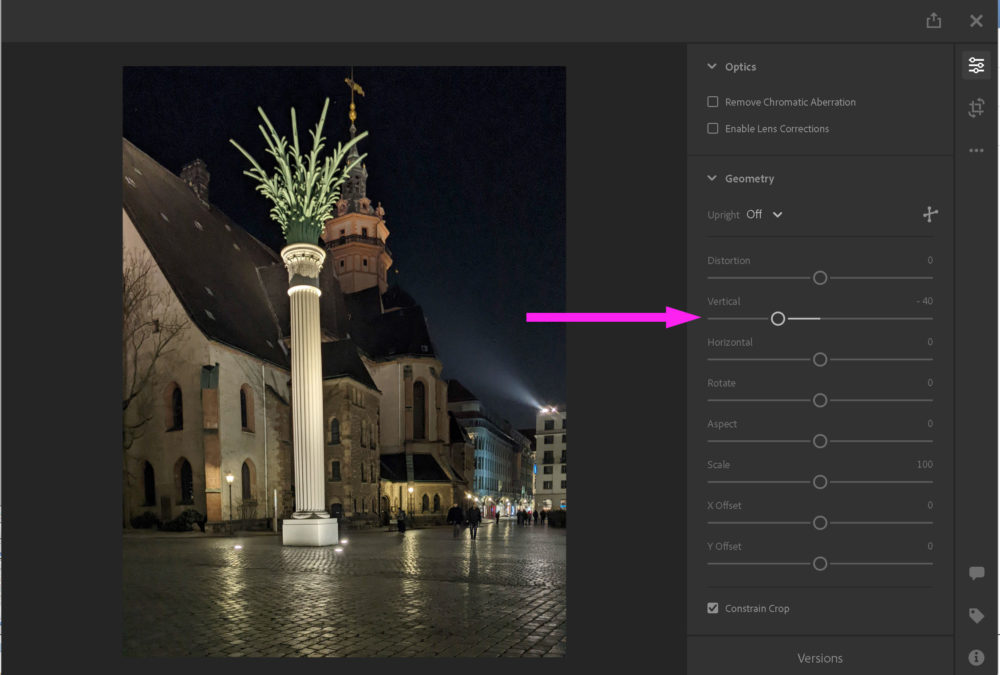
To change the perspective of a photo, make it look like it’s straight (ie, taken from straight on, vs from at an upward/downward angle), click on Vertical.
- Click, hold & drag the Vertical slider either left (for fixing an upward slant) or right (for fixing a downward slant
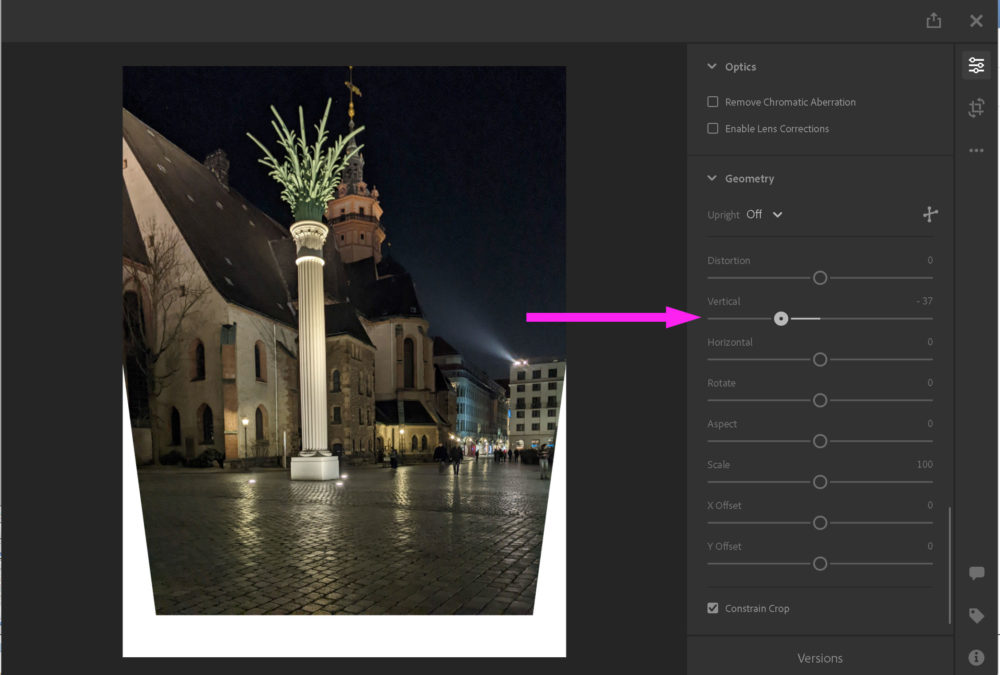
As soon as you let go of the Vertical slider, your picture will crop into the new angle.
- You can drag & redrag to your liking
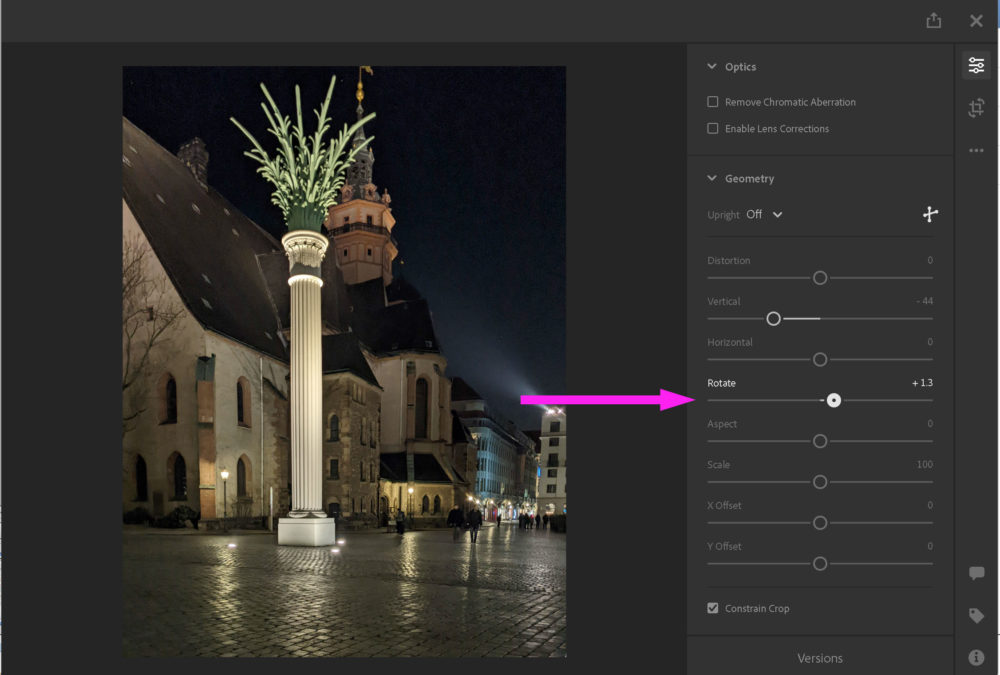
My angle was a little off, I held my phone a little crooked, luckily you can easily rotate your pictures right from the Geometry submenu.
- Simply slide the Rotate slider to the left or right, depending on the correction needed
I went and did some minor basic edits to finish up my photo, and TaDA! My before Perspective crop and after:


Wow! Thank you so very much! Hoping mine comes out as well!