Have you seen it? The new Surf, Sand & the 4th Coordinated Collection! This has got to be my all-time favorite! As always, there is great diversity in designer style and product contributions! The theme is FUN, and the colors are beautiful!
As I was browsing thru all of the amazing products, I noticed that, in addition to the traditional papers and elements, there are a lot of “Extras” that can add so very much to layouts! I thought it would be fun to visit our Tutorial Archives and refresh our memories on how to use some of these awesome products quickly and easily!
Borders: Stretching your Digi-Stash with Premade Borders
Clusters: Stretching your Digi-Stash with Premade Clusters
Masks: Stretching your Digi-Stash with Masks, Part 2
Styles: Using Styles to Stretch your Digi-Stash
Word Art: Customizing Word Art
Overlays: 4 Ways to use Overlays and Textures Creatively using Blend Modes
Stamps: PNG vs. ABR files – Which should you use?
Today let’s look at just one of these tutorials, and then you can explore the others yourself, based on your needs.
I really love Stamps. I like their versatility, and how they can add so much interest to a page. I designed a package of Surf, Sand & 4th Stamps, and gave them to my creative team. Here’s are just a few samples of what they were able to create, all using different techniques.
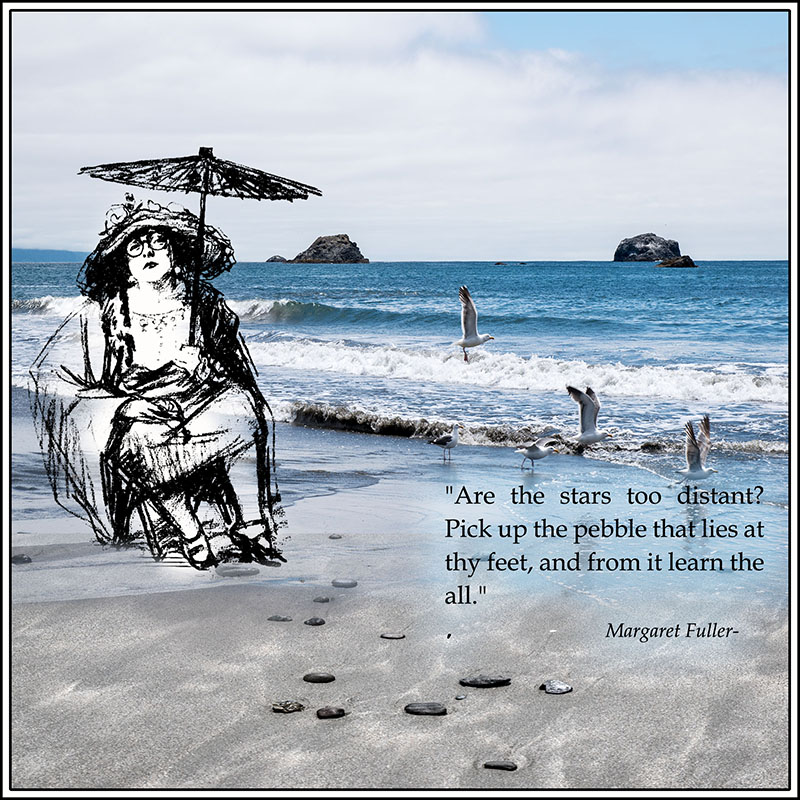
1. Priscilla created this first layout and described her technique:
“I just placed this adorable lady on a layer above my photo taken at the beach. I created a new blank layer under the layer with the stamp (and above the photo) and painted the new layer with an opaque white brush. I painted at 100% opacity at the face and head, down to 0% opacity on the sleeves, so that you can see the ocean through the rest of the stamp. That was it! No masking, no blending, just a place-and-run technique! Quick, easy, done!”
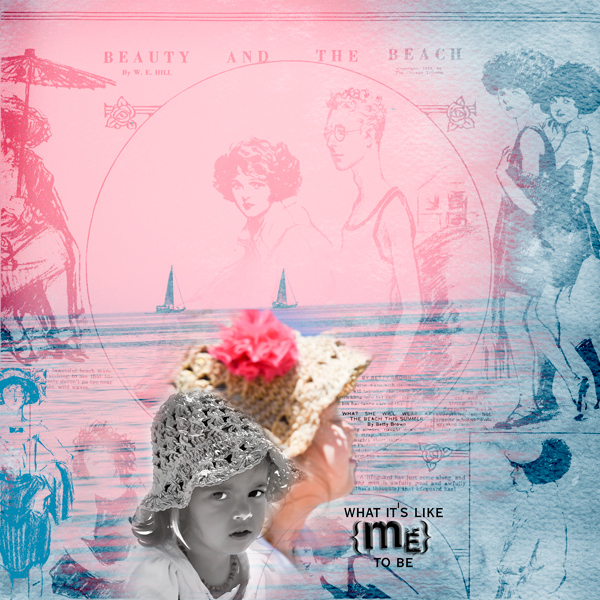
2. MissPepper created our next layout. She used 2 techniques here: 1) adding color to the stamps, and 2) experimenting with blend modes until she liked the result.
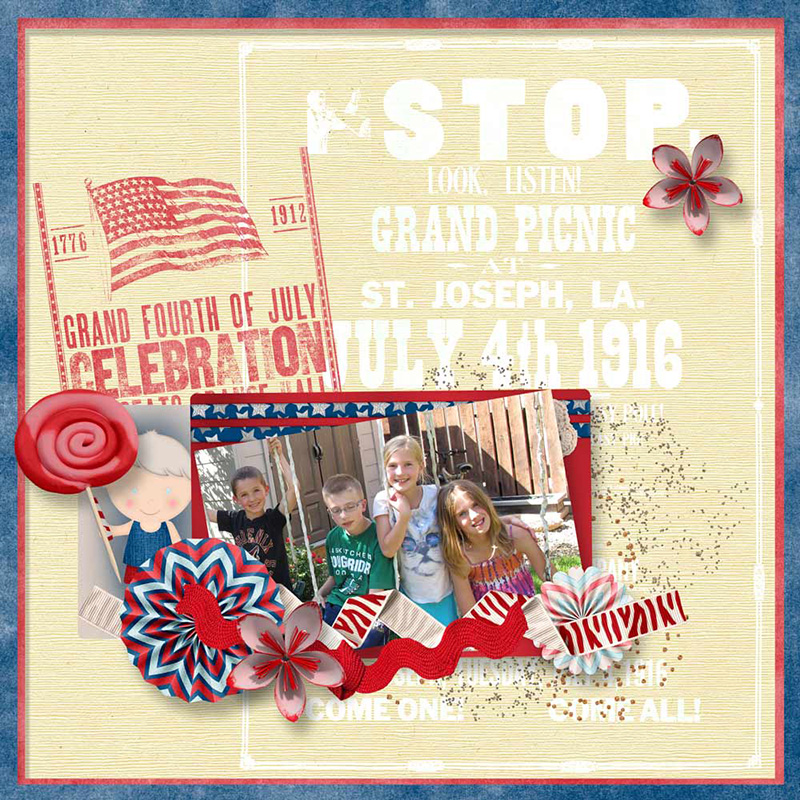
3. Renee created the layout below. For this layout, she was using my Vintage Patriotic Stamps (not part of the Surf, Sand & the 4th Collection, but I loved her technique!).
“I wanted to keep it very simple. I am used to working with a lot of embellishments, but wanted to let the stamps shine here! For the “Stop” stamp on the right I clipped a blue paper, then used the Color Dodge Blend Mode to lighten it. For the Flag Stamp, I clipped a red piece of paper from the same PattyB pack and used the Dissolve Blend Mode.”
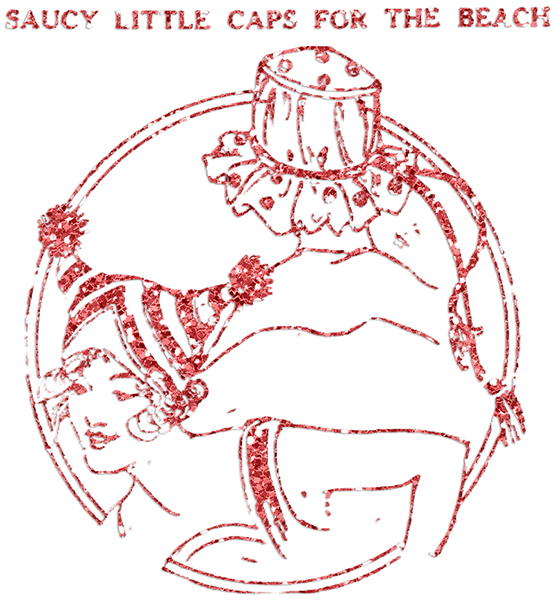
You could also apply a sparkling glitter style to a stamp! (from Surf, Sand & the 4th Stamps by SnickerdoodleDesigns) and glitter by Surf, Sand & the 4th Chunk Shimmering Glitz by ADBDesigns (slight shadow added by me to the final image).
I hope these examples have given you a new perspective on Stamps, and made you curious about other ways to use those “Extras” that many designers include in their Collections! Check out some our past tutorials for inspiration!
Want to practice? Click on the image below to download this Surf, Sand & the 4th Stamp Sampler and see what YOU can do with Stamps!
If you would like to keep this tutorial on your computer for easy reference, you may download a PDF here.
Each Surf, Sand & the 4th product available for just $1 now through July 15th!
![]()
July 4th is Independence Day for Americans. If you are celebrating this holiday, have fun and stay safe!
See you next week!


Create tutorial Karen!
[…] Surf, Sand and the 4th! Tutorial reviews! – 3 freebie(s) […]
Hi! Thank you so much for the image, just love everything vintage. Have a nice day, Susie
I know it’s helpful for me to review things! Hope others feel the same way! Thanks, Patty!
ADORABLE!! Thanks so much.
Thanks for all the lovely tutorials….gets the creative juices flowing! Appreciate all of you! Have a terrific week~