
Hello all! Ready for some drama? The good kind of drama. Digital drama. No people involved, well, except for the digital kind on my photo’s LOL! Let’s get dramatic.
I’m jumping in partway through my editing process on this photo. You can catch up by following my Lightroom series of tutorials from the start, especially:
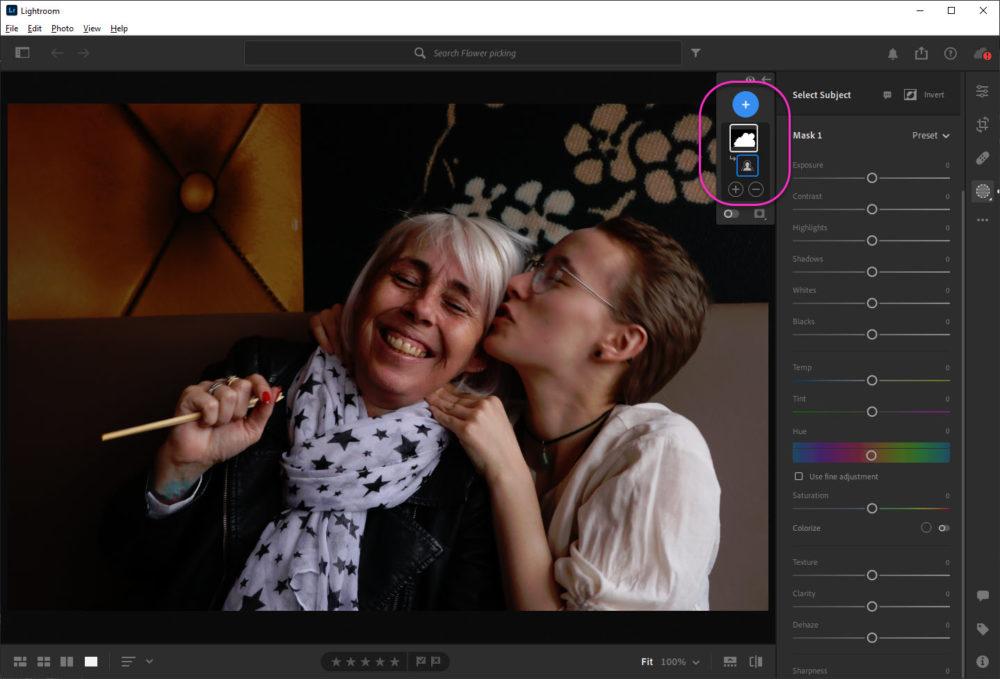
With the first steps out of the way, I’m going to jump right into Masking my subject.
- Click on the Masking tool to follow along

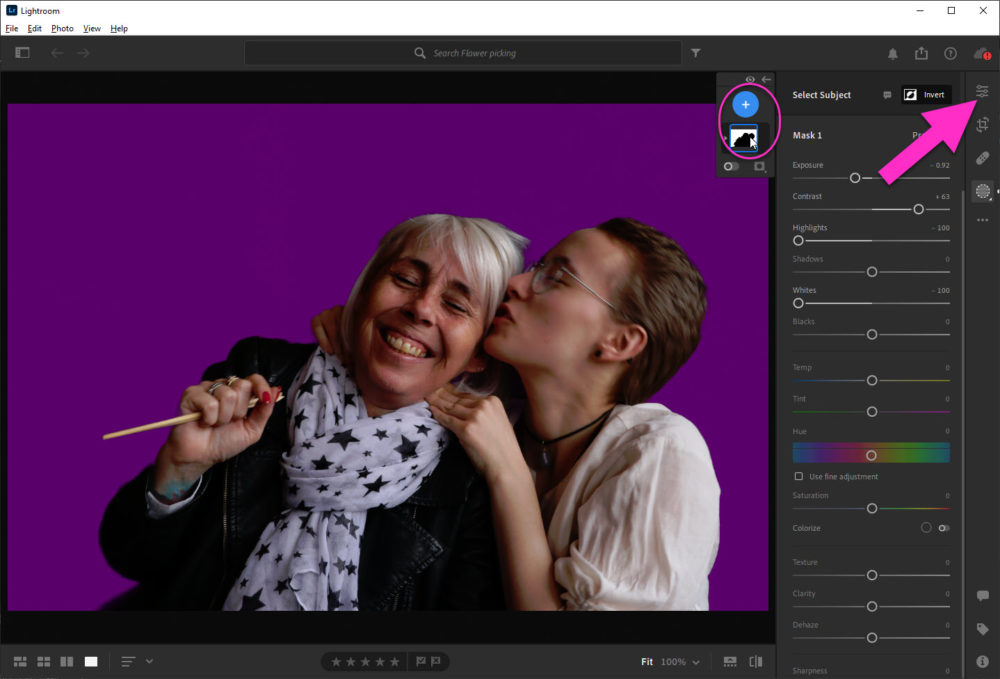
Because I really want the focus to be on my subject, my cousin & her daughter, I’m going to let Lightroom get to work and Select Subject for me.
- Click on Select Subject

It takes Lightroom a hot second to select your subject for you. You can tell it’s done when the spinning gear stops and your new masks pops up.
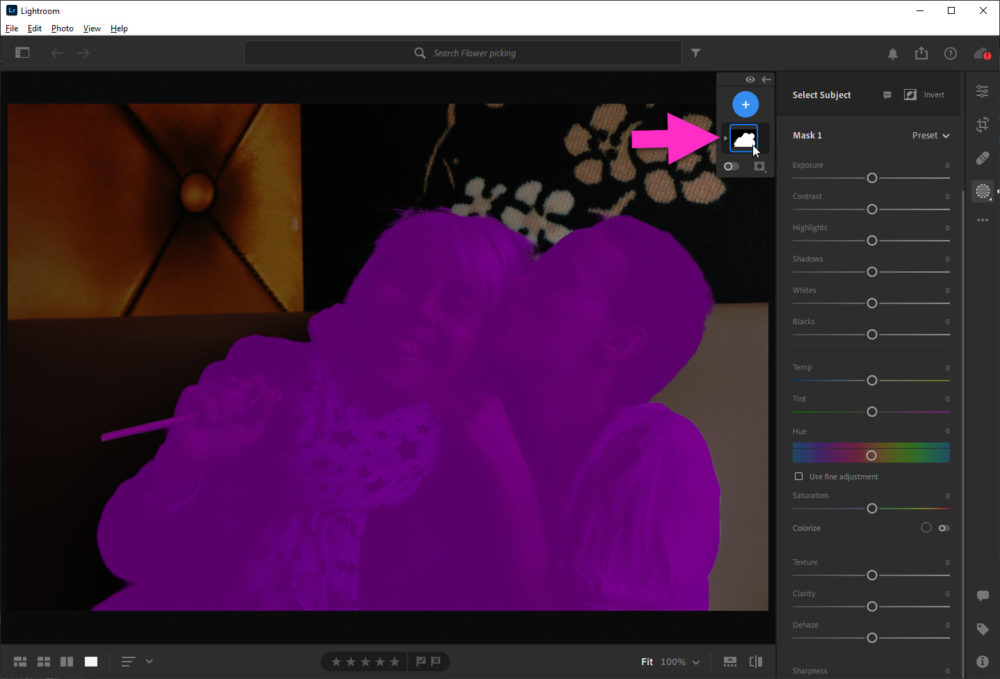
You can toggle to see the mask selection by clicking on the mask in the Mask Palette.
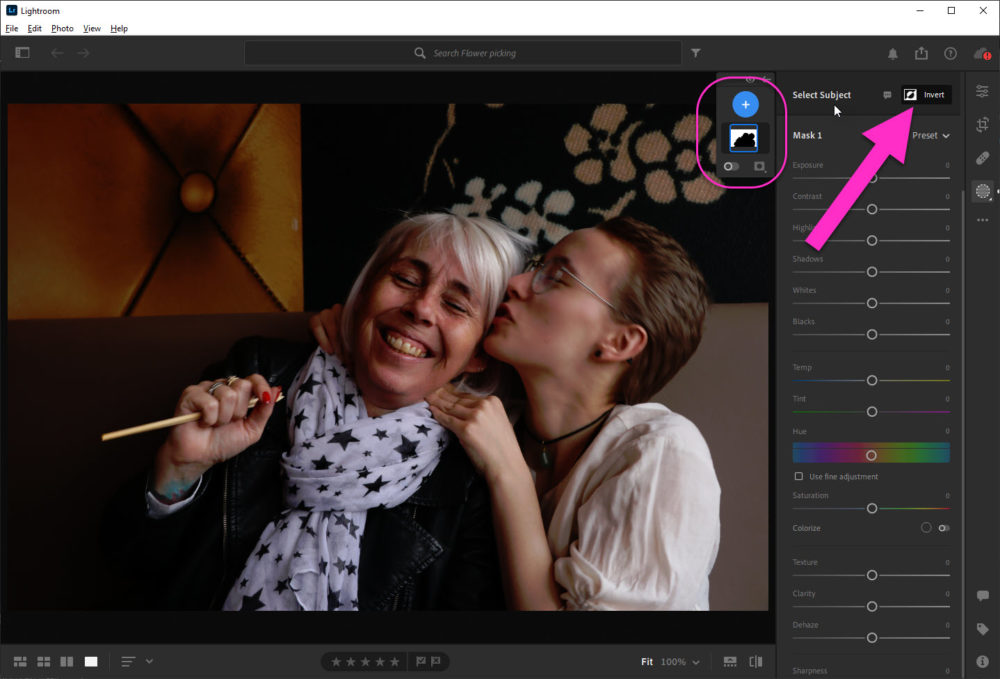
What I want to do is focus on my subject. My first step is to make the background less interesting. I do this by Inverting my mask.
- Still in the Mask Palette;
- Click on the Invert button
- See the Mask change for white/black to black/white
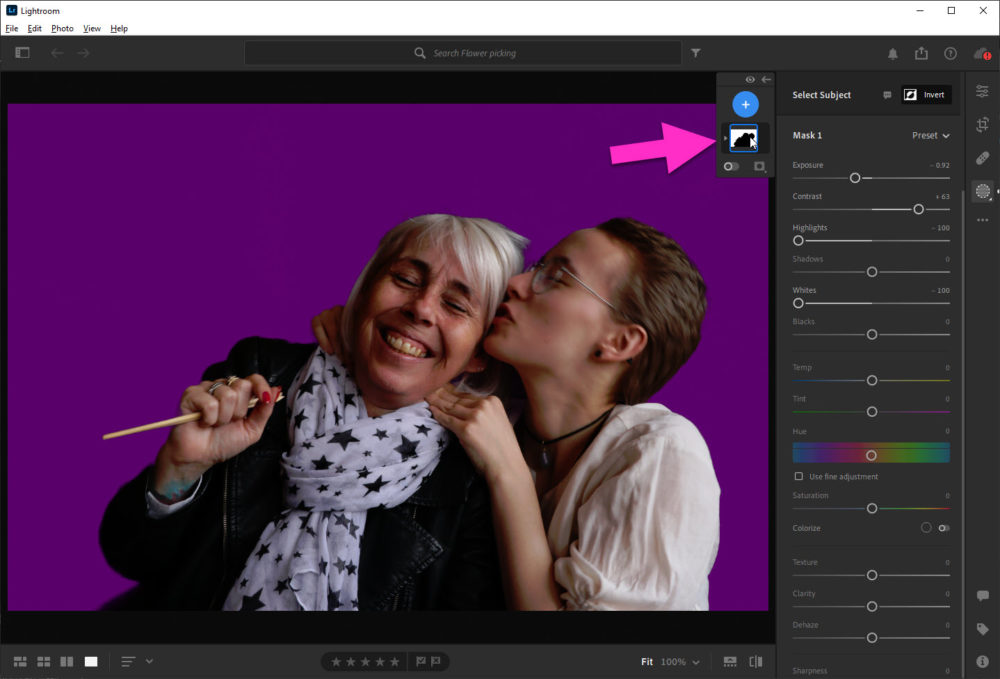
Now that my main subject is deselected I can use the sliders to “boringize™” my background.
- Slide down Exposure to darken the background
- Slide up Contrast to blend background
- Slide down Highlights to reduce bright spots further
- Slide down Whites to really reduce the bright spots

Remember if you get lost in the sauce of exactly what you are editing, simply toggle to see the Mask in the Mask Palette.
Note: Your slider settings stay so you can see that these edits are being applied to your masked area
Once you are happy with your background edit, the boringizing™ of the background, click on the Edit Icon. You can do this whether the mask is toggled on or off. Your edits will be applied either way.
I’m choosing not to show you the picture again, because all I’ve done to get here is click the B&W button to get here. I’ve made no additional changes.
- Click the B&W button at the top of the Edit Menu
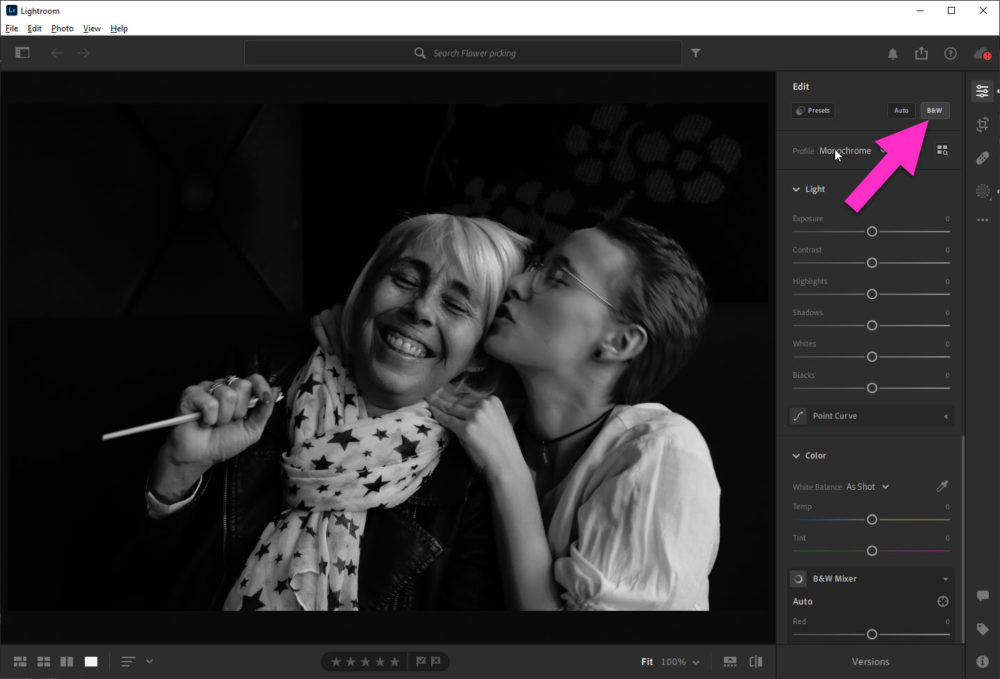
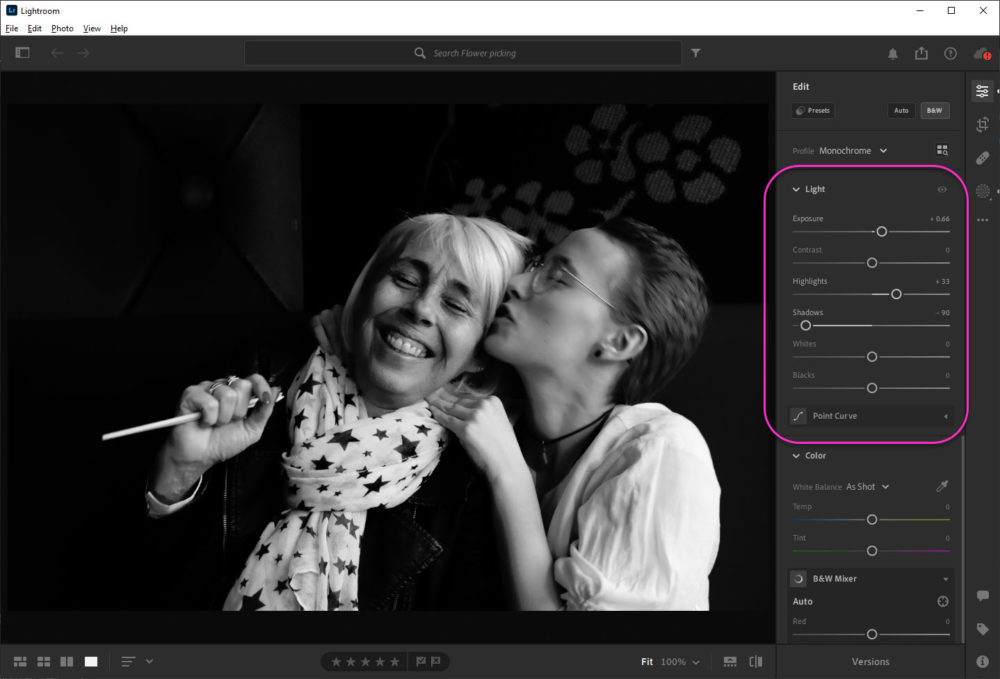
I’m going for drama in my edit. I want some sharp color (ie black&white) contrast.
- I bumped up my Exposure specifically so I could deepen my shadows
note: you can go back into the background mask and decrease the background exposure some more if needed - I bumped up the Highlights to brighten that white
- I decreased my Shadows to create more contrast and drama
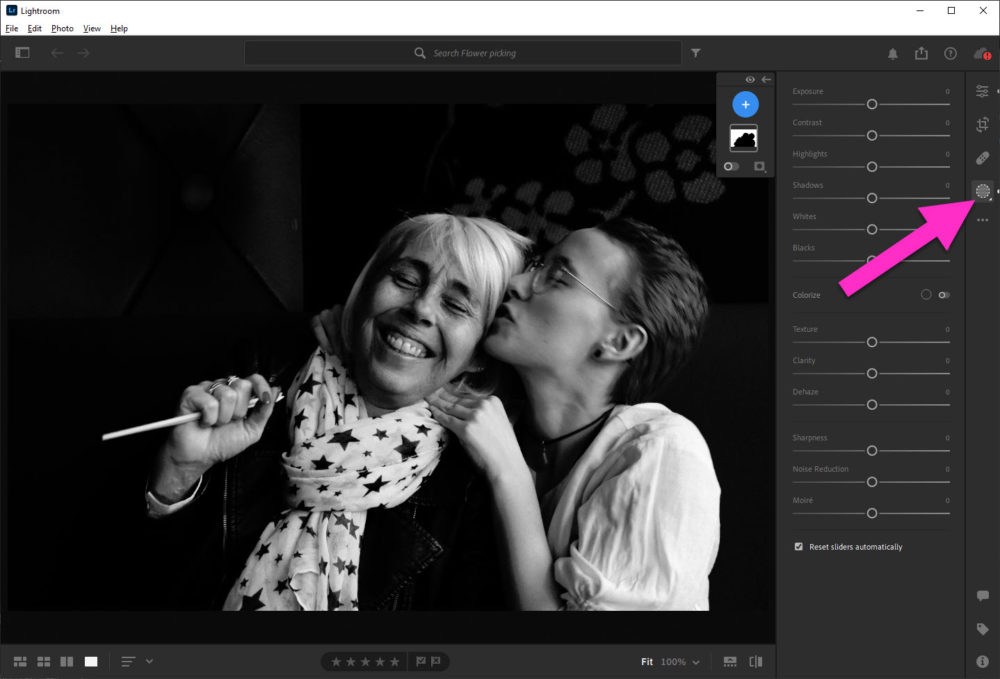
For extra drama boosting, scroll down the Edit Menu until you get to the Effects submenu. You may need to click the teeny-tiny arrow to expand this submenu.
- I’ve boosted my Texture to up the texture in my subjects hair
- I’ve boosted Dehaze to both up the clarity and the drama
- I’ve added Grain because my cousin has freckles. I find Grain makes freckles pop!

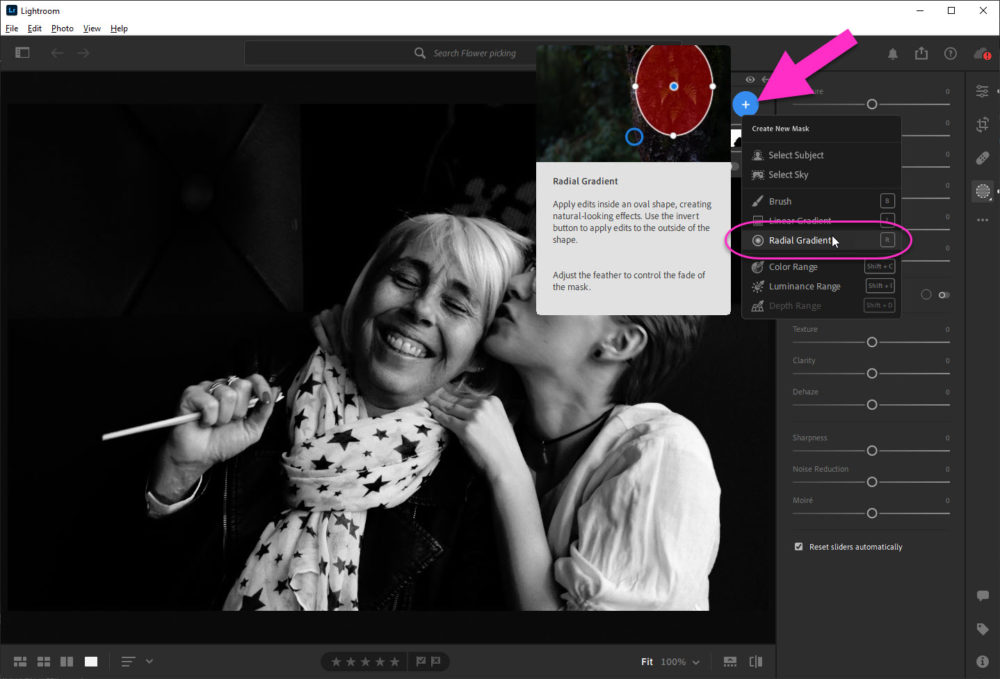
Honestly, I’m pretty happy. But. I can do more! To do that, I’m going to add a Second Mask.
- Click on the Mask Tool
To add the Second Mask simply click on the blue plus button.
- Click on the blue plus button;
- From the pop-up menu choose Radial Gradient
- I have hints turned on, Lightroom can be very helpful in guiding edits
My goal is to add extra light/brightness coming from the “window”. The window in my photo was to the right of my subjects.
- I’ve drawn my Radial Gradient coming from the bottom right corner
- The initial settings mimic my Mask 1 for the background
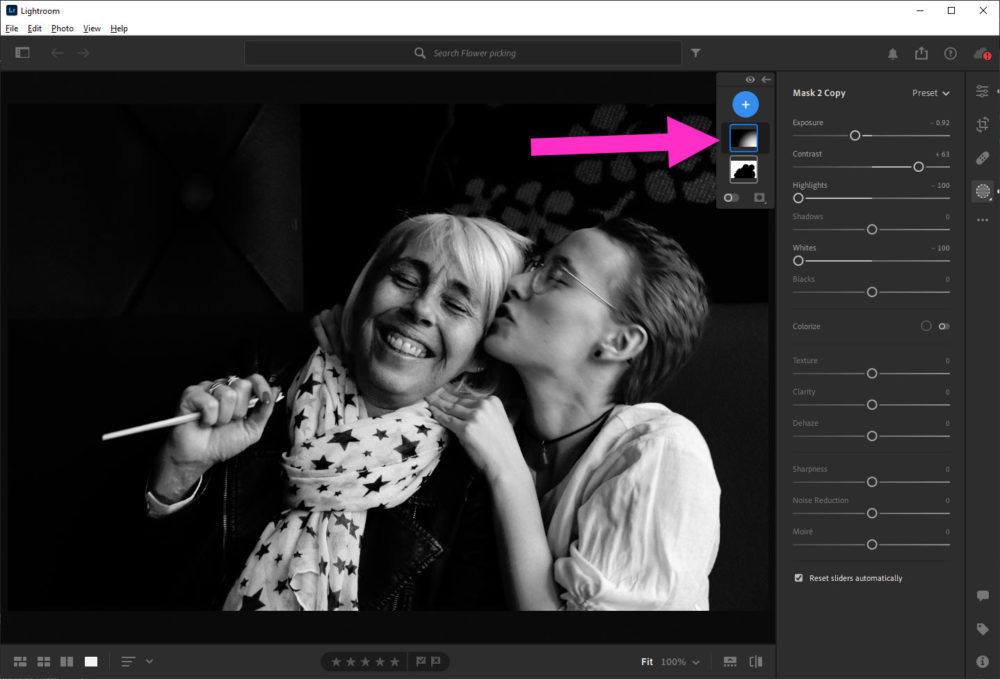
My goal is to up the light coming from the window. I’m changing the settings on my new mask to reflect that.
- I’ve upped the Exposure for more light
- I’ve decreased the Highlights to recover details in Zoë’s blouse

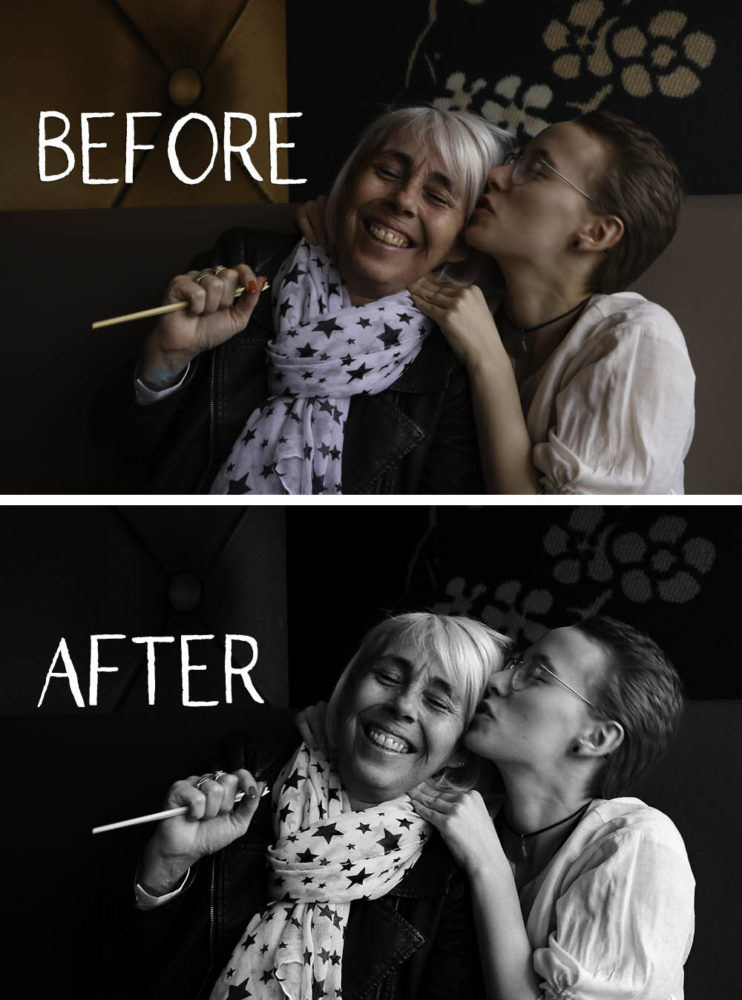
And I’m done! I’ve got a wondeful black & white photo that is much more dramatic than the warm original.
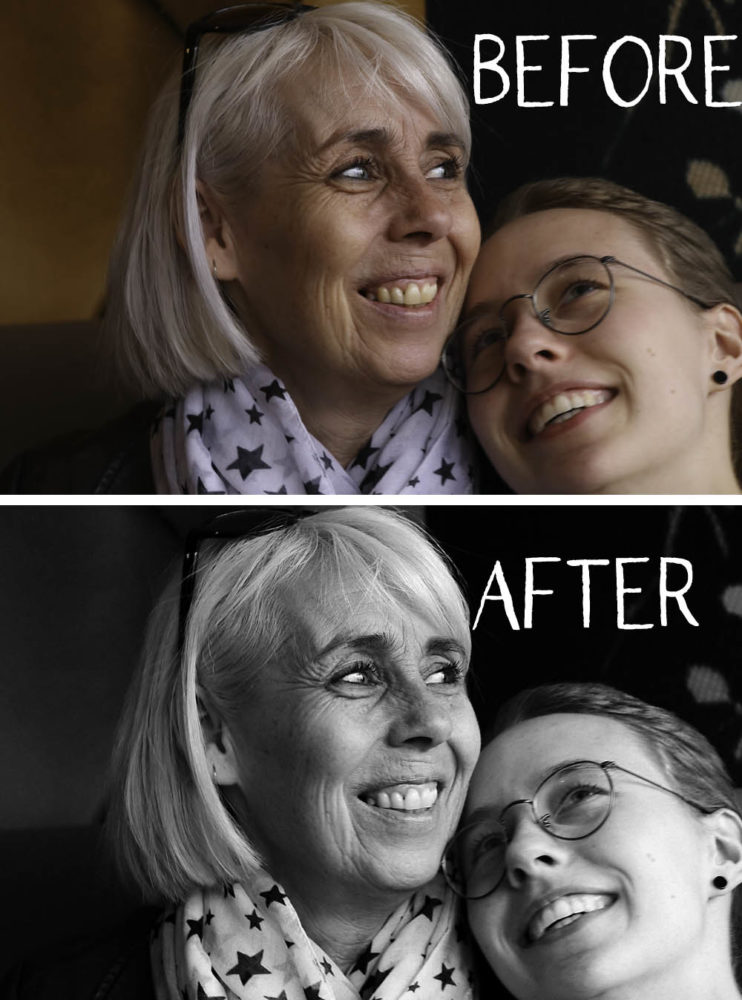
I’ve taken the exact same settings and applied it to a different photo, taken minutes later. I love the effect of the “drama”, especially the grain on Heidi’s freckles as well as the extra light from the second mask.
Note: I did a separate Select Subject mask for this one, but I applied the same mask settings


[…] / Quick Tip / Quick Tip: Pop the Freckles Previous […]