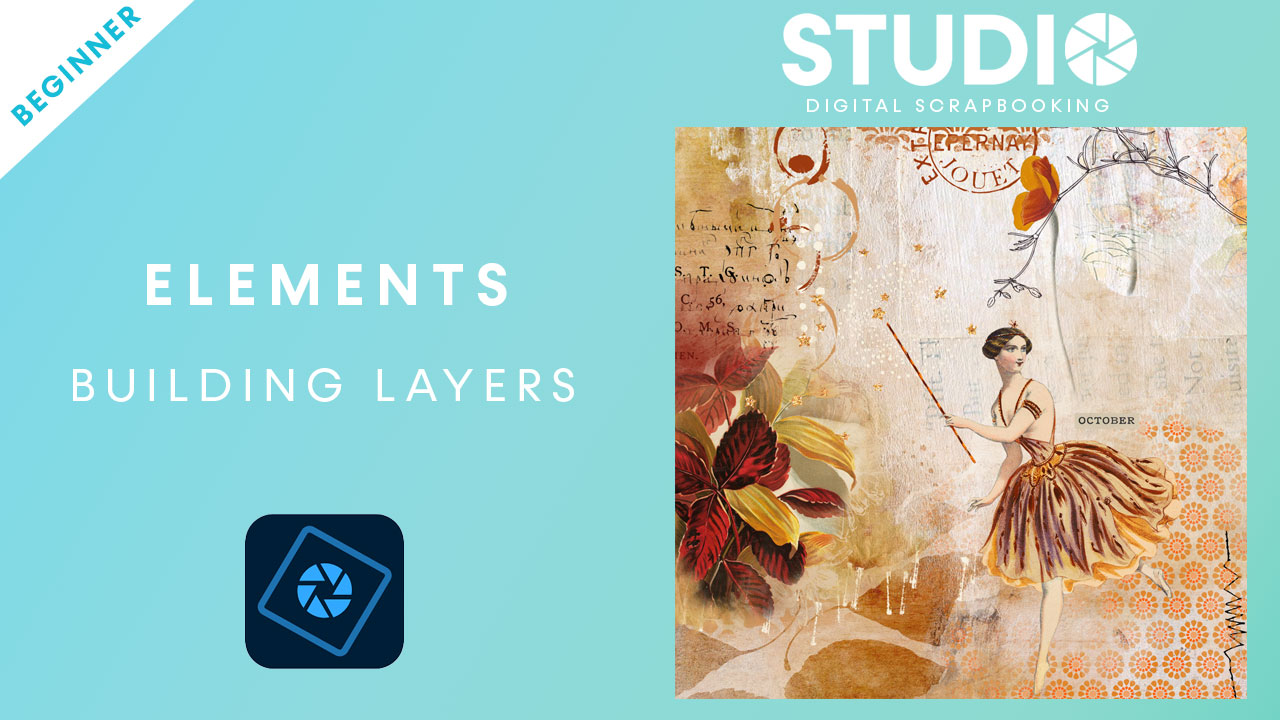
Hi gang! Last week was my very first tutorial in a series of DUO Element tutorials. These are read-along, follow-along on the blog and I’m popping the exact same tutorial up on our YouTube. This week we’re going to have a grand total of three DUO’s!
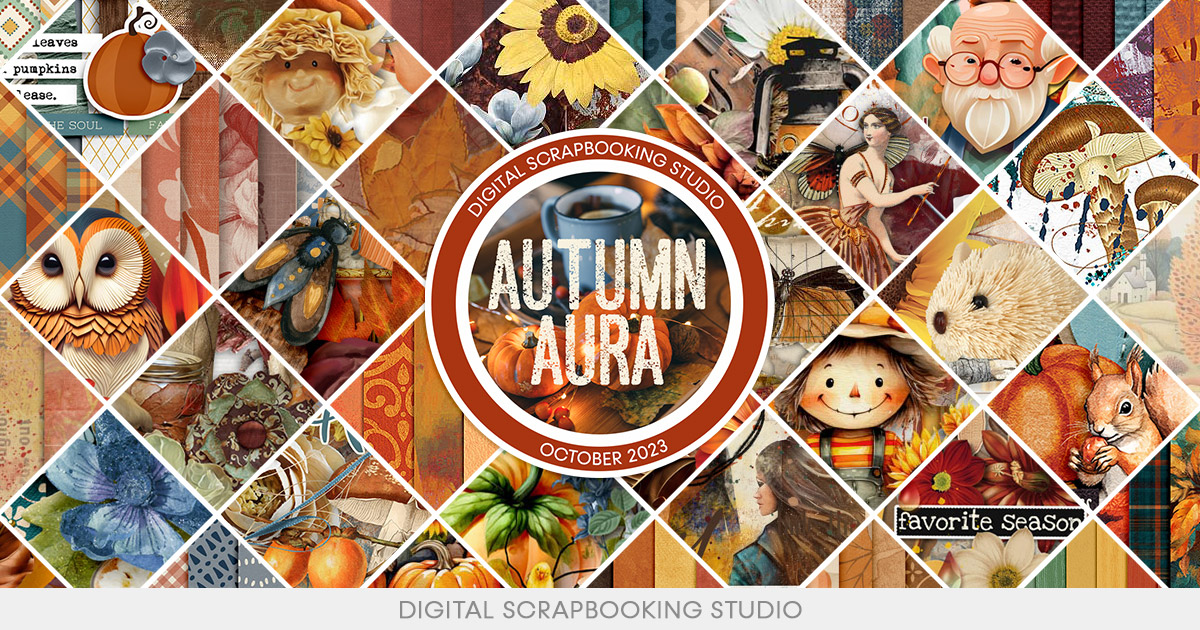
Ready for the first-of-three? We’re going to build an actual page together using layers. For this I am using Adobe Photoshop Elements 2022. You can still buy this version in some stores, or even used, or buy the newest version of Adobe Photoshop Elements 2023 on the Adobe site. I am also using Jen’s, Jen Maddocks Designs, fantabulous new Autumn Aura. This is part of our quarterly event collection Autumn Aura:
This tutorial is for Beginners. Find more beginner tutorials on our YouTube Adobe Elements Tutorials *and* here on the blog. You can bookmark the Beginner page or the Elements page for updates. This tutorial is on how to use Elements to build layers.
As always, I recommend you start with a fresh new blank page to avoid any overwrite issues.
Open a New File to start your first page:
- Click on File in the top menu
- Click on New in the dropdown menu
- Click on Blank File in the flyout menu
- Choose Document Type: Scrapbooking
- I named mine: toiny-autumnaura-layout-01

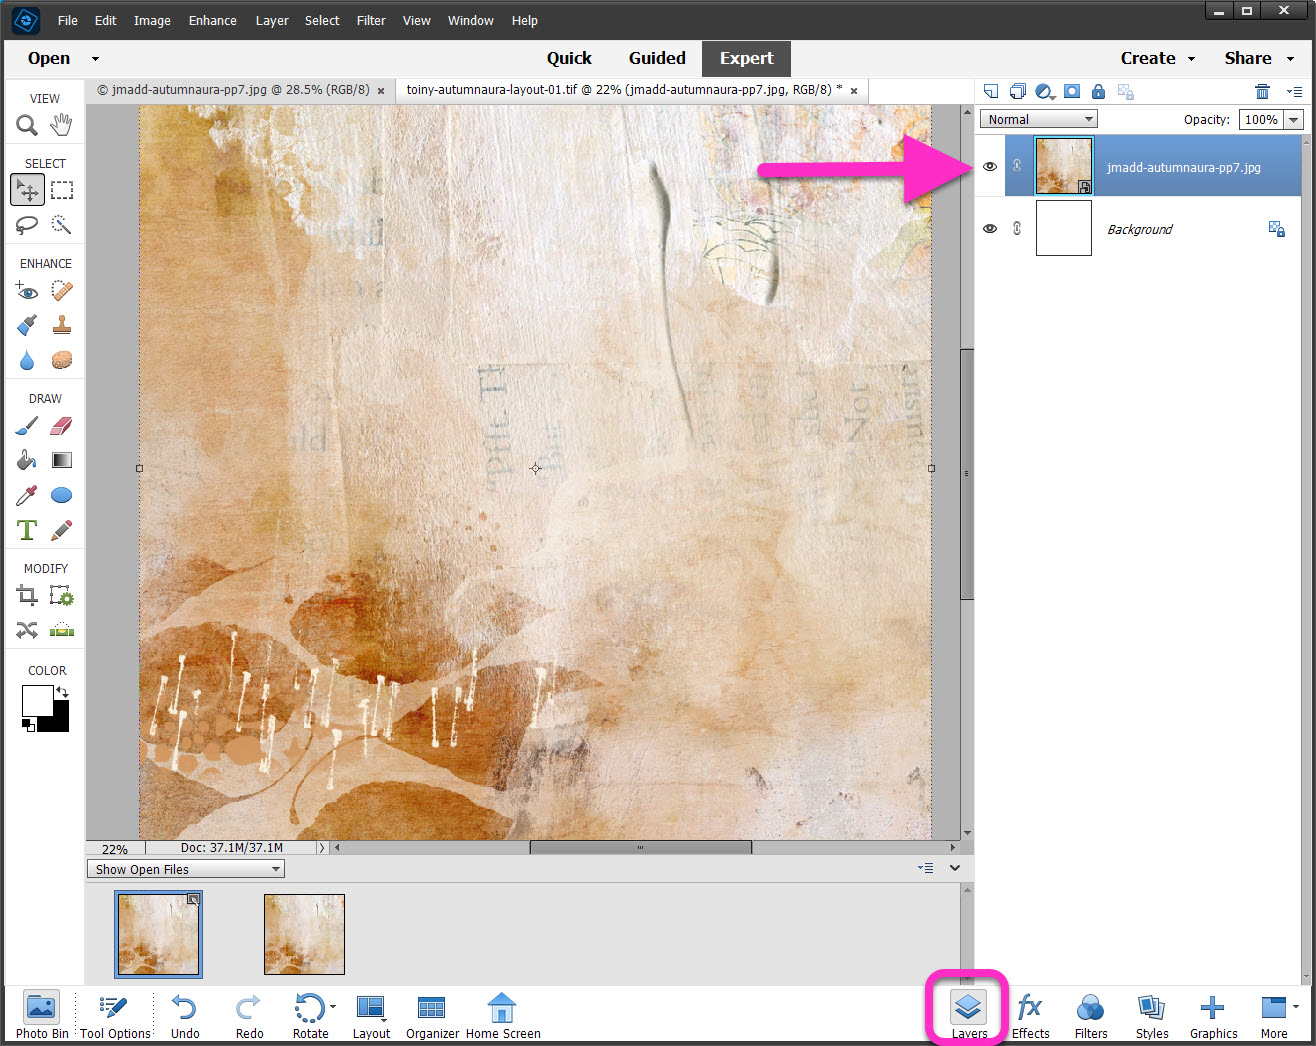
I find it easiest to add papers first, so that I have a background to work with. I choose jmadd-autumnaura-pp7.jpg
Add a copy of the Paper to your blank “New File“:
- Click & Hold the Paper icon in the Photo Bin
- Drag the Paper icon directly onto your New Page file
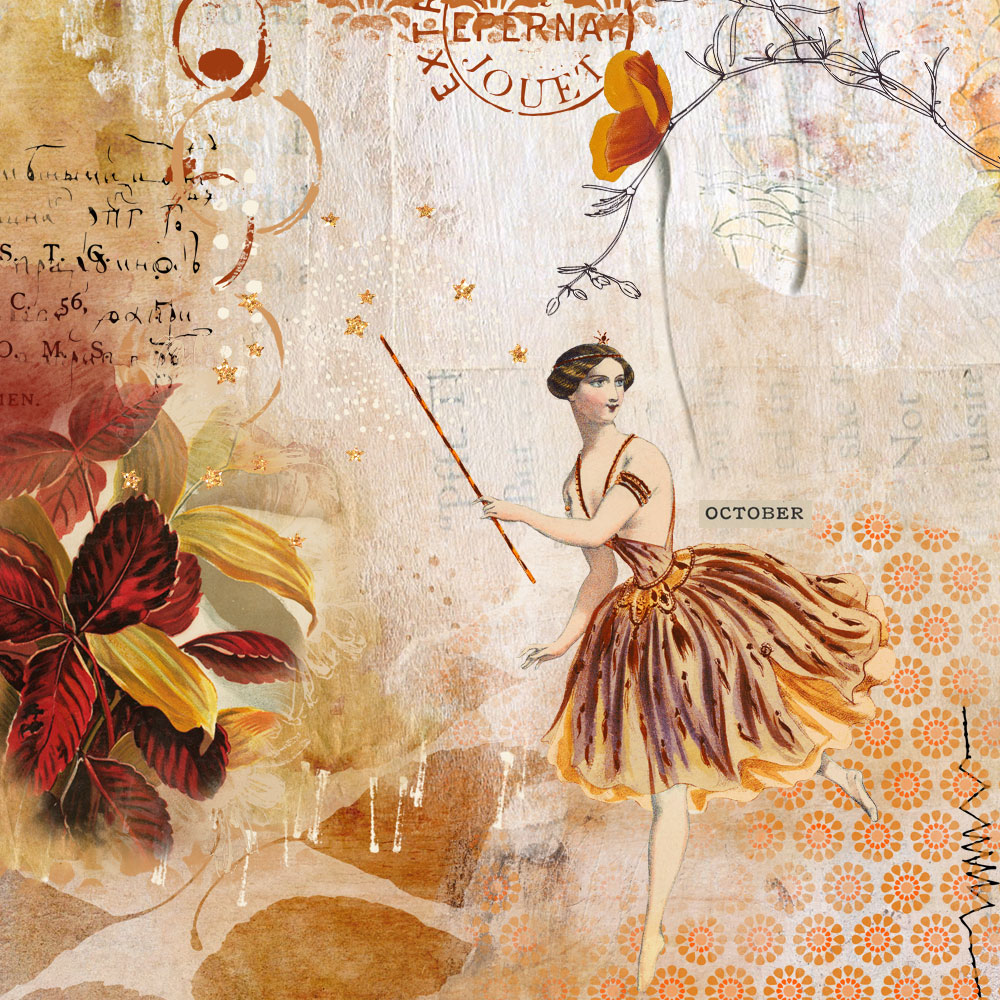
Now is a good time to mention that this is a scraplift of creative team members Chickie’s wonderful layout with Autumn Aura for Jen Maddocks Designs.
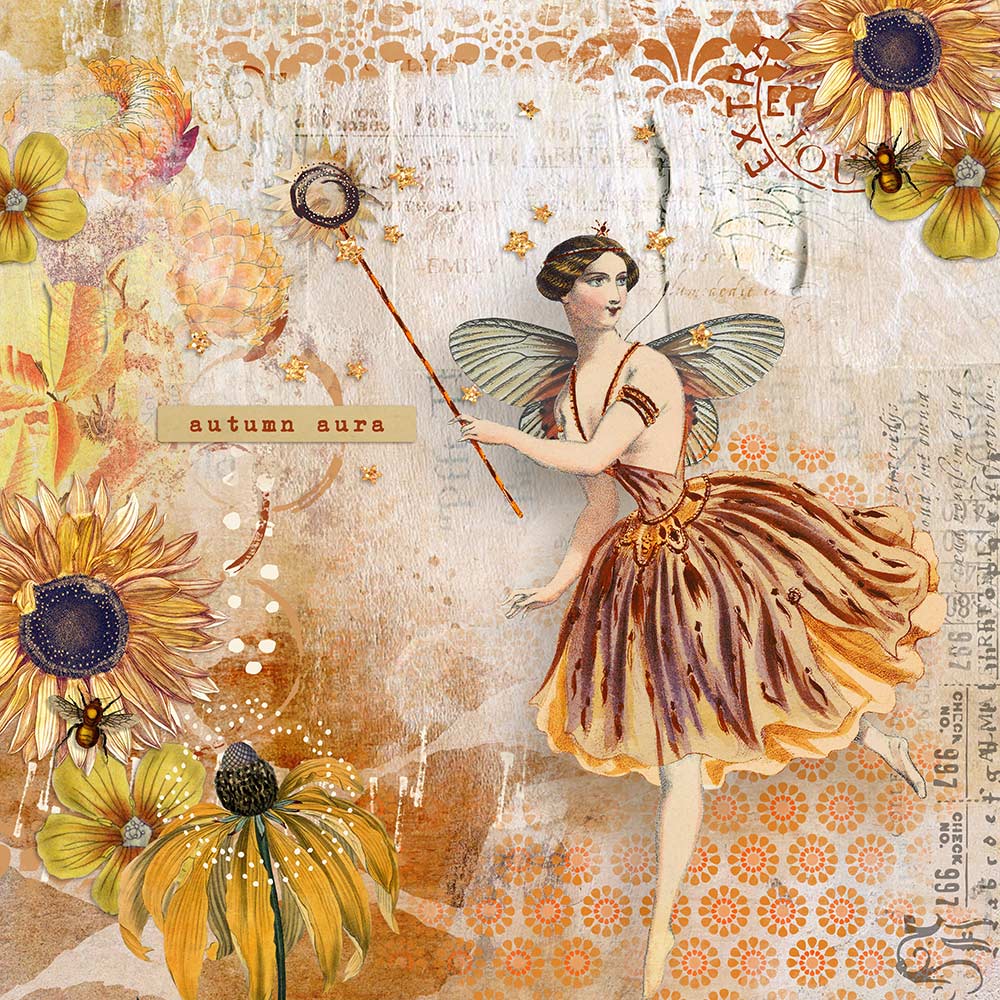
layout by Chickie
We’re jumping right in to adding multiple files to your Photo Bin in order to add Layers to your page. If you are unsure about this step, please review the first tutorial: Elements: Create your First Page.

Once all the files are loaded into your Photo Bin:
- Click + Hold + Drag
- Each element from your Photo Bin into your New File
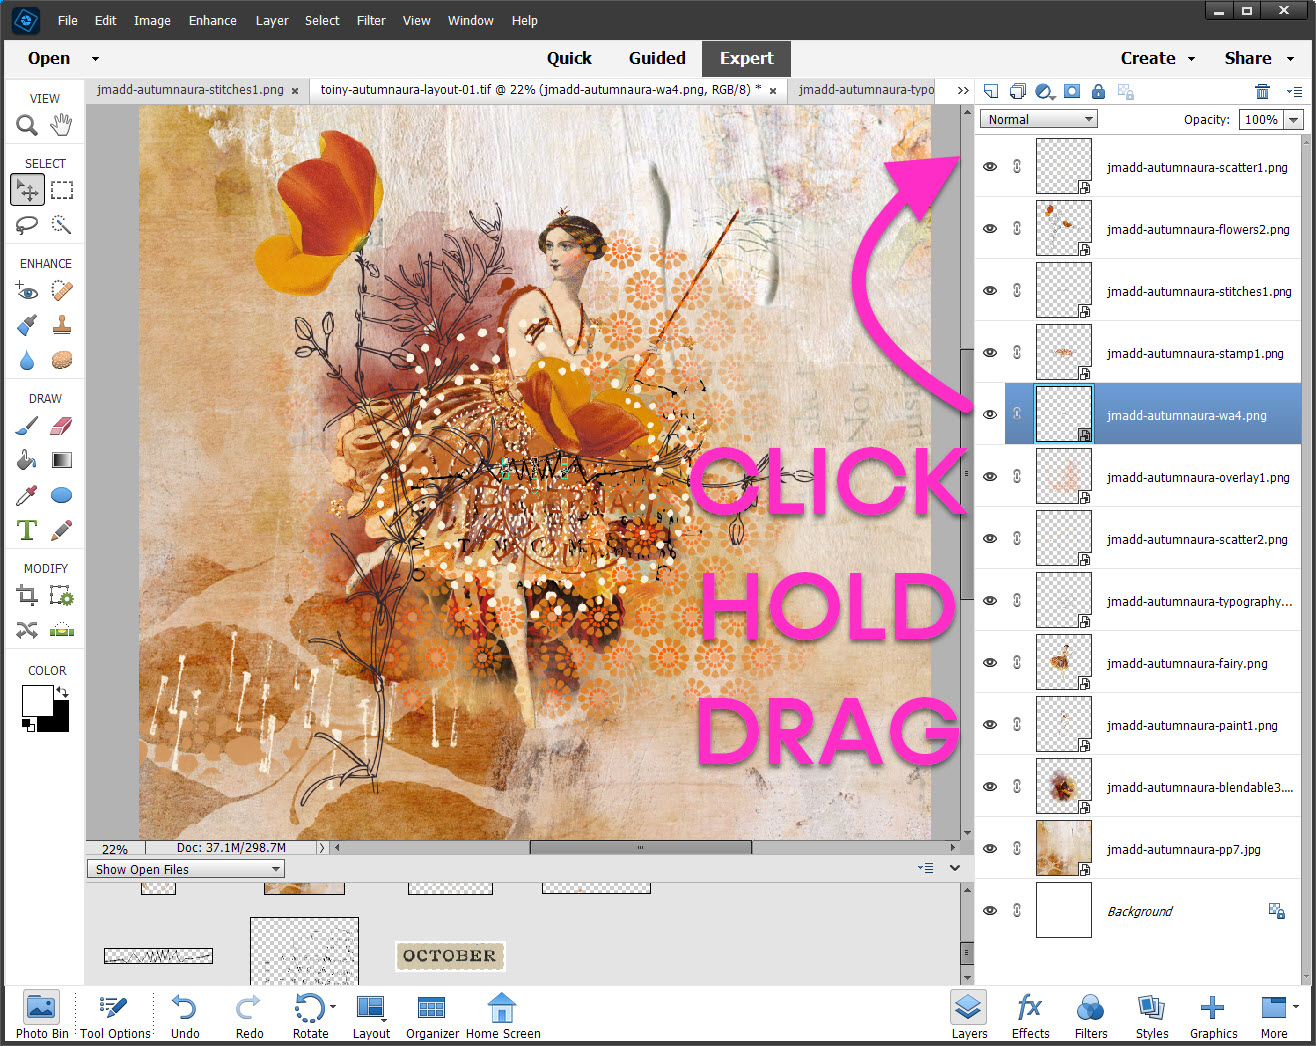
We are going to use that same Click + Hold + Drag technique to rearrange our Layers in the Layers Panel.
Note: If you do not see the Layers Panel, click on the Layers Button in the bottom right of your workspace.
- Click + Hold + Drag
- Each layer in your Layer Panel you want front & center
- You can do this now or later!
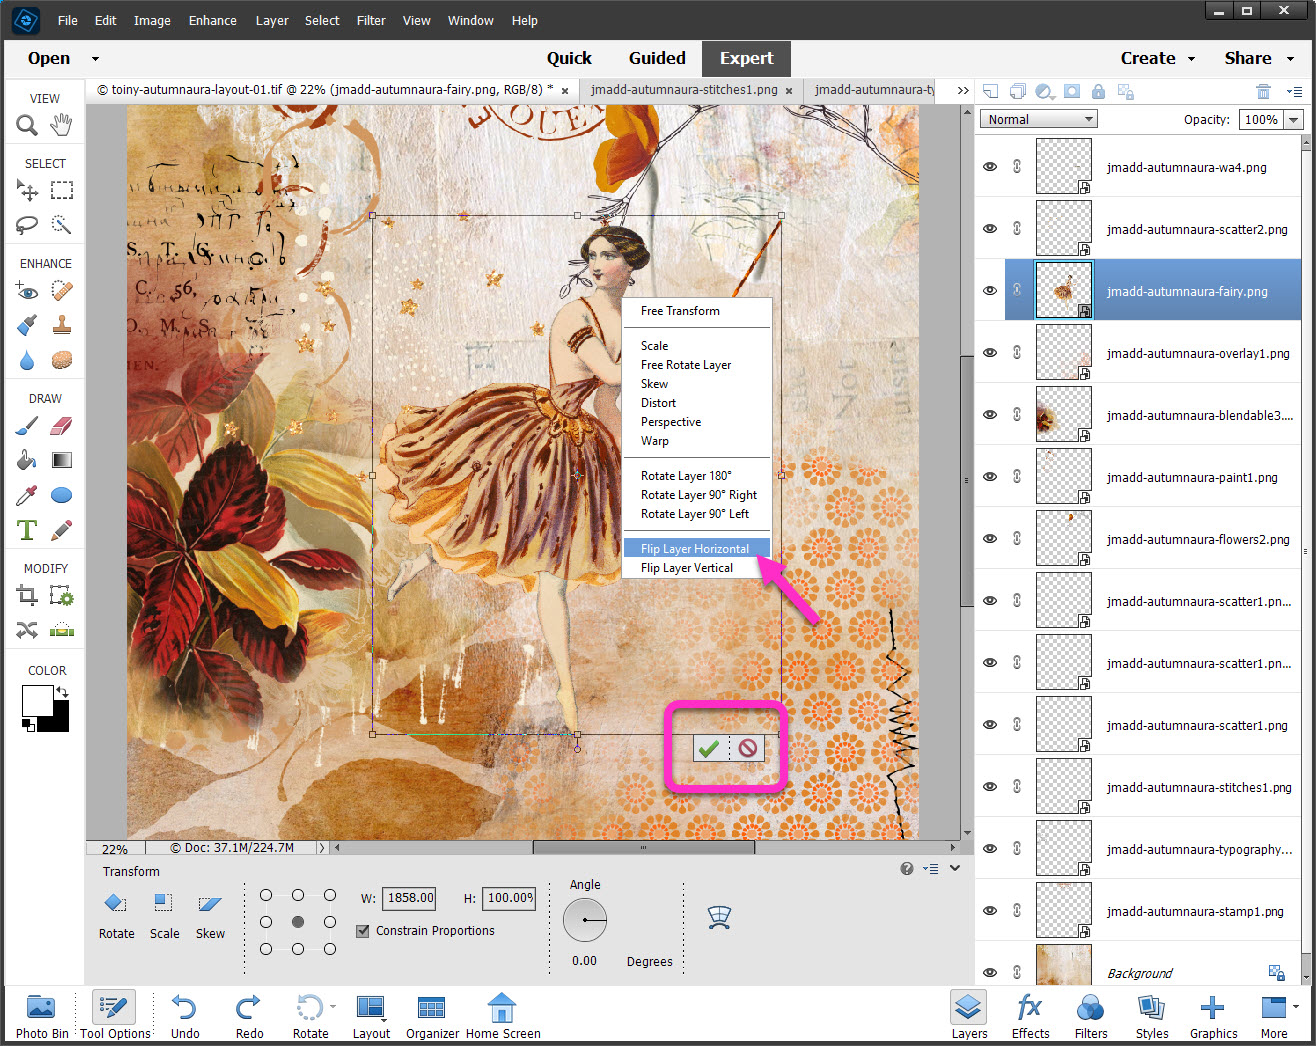
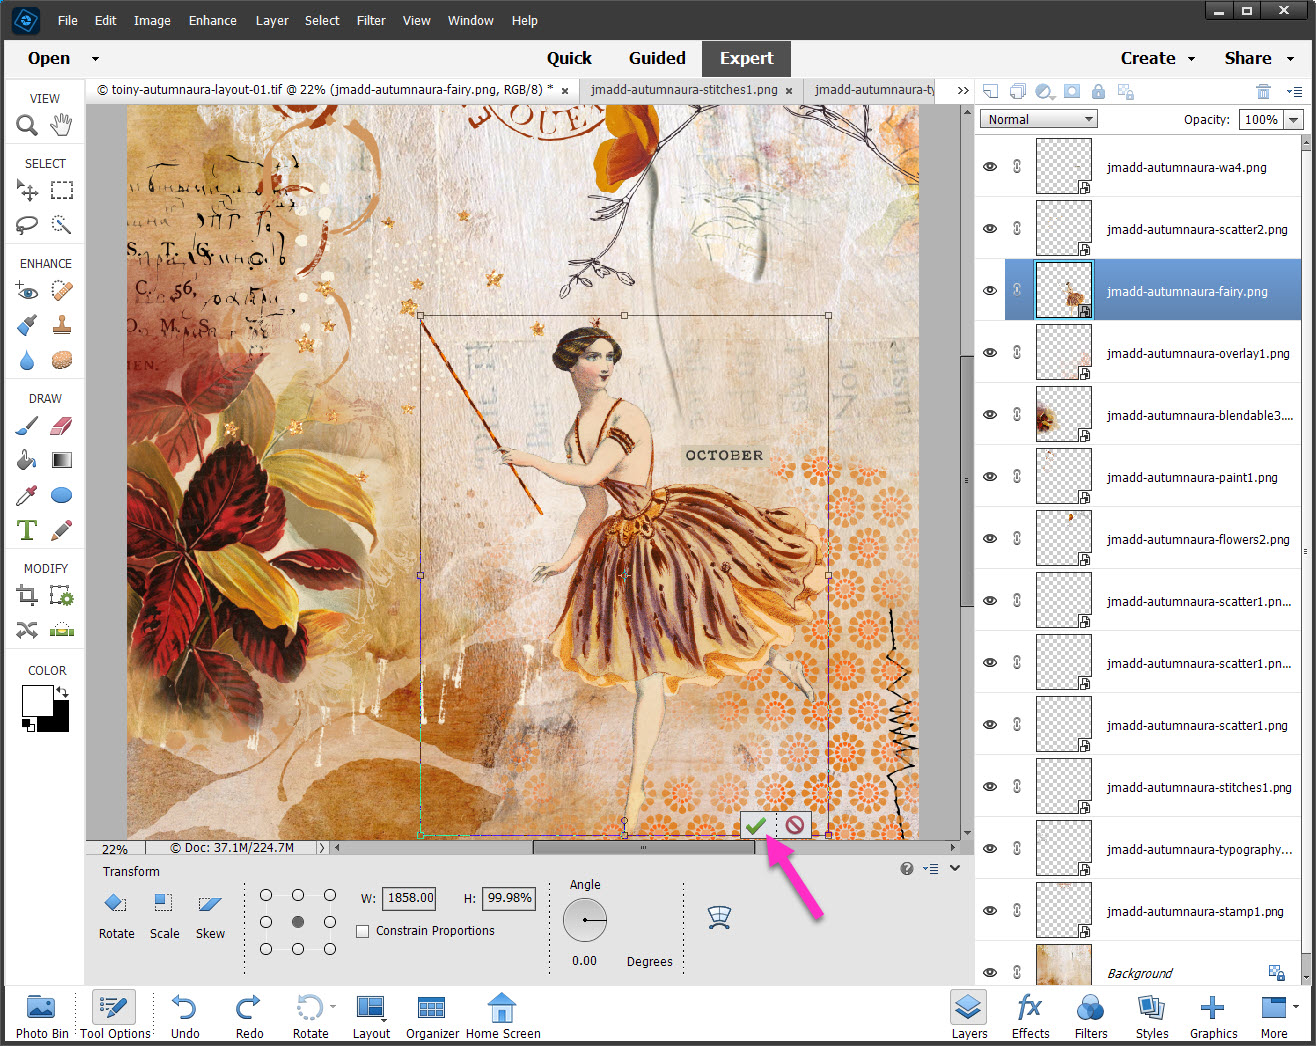
I used the Move Tool to move & resize all the elements on my page until I’m happy. Please review the first tutorial: Elements: Create your First Page for a refresher on moving & resizing. While I choose quite a few different elements than Chickie in my scraplift, I do want to spin my fairy element around just like her. I can do this by Flipping my Layer Horizontally.
- Make sure you are on the Layer (jmadd-autumnaura-fairy.png) you want to flip
- Click on the Bounding Box, make sure the Bounding Box line turns solid
- Right-click on the Element (fairy) in your workspace
- Choose Flip Layer Horizontal from the flyout menu
- Click the Green Arrow/Checkmark to accept the change
That’s it! You’ve created your first digital scrapbooking page using lots of layers to get your own look. Stay tuned this week for parts II & III of this Elements DUO.
You can also watch this tutorial as a video on our YouTube:


loving these Toiny as I use Elements 22, great job,thank you and hope you are feeling much better now.
Great tutorial Toiny – need to adjust volumes a bit, your voice needs to come up (maybe get closer to mic) & music down a bit. Just an fyi… ♥ ♥ ♥